
Introduction
I wanted to Port forward without really port forwarding, and a way around that is to use a tunnel to bridge my home network with one VM on the cloud, acting as an edge router.
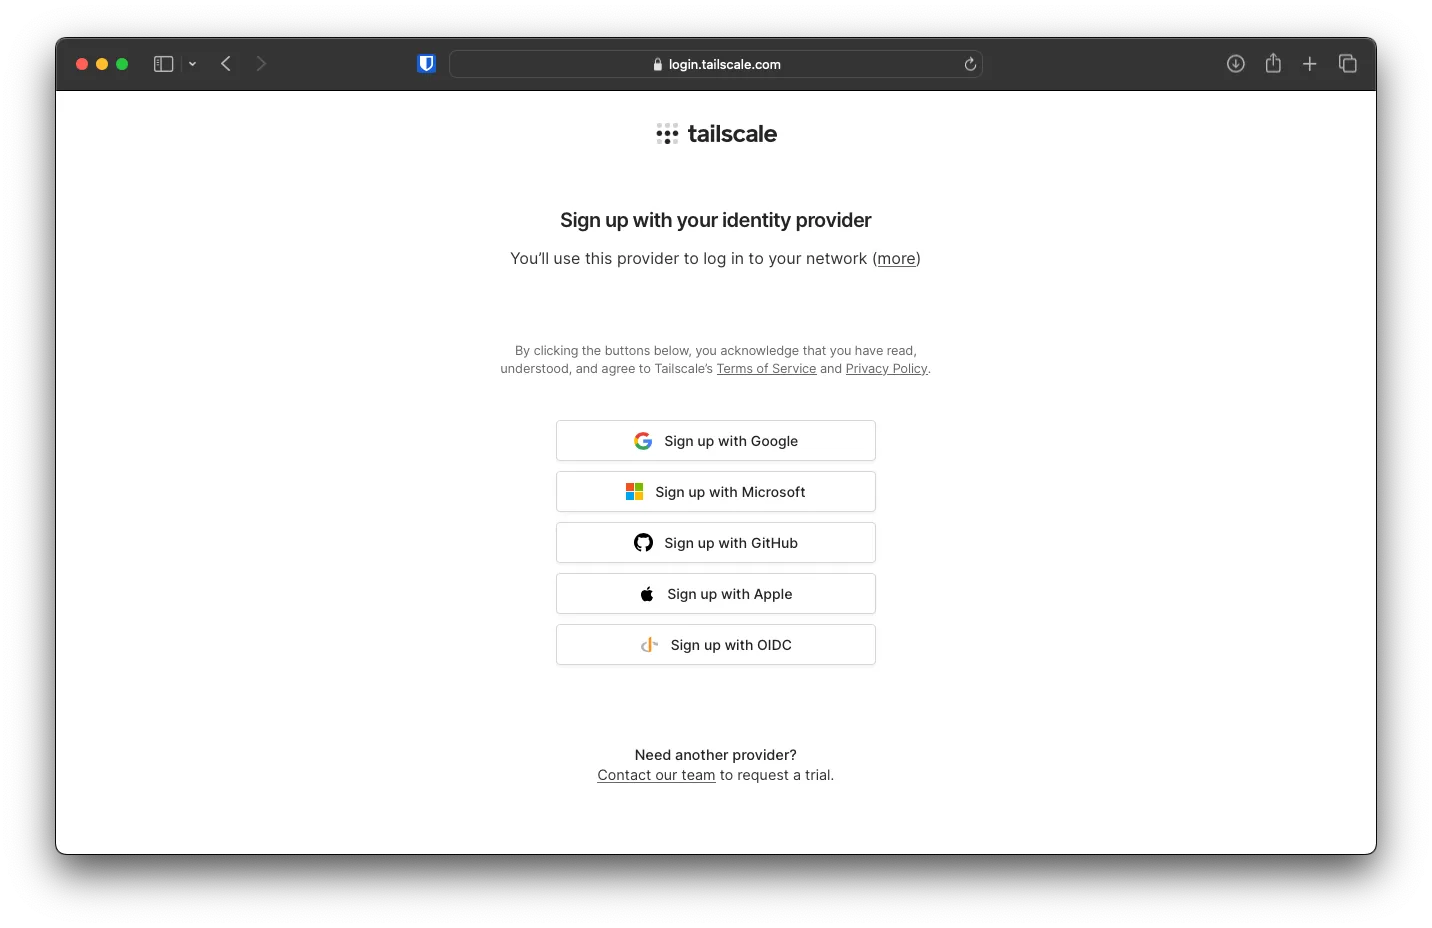
To start, go to the Tailscale Website and click on Try for Free or Get started for free

From the login page, you can use Sign up with Microsoft and log in with your newly created user
You might be asked to approve some permission on your Microsoft account on behalf of Tailscale. Click on Accept.

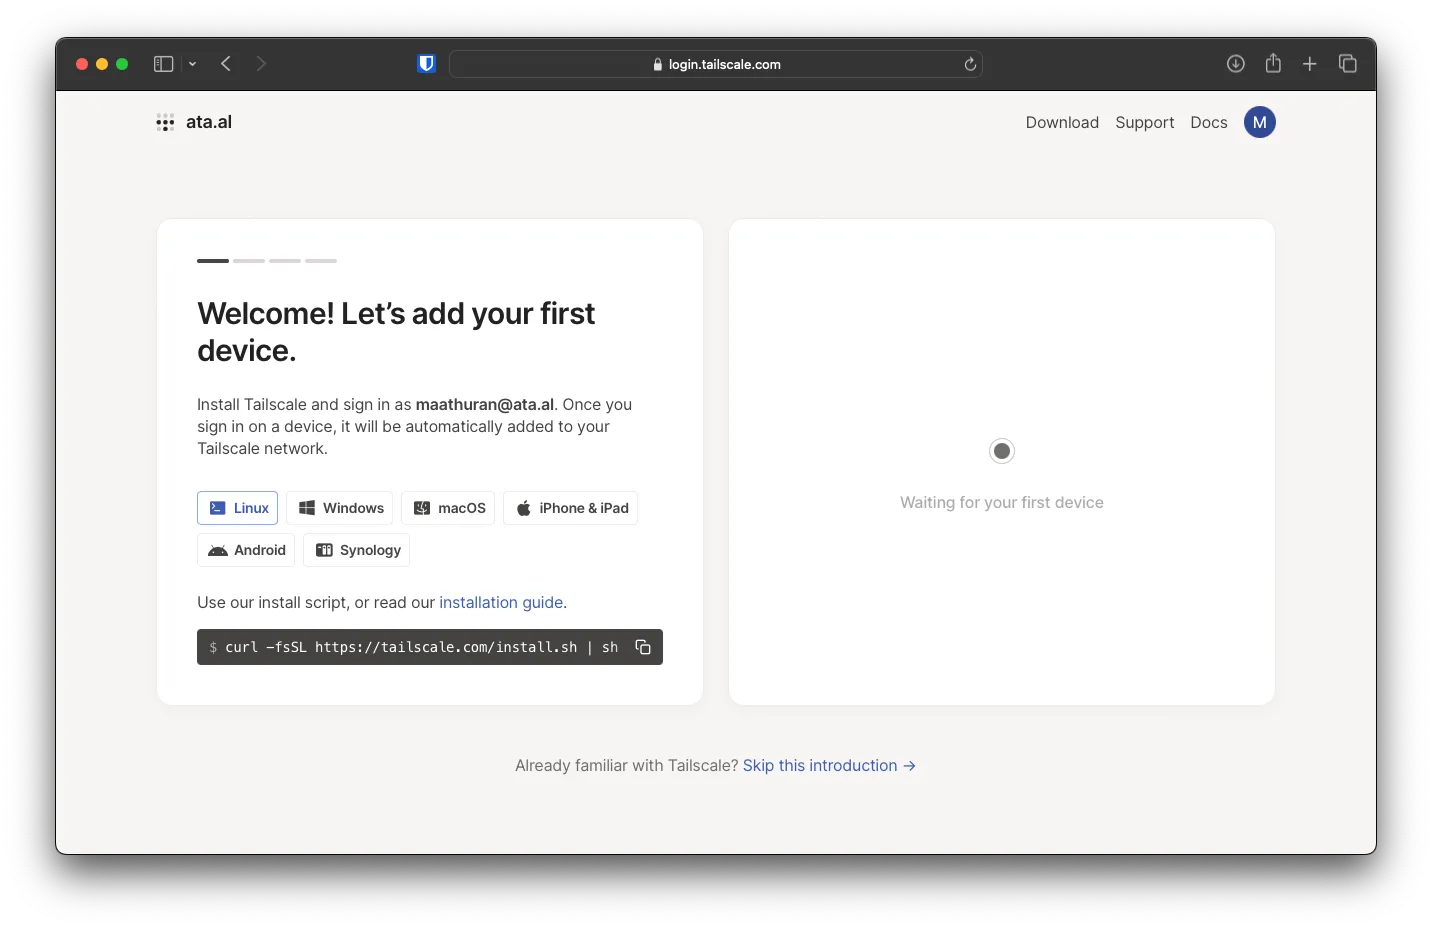
The Tailscale account will be created pretty quickly
Adding Tailscale to Edge VM / Ingest node
We will first add tailscale to the BuyVM node via SSH. To do that, copy and paste the install script into the console curl -fsSL https://tailscale.com/install.sh | sh, and you will get an output similar to below
Installing Tailscale for ubuntu jammy, using method apt
+ mkdir -p --mode=0755 /usr/share/keyrings
+ tee /usr/share/keyrings/tailscale-archive-keyring.gpg
+ curl -fsSL https://pkgs.tailscale.com/stable/ubuntu/jammy.noarmor.gpg
+ tee /etc/apt/sources.list.d/tailscale.list
+ curl -fsSL https://pkgs.tailscale.com/stable/ubuntu/jammy.tailscale-keyring.list
# Tailscale packages for ubuntu jammy
deb [signed-by=/usr/share/keyrings/tailscale-archive-keyring.gpg] https://pkgs.tailscale.com/stable/ubuntu jammy main
+ apt-get update
Hit:1 http://us.archive.ubuntu.com/ubuntu jammy InRelease
Get:2 http://us.archive.ubuntu.com/ubuntu jammy-updates InRelease [119 kB]
Get:3 http://us.archive.ubuntu.com/ubuntu jammy-backports InRelease [109 kB]
Get:4 http://us.archive.ubuntu.com/ubuntu jammy-security InRelease [110 kB]
Get:5 https://pkgs.tailscale.com/stable/ubuntu jammy InRelease

...

Installation complete! Log in to start using Tailscale by running:

tailscale up
Start Tailscale by running tailscale up, and you will be asked to log in, copy the link to a web browser from before to complete the authentication
root@localhost:~# tailscale up

To authenticate, visit:

        https://login.tailscale.com/a/XXXXXXXXX
After logging in, you will see a Connect button. To check the details of the device, you can also click on Device Details.
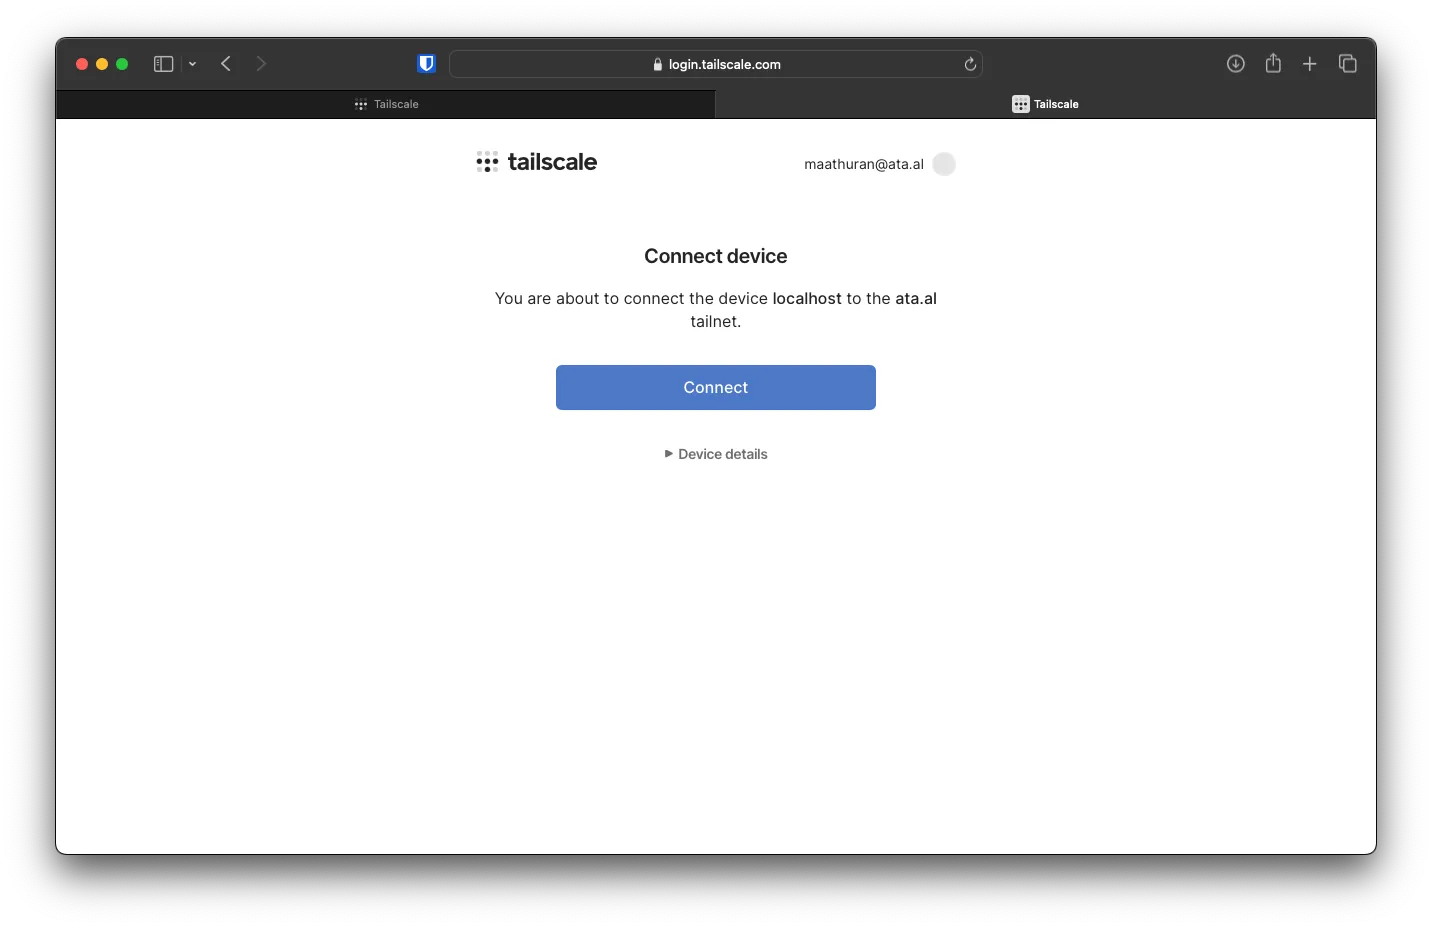
On the console, you will see a Success.
Tailscale on Proxmox Cluster
Adding Aliplne Linux
For Proxmox, we will install an Alpine Linux LXC on Node 1 and then add Tailscale.
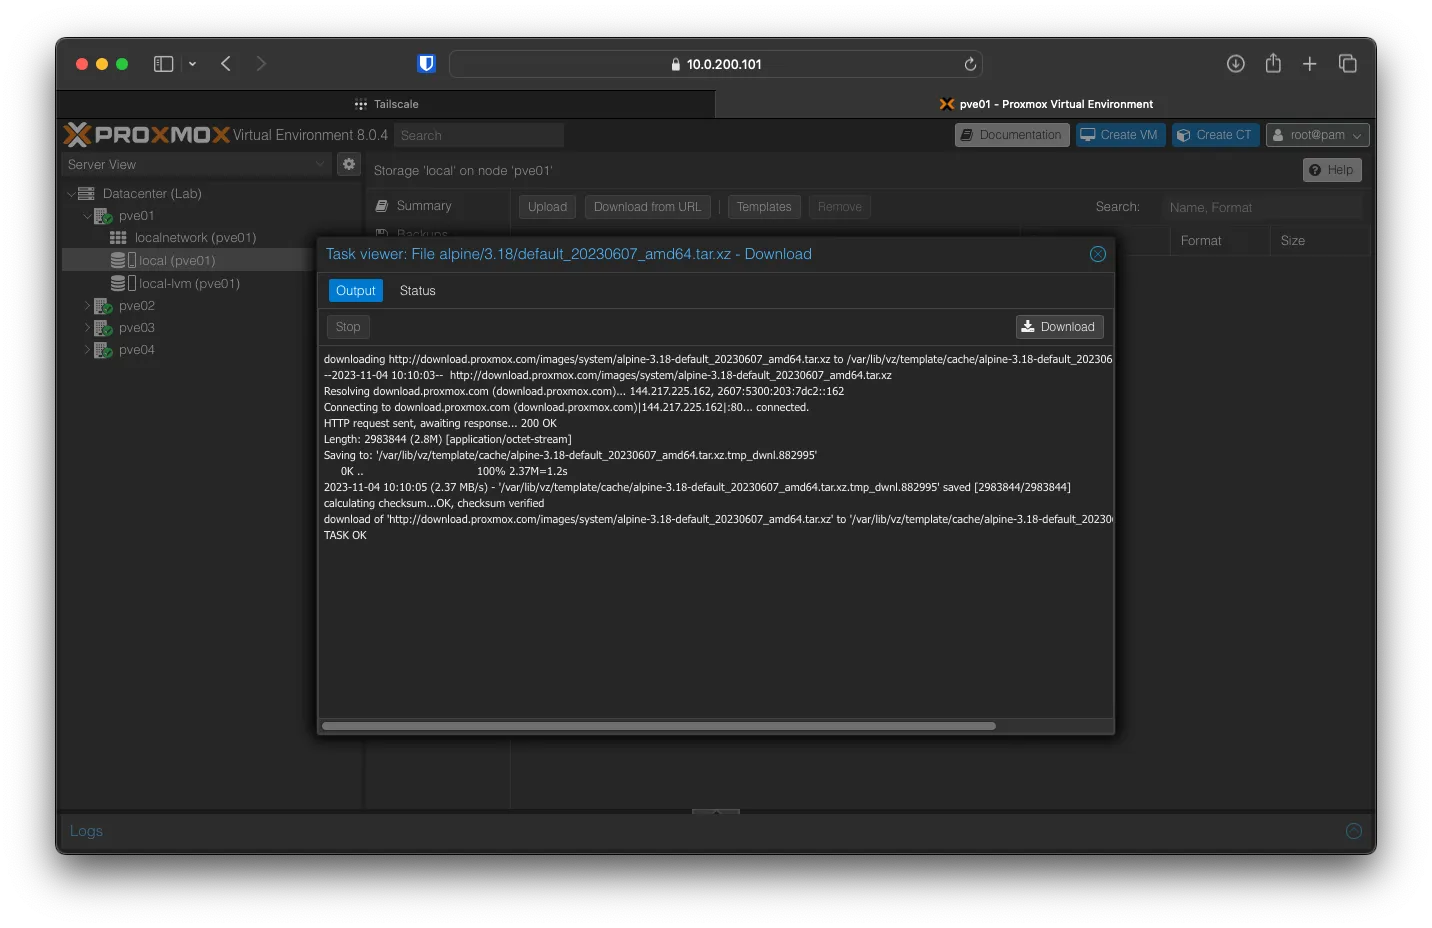
Under Datacenter (Lab) -> pve01 -> local (pve01) -> CT Templates Click on -> Templates and search for Alpine, select the latest version and hit Download.

After the download is complete, you can close Task Viewer.
Creating Apline LXC
Back on pve01 right-click and Create CT
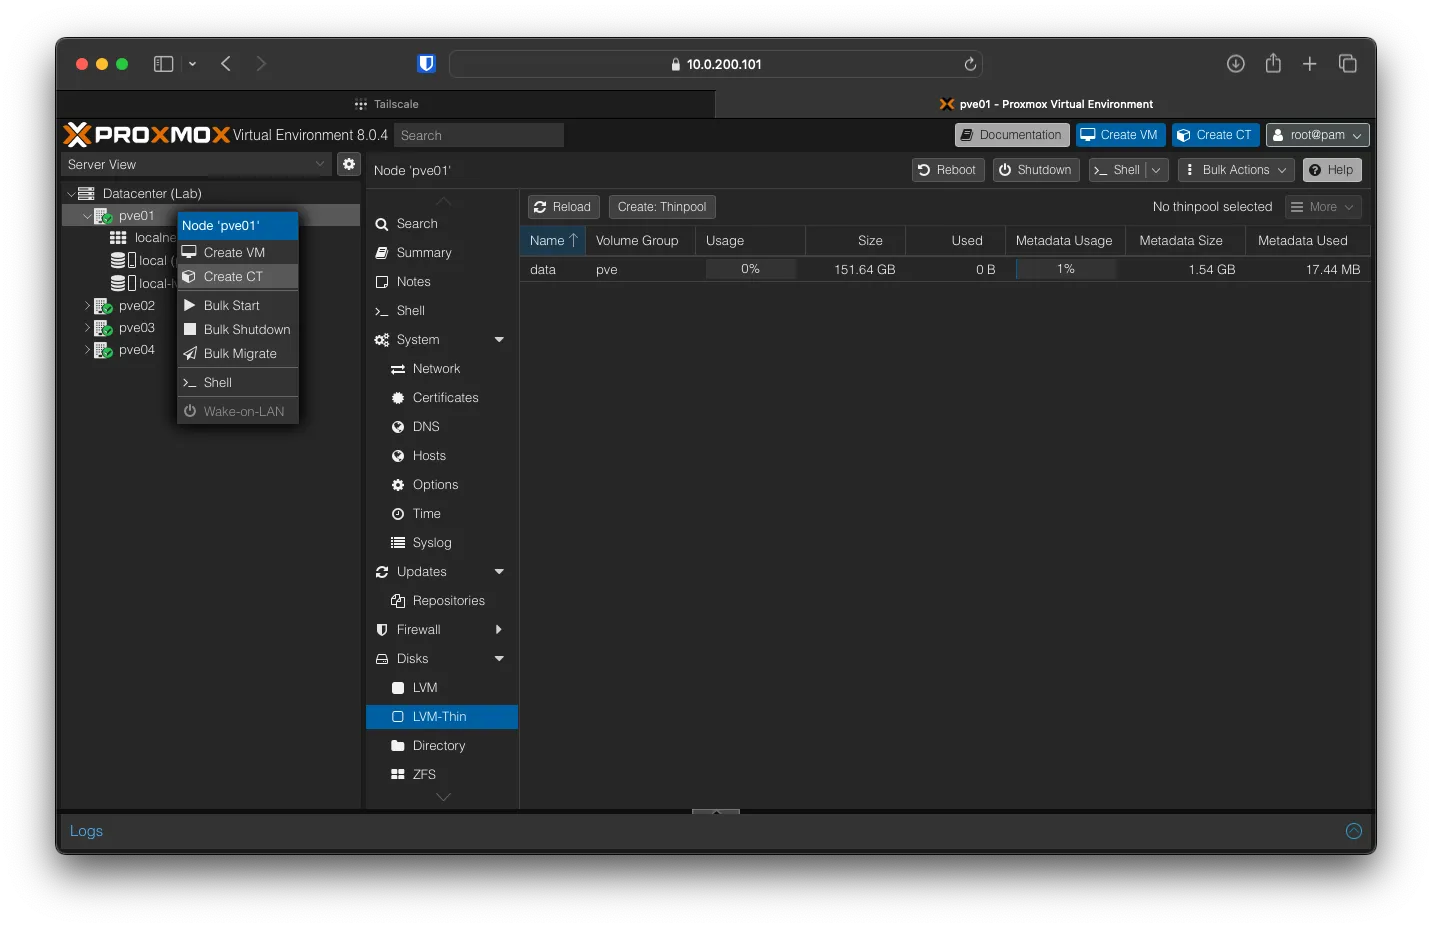
Keep the auto-filled values the same for Node and CT ID. You can set a Hostname I’m using, Tailscale. Create a root password as well. Click Next

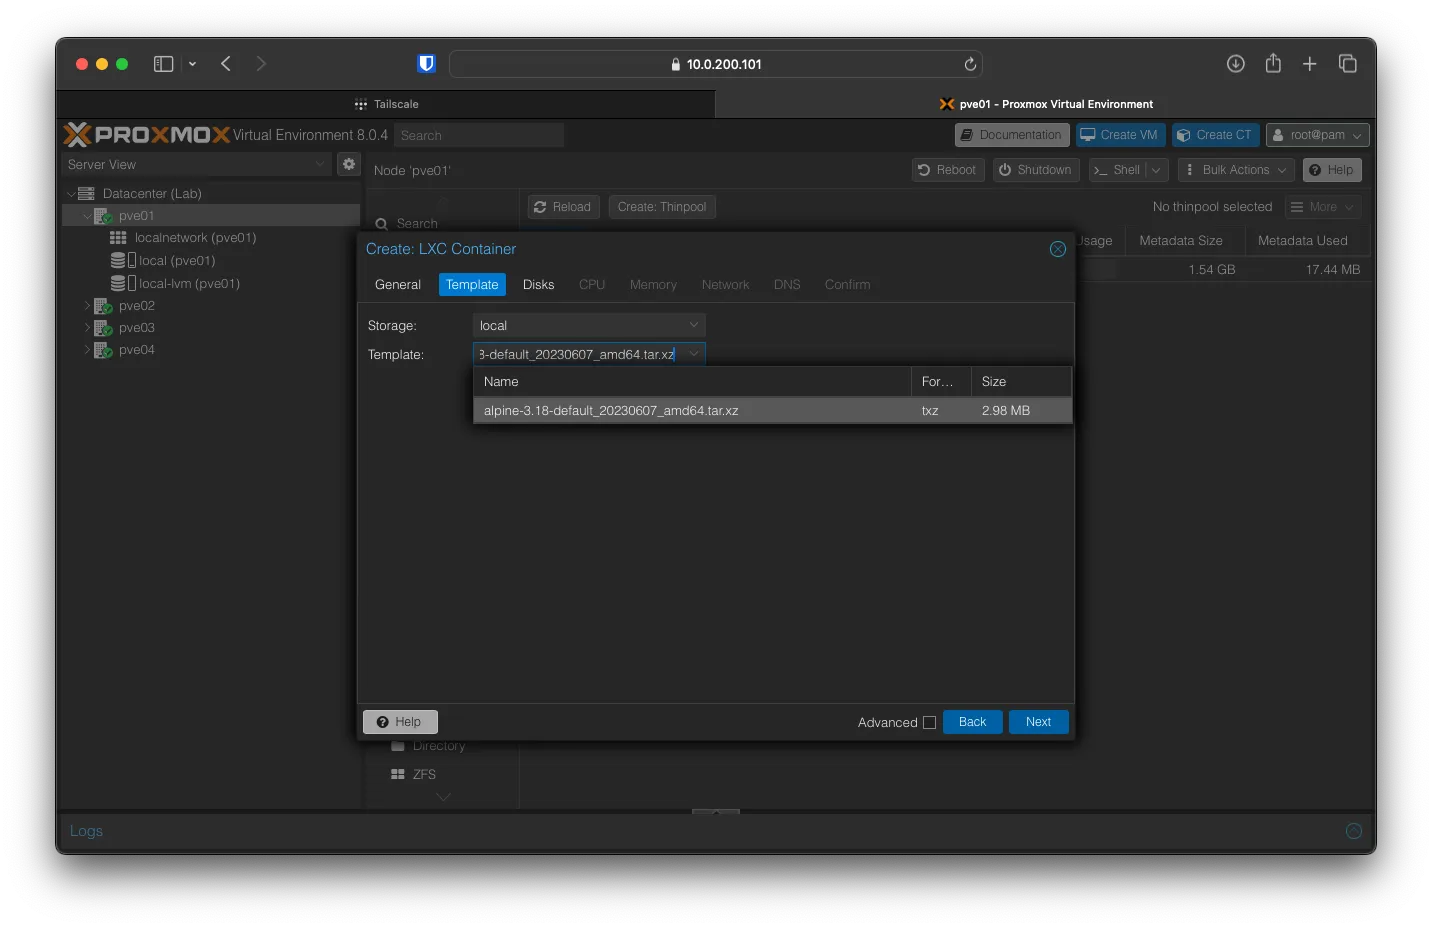
For Template, select alpine-3.18-default_20230607_amd64.tar.xz and click Next.
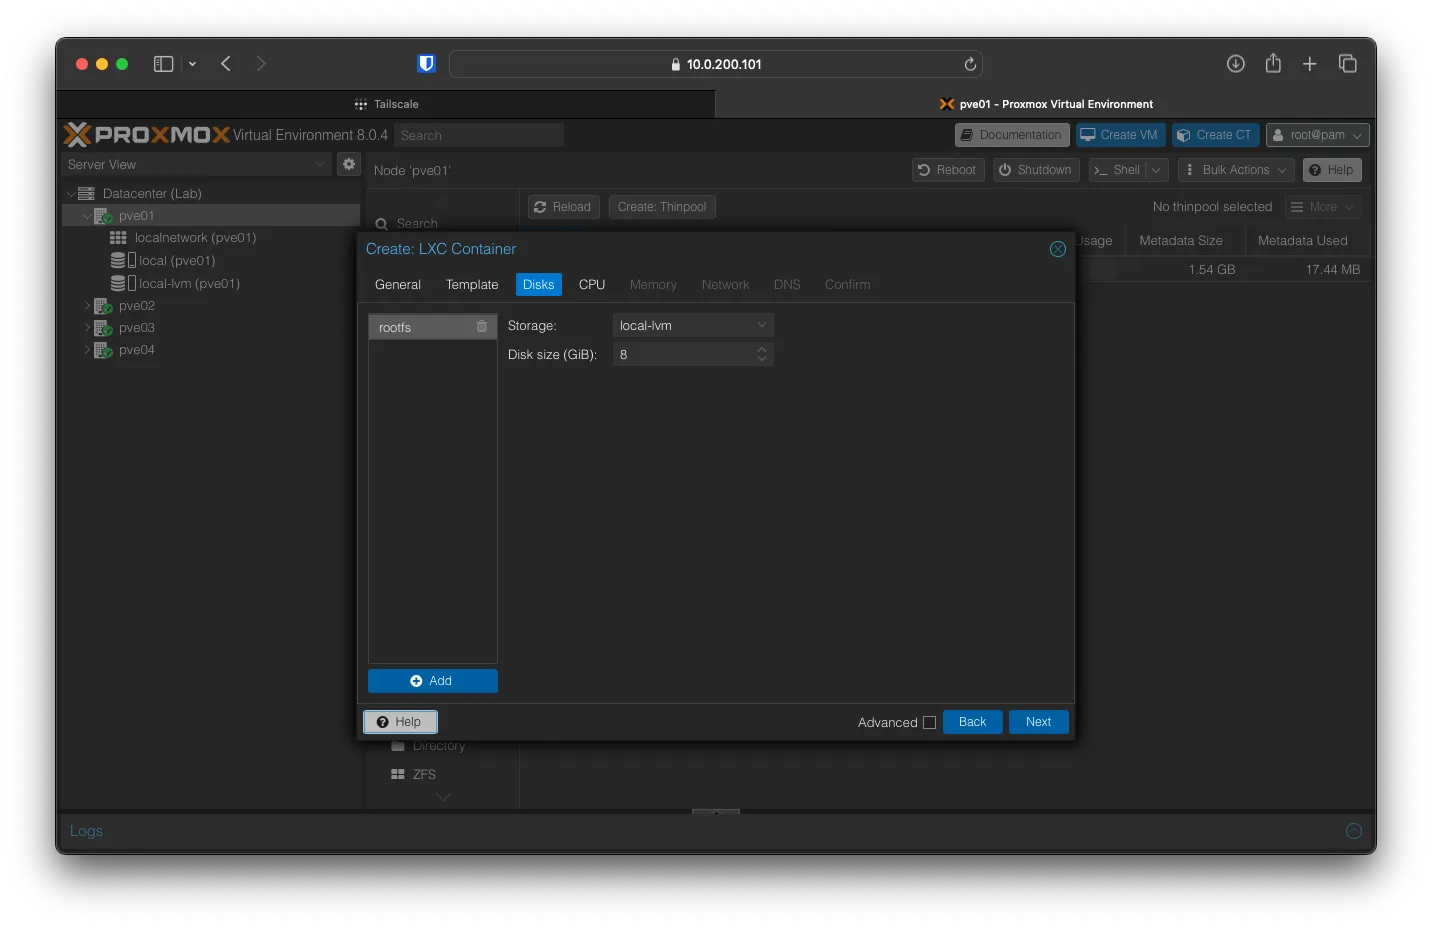
You can keep the Disk Size at 8 and the Storage volume as local-lvm. Click on Next
You can keep CPU -> Cores as 1 and click Next. On the Memory tab, keep Memory and Swap at 512 each, then click Next.
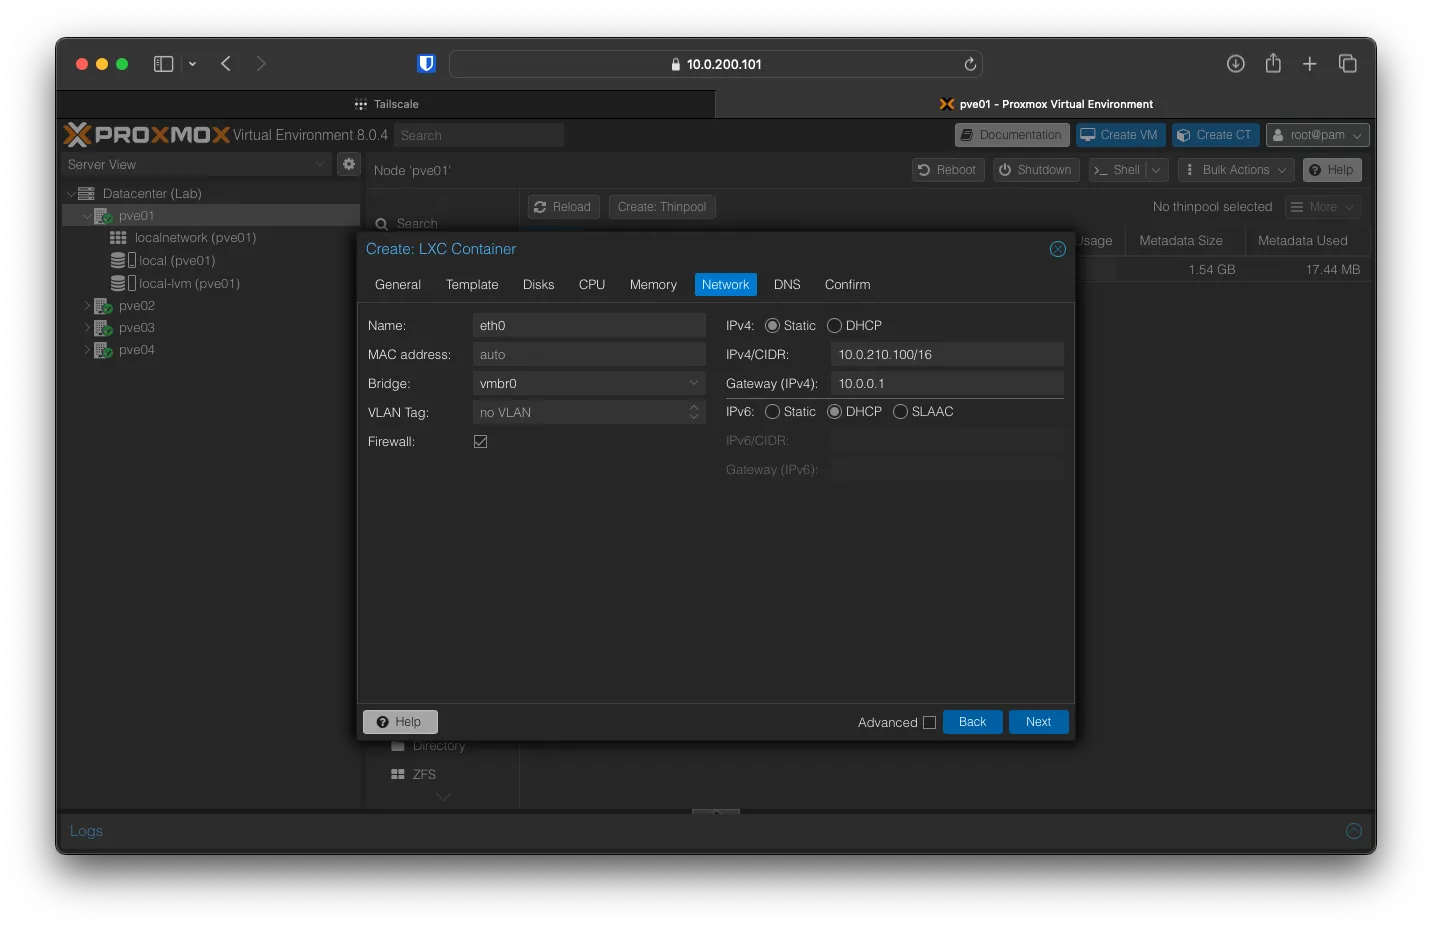
I plan to set Networking to use a static IP part of the 10.0.210.xxx subnet. Click Next after entering your settings.
Keep DNS the same as the host.

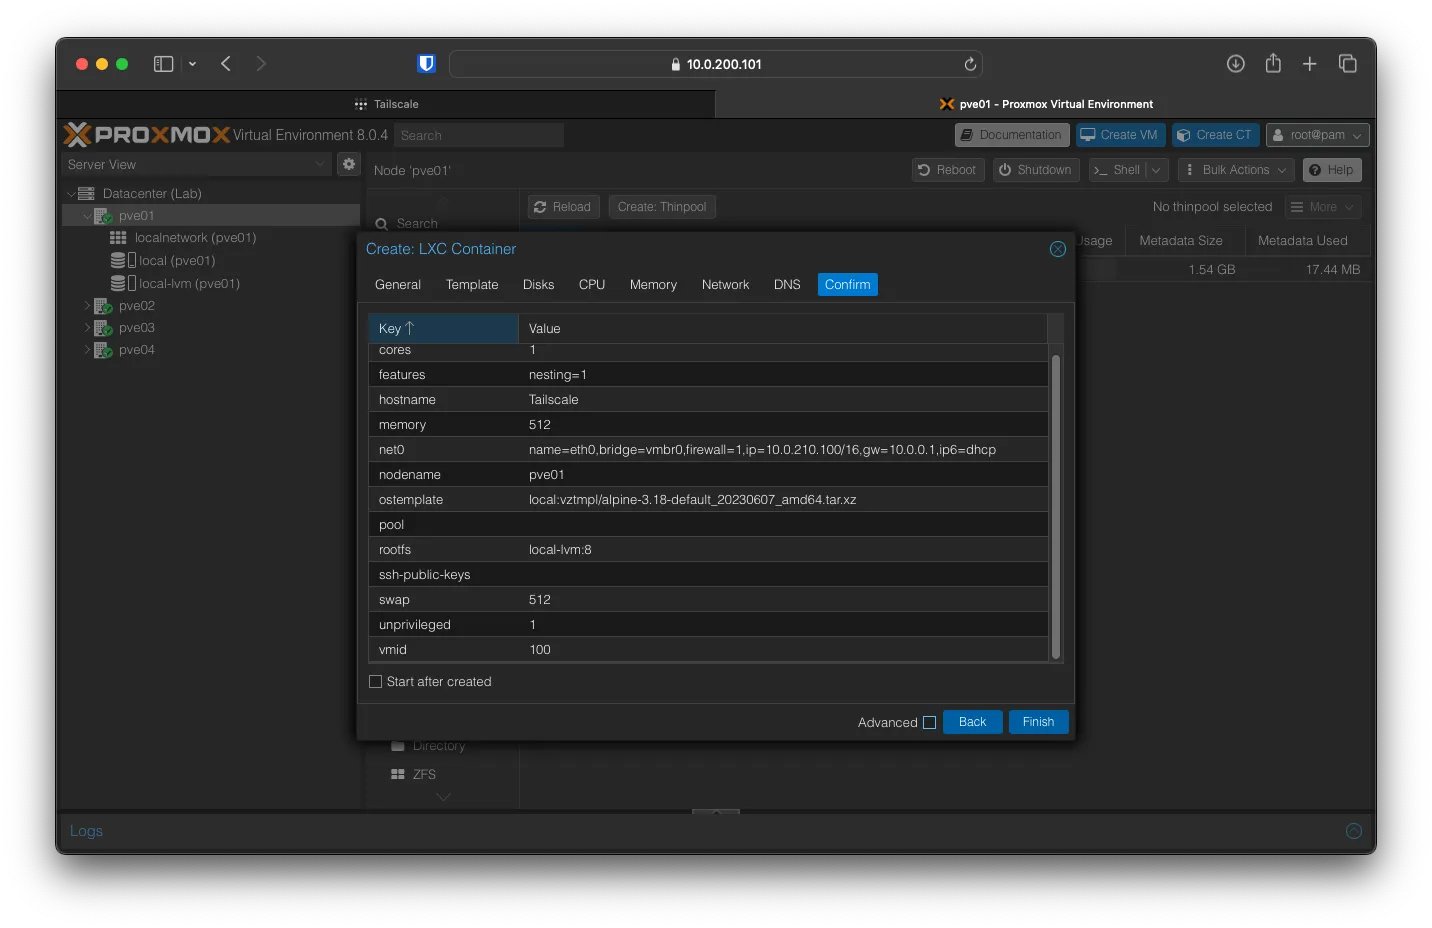
On the confirmation page, check to see if all the settings are correct, then click on Finish.
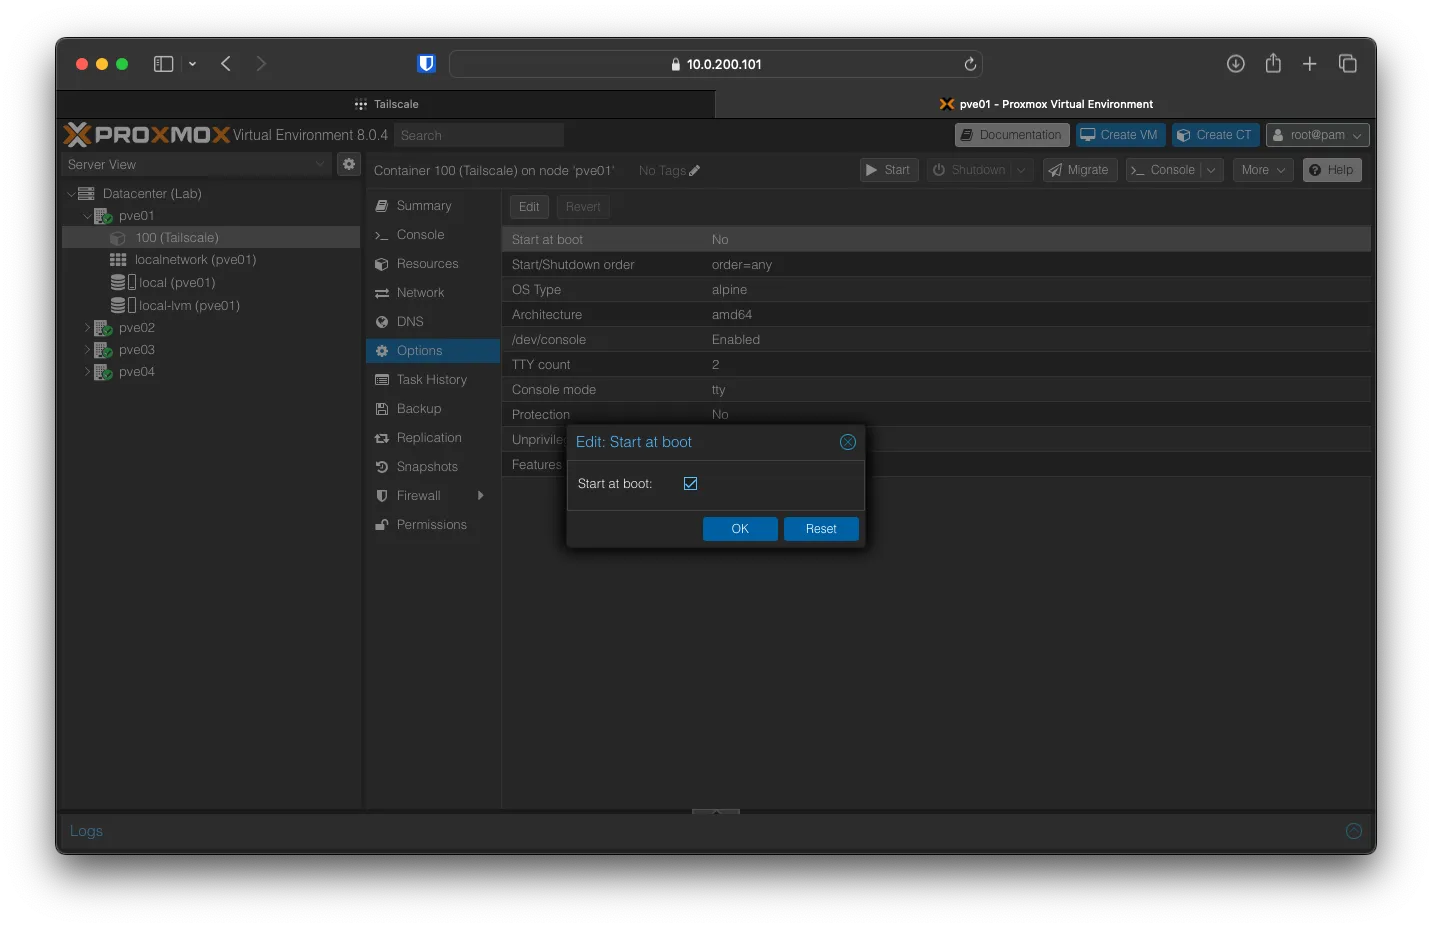
Navigate to the VM; we will change one setting under Options and enable Start at boot.
Adding Tun folder redirect for Unprivileged LXC
Before installing Tailscale, we must pass the dev/tun device from the host to the unprivileged LXC. To do that, open a shell to pve01 and navigate to the config file for the tailscale LXC. In my case, its /etc/pve/lxc/100.conf
nano /etc/pve/lxc/100.confEdit the file and add these two lines at the end
lxc.cgroup2.devices.allow: c 10:200 rwm
lxc.mount.entry: /dev/net/tun dev/net/tun none bind,create=file
Save the file, and you can close the pve01 console.
Installing Tailscale
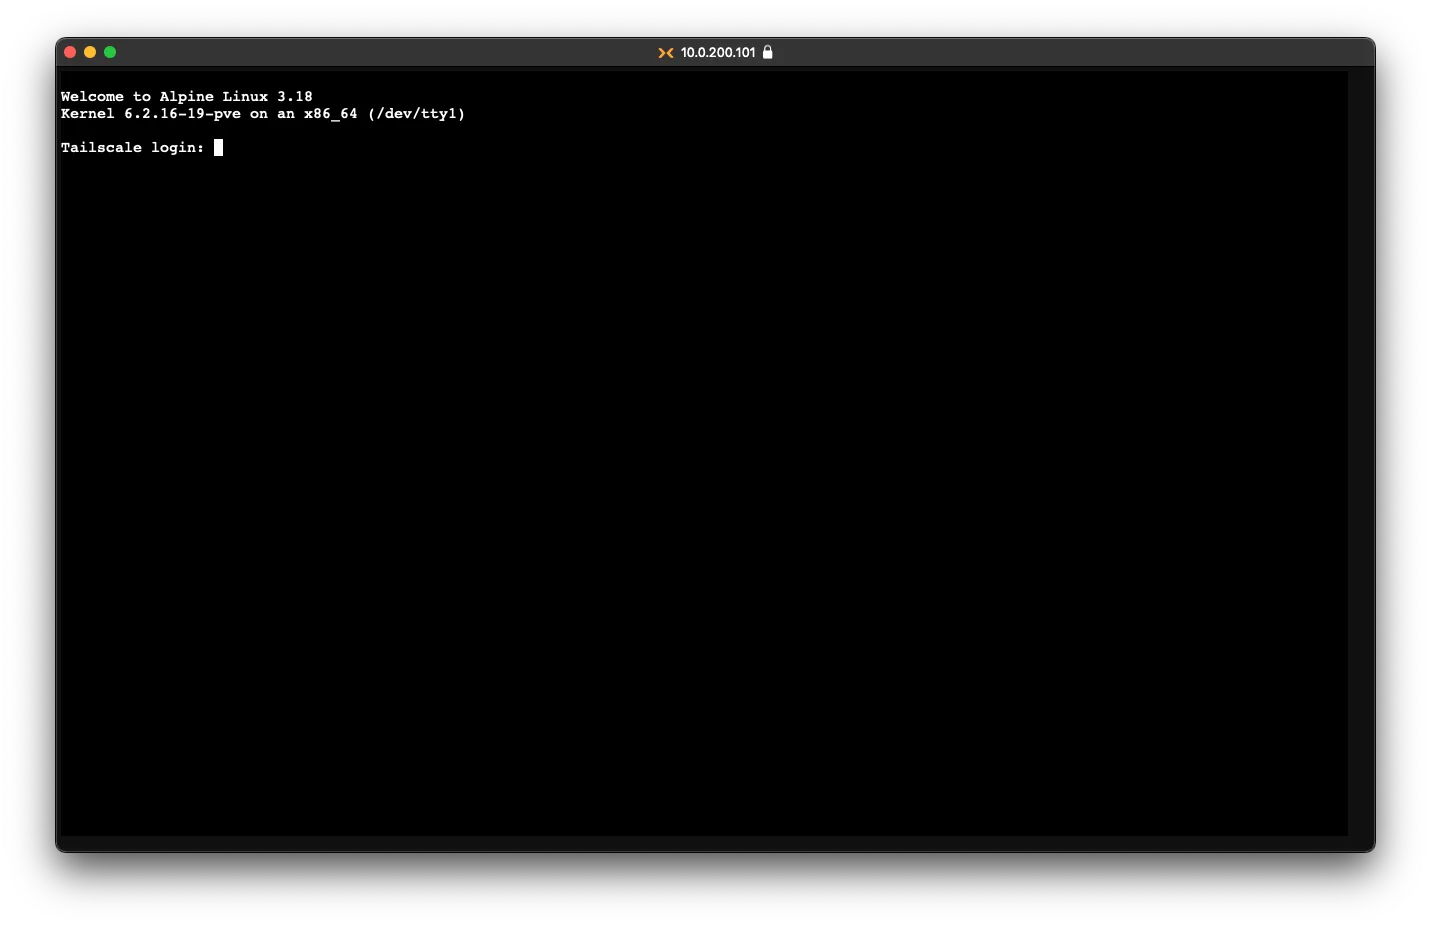
Click on Console and open xterm.js. Click Start to boot the VM; then login with root as the username and password you set.
The first step with Alpine is to update the VM and install tailscale. Run apk update
Tailscale:~# apk update
fetch https://dl-cdn.alpinelinux.org/alpine/v3.18/main/x86_64/APKINDEX.tar.gz
fetch https://dl-cdn.alpinelinux.org/alpine/v3.18/community/x86_64/APKINDEX.tar.gz
v3.18.4-143-g49b05c32c4f [https://dl-cdn.alpinelinux.org/alpine/v3.18/main]
v3.18.4-150-g1bd4c2055ff [https://dl-cdn.alpinelinux.org/alpine/v3.18/community]
OK: 20083 distinct packages available
Tailscale:~#
after that, run apk upgrade
Tailscale:~# apk upgrade
(1/14) Upgrading musl (1.2.4-r0 -> 1.2.4-r2)
(2/14) Upgrading busybox (1.36.1-r0 -> 1.36.1-r4)
Executing busybox-1.36.1-r4.post-upgrade
(3/14) Upgrading busybox-binsh (1.36.1-r0 -> 1.36.1-r4)
(4/14) Upgrading openrc (0.47.1-r0 -> 0.48-r0)
Executing openrc-0.48-r0.post-upgrade
(5/14) Upgrading busybox-mdev-openrc (1.36.1-r0 -> 1.36.1-r4)
(6/14) Upgrading alpine-conf (3.16.1-r1 -> 3.16.2-r0)
(7/14) Upgrading alpine-release (3.18.0-r0 -> 3.18.4-r0)
(8/14) Upgrading libcrypto3 (3.1.1-r1 -> 3.1.4-r0)
(9/14) Upgrading libssl3 (3.1.1-r1 -> 3.1.4-r0)
(10/14) Upgrading ssl_client (1.36.1-r0 -> 1.36.1-r4)
(11/14) Upgrading busybox-openrc (1.36.1-r0 -> 1.36.1-r4)
(12/14) Upgrading busybox-suid (1.36.1-r0 -> 1.36.1-r4)
(13/14) Upgrading musl-utils (1.2.4-r0 -> 1.2.4-r2)
(14/14) Upgrading alpine-base (3.18.0-r0 -> 3.18.4-r0)
Executing busybox-1.36.1-r4.trigger
OK: 10 MiB in 30 packages
Tailscale:~#
To install tailscale, run the following command: apk add tailscale. If you try running tailscale up, it will error out, saying it’s not running
Tailscale:~# tailscale up
failed to connect to the local tailscale; it doesn't appear to be running
Tailscale:~#
to fix that, run the command below to add tailscale to OpenRC
rc-update add tailscale
rc-service tailscale start
The output will look like this
Tailscale:~# rc-update add tailscale
 * service tailscale added to runlevel default
Tailscale:~# rc-service tailscale start
 * Caching service dependencies ... [ ok ]
 * /var/log/tailscaled.log: creating file
 * Starting tailscaled ... [ ok ]
Tailscale:~#
After that, you can authenticate to tailscale with tailscale up
Tailscale:~# tailscale up

To authenticate, visit:

        https://login.tailscale.com/a/XXXXXXXX
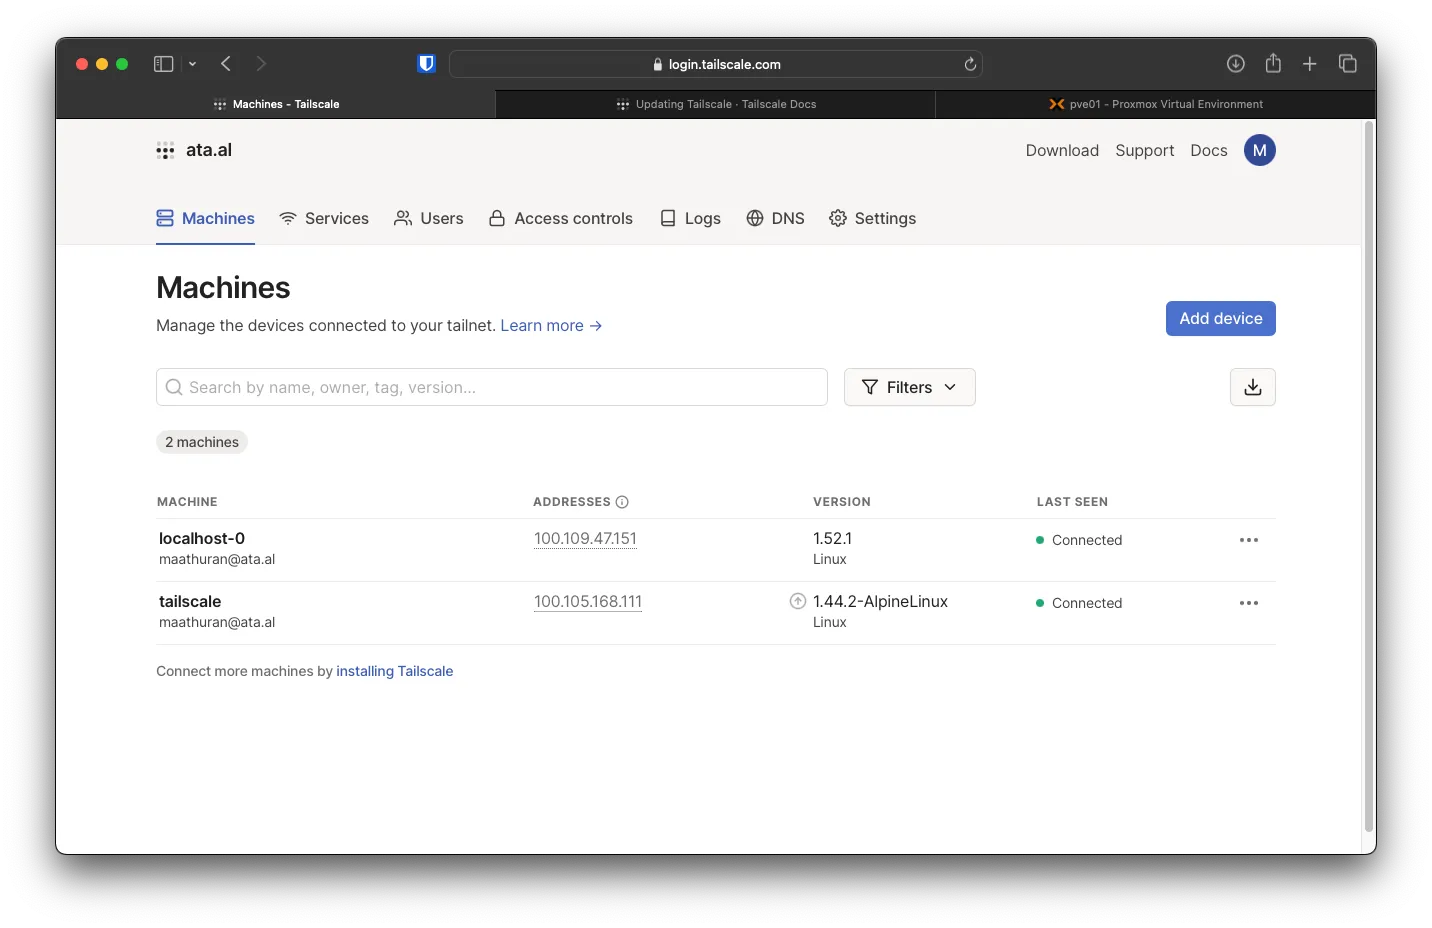
Authenticate the same way as above. After that, on your tailscale dashboard, you will see two devices.
Enabling Subnet routing on Tailscale
To forward traffic correctly between the Edge VM and our internal lab, we must enable Subnet Routing. On the Alpine container, run the following commands to enable IPv4 and IPv6 forwarding
echo 'net.ipv4.ip_forward = 1' | tee -a /etc/sysctl.d/99-tailscale.conf
echo 'net.ipv6.conf.all.forwarding = 1' | tee -a /etc/sysctl.d/99-tailscale.conf
sysctl -p /etc/sysctl.d/99-tailscale.conf
The output will be like
Tailscale:~# echo 'net.ipv4.ip_forward = 1' | tee -a /etc/sysctl.d/99-tailscale.conf
net.ipv4.ip_forward = 1
Tailscale:~# echo 'net.ipv6.conf.all.forwarding = 1' | tee -a /etc/sysctl.d/99-tailscale.conf
net.ipv6.conf.all.forwarding = 1
sysctl -p /etTailscale:~# sysctl -p /etc/sysctl.d/99-tailscale.conf
net.ipv4.ip_forward = 1
net.ipv6.conf.all.forwarding = 1
Tailscale:~#
After that, rerun tailscale as follows: tailscale up --advertise-routes=10.0.200.0/24. This will forward the .200 subnet (Proxmox management interface).
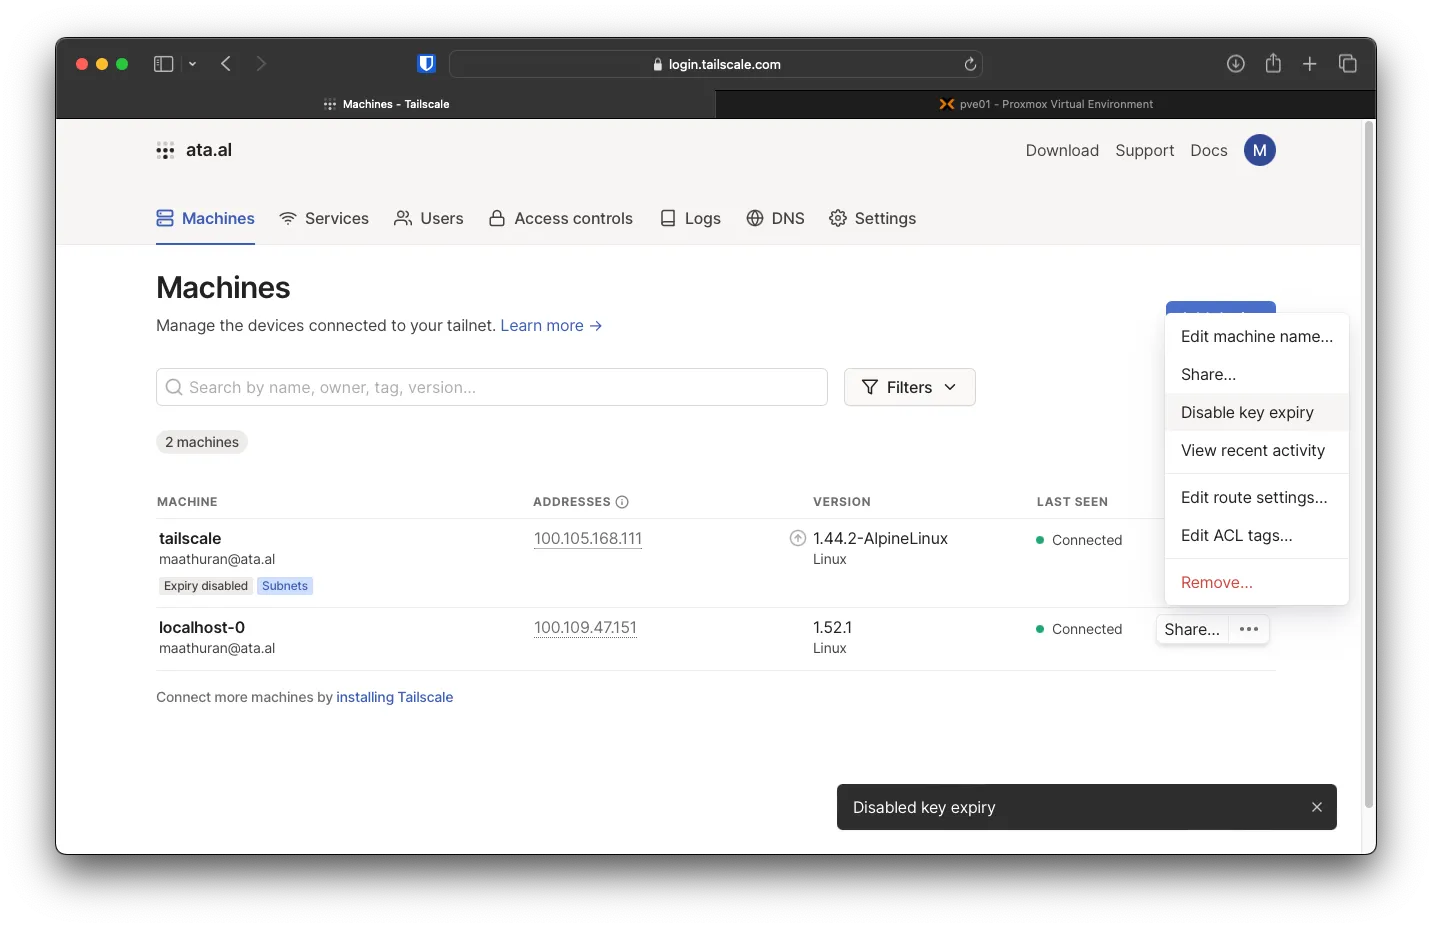
On the Web console of Tailscale, you will need to accept the new subnet routes under ... -> Edit Route setting -> and enable the new Subnet routes.
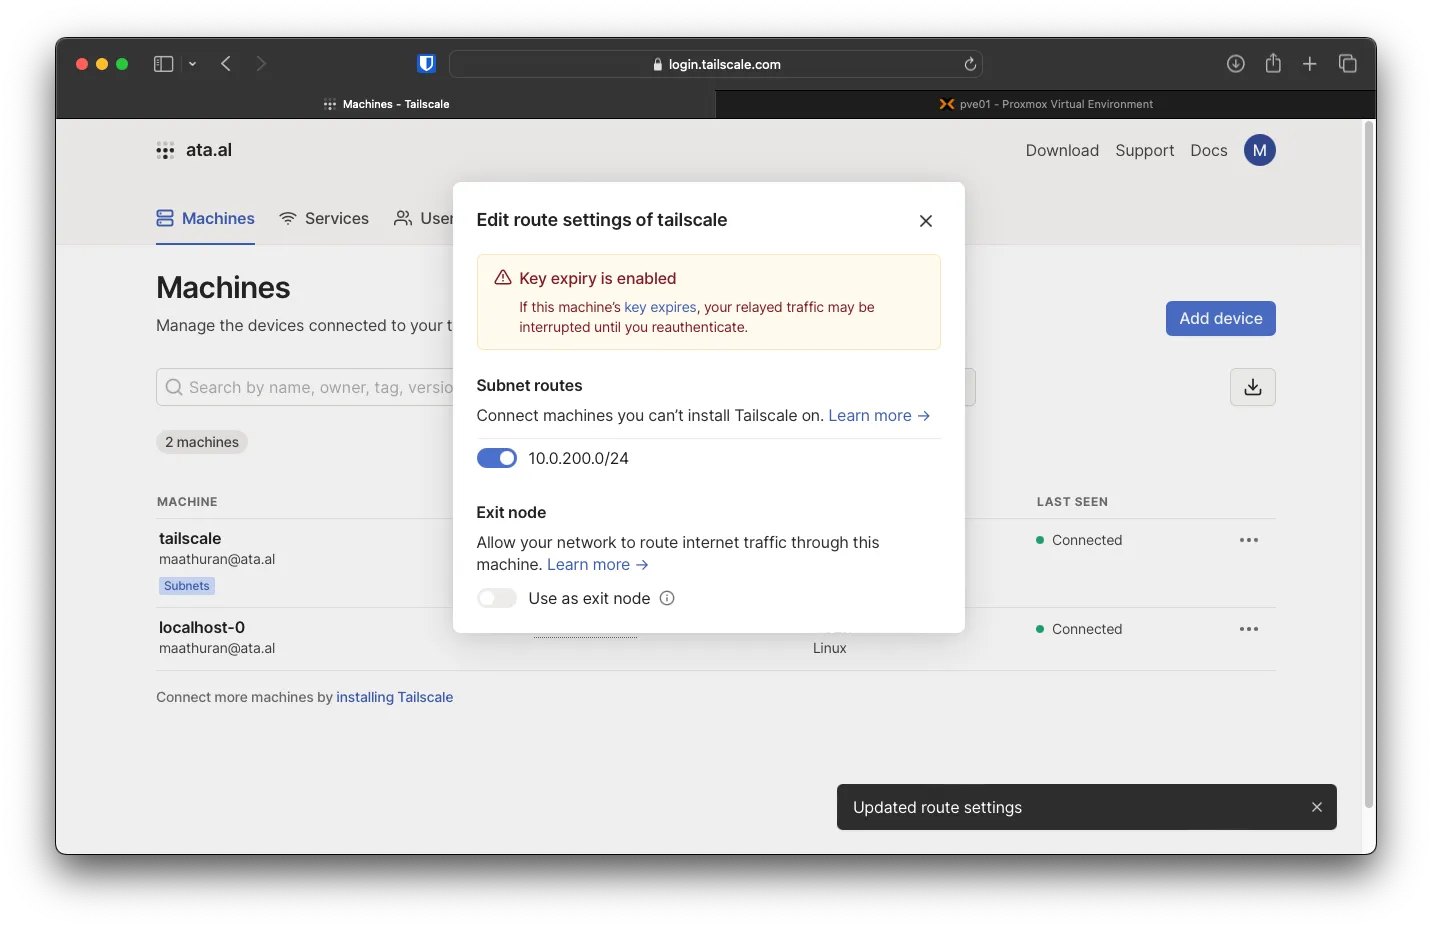
Another setting that will need to be changed is to disable Key Exipiry for both devices
Run tailscale up -accept-routes on the Edge VM to allow subnet routing.
Now, you should be able to ping one of the Proxmox hosts from the Edge VM.
root@localhost:~# tailscale up --accept-routes
root@localhost:~# ping 10.0.200.101
PING 10.0.200.101 (10.0.200.101) 56(84) bytes of data.
64 bytes from 10.0.200.101: icmp_seq=1 ttl=62 time=160 ms
64 bytes from 10.0.200.101: icmp_seq=2 ttl=63 time=32.2 ms
64 bytes from 10.0.200.101: icmp_seq=3 ttl=63 time=31.4 ms
64 bytes from 10.0.200.101: icmp_seq=4 ttl=63 time=34.9 ms
64 bytes from 10.0.200.101: icmp_seq=5 ttl=63 time=34.4 ms
^C
--- 10.0.200.101 ping statistics ---
5 packets transmitted, 5 received, 0% packet loss, time 4005ms
rtt min/avg/max/mdev = 31.352/58.642/160.339/50.865 ms
root@localhost:~#