Introduction
After setting up BGP Peering on IPv6 and the Anycast Network for IPv4, we will use Caddy to utilize both.
Adding the BGP IPV6 to Loopback
After setting up the BGP session, you will find out that the route goes nowhere after it is established. To properly use it, we will need to map it to the Loopback interface.
Use the following command to add it
ip addr add 2a06:9f81:3200::/48 dev lo label lo:40Fixing IPV6 Connectivity
If you try to ping any IPV6 Address, it will fail because the VM is trying to use the BGP session to route the pings. We will need to add two more lines to the Pathvector configuration to fix that.
default-route: false
accept-default: true
It will look like this
asn: 215755
merge-paths: true
router-id: "199.195.249.106"
default-route: false
accept-default: true
prefixes:
  - "2a06:9f81:3200::/48"
...
You should be able to use ping6, and it will work
root@localhost:~# ping6 google.com
PING google.com(yyz12s08-in-x0e.1e100.net (2607:f8b0:400b:803::200e)) 56 data bytes
64 bytes from yyz12s08-in-x0e.1e100.net (2607:f8b0:400b:803::200e): icmp_seq=1 ttl=117 time=13.2 ms
64 bytes from yyz12s08-in-x0e.1e100.net (2607:f8b0:400b:803::200e): icmp_seq=2 ttl=117 time=13.2 ms
64 bytes from yyz12s08-in-x0e.1e100.net (2607:f8b0:400b:803::200e): icmp_seq=3 ttl=117 time=13.2 ms
64 bytes from yyz12s08-in-x0e.1e100.net (2607:f8b0:400b:803::200e): icmp_seq=4 ttl=117 time=13.3 ms
^C
--- google.com ping statistics ---
4 packets transmitted, 4 received, 0% packet loss, time 3005ms
rtt min/avg/max/mdev = 13.155/13.217/13.253/0.037 ms
Cloudflare Setup
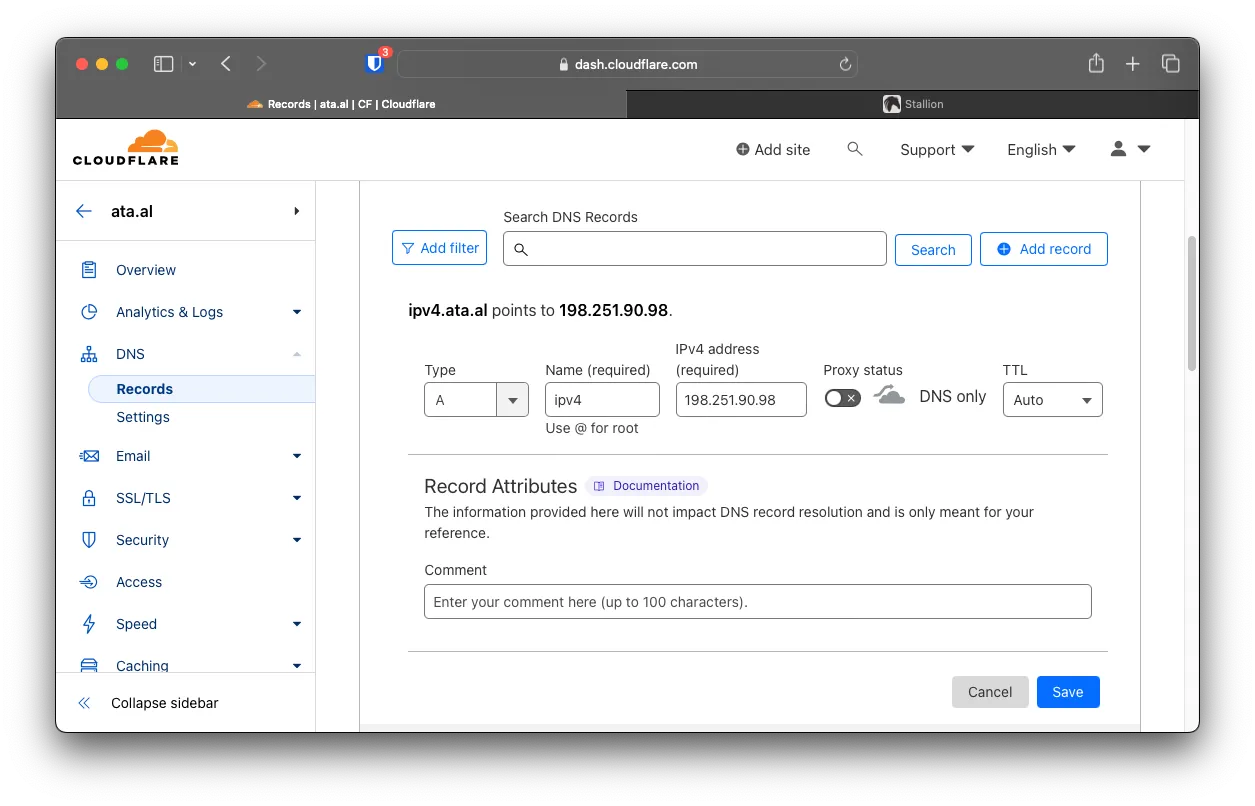
Log in to Cloudflare and go to add a new A record; fill it out with the Anycast IP from BuyVM.
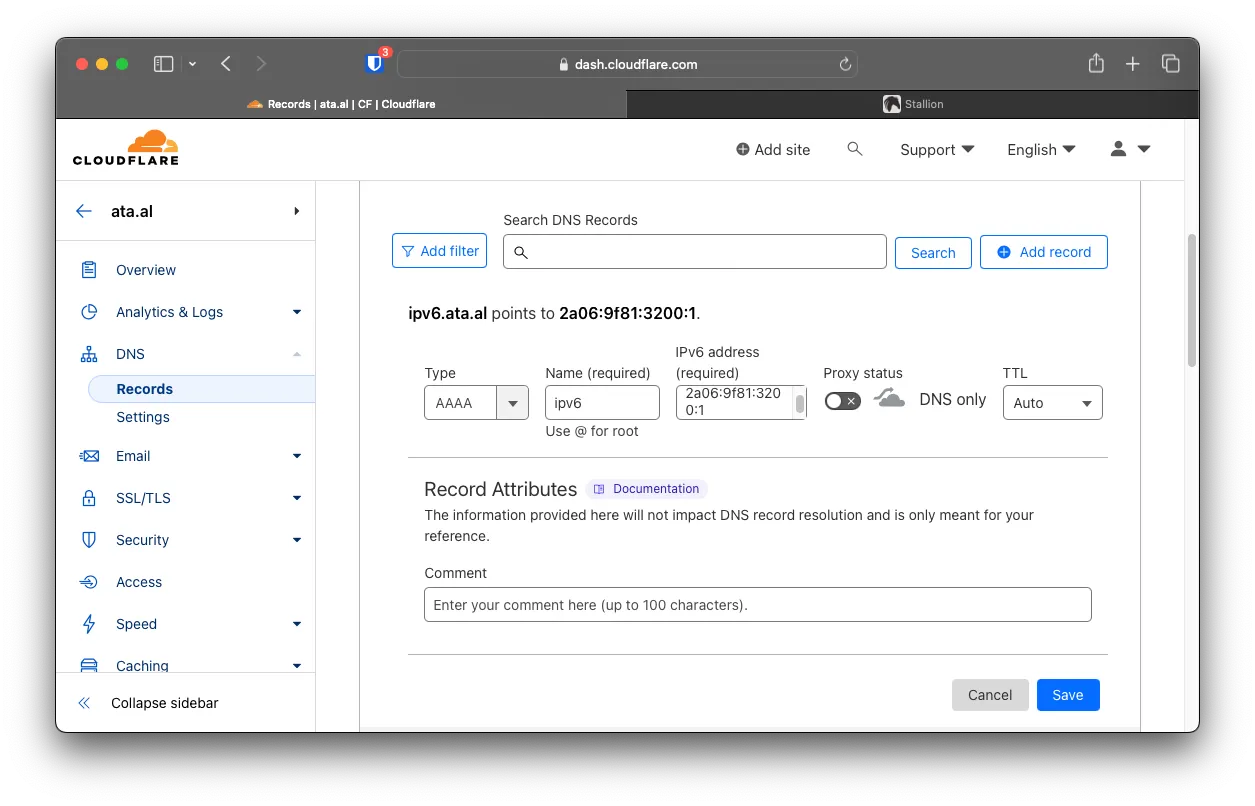
Create another record, but this time an AAAA, and use your BGP IPv6 Address
Caddy
Installing Caddy
Use the following commands to add and install Caddy onto the VM
apt install -y debian-keyring debian-archive-keyring apt-transport-https curl gpg
curl -1sLf 'https://dl.cloudsmith.io/public/caddy/stable/gpg.key' | gpg --dearmor -o /usr/share/keyrings/caddy-stable-archive-keyring.gpg
curl -1sLf 'https://dl.cloudsmith.io/public/caddy/stable/debian.deb.txt' | tee /etc/apt/sources.list.d/caddy-stable.list
apt update
apt install caddy
Caddy Config File
Create a new file called config.json with the following
{
  "admin": {
    "listen": "127.0.0.1:2019",
    "config": {
      "persist": true
    }
  },
  "apps": {
    "http": {
      "servers": {
        "srv0": {
          "listen": [
            ":80"
          ],
          "routes": [
            {
              "match": [
                {
                  "host": [
                    "ipv4.ata.al",
                    "ipv6.ata.al"
                  ]
                }
              ],
              "handle": [
                {
                  "handler": "subroute",
                  "routes": [
                    {
                      "handle": [
                        {
                          "handler": "static_response",
                          "body": "Your IP: {http.request.remote.host}\nServer: {system.hostname}"
                        }
                      ]
                    }
                  ]
                }
              ],
              "terminal": true
            }
          ]
        }
      }
    }
  }
}
Adding DNS challenge for Certs
As we are using multiple VMs with the same IP, choosing the right one is a bit challenging when generating Certs. The way around that is using Cloudflare as our DNS and DNS-01.
Adding Cloudflare module
Run caddy add-package github.com/caddy-dns/cloudflare to dynamically add the model to your current caddy installation. you will see the following when installing
root@localhost:~# caddy add-package github.com/caddy-dns/cloudflare
2024/01/18 02:06:54.960 INFO  this executable will be replaced  {"path": "/usr/bin/caddy"}
2024/01/18 02:06:54.961 INFO  requesting build  {"os": "linux", "arch": "amd64", "packages": ["github.com/caddy-dns/cloudflare"]}
2024/01/18 02:06:55.279 INFO  build acquired; backing up current executable {"current_path": "/usr/bin/caddy", "backup_path": "/usr/bin/caddy.tmp"}
2024/01/18 02:06:55.280 INFO  downloading binary  {"destination": "/usr/bin/caddy"}
2024/01/18 02:07:41.741 INFO  download successful; displaying new binary details  {"location": "/usr/bin/caddy"}

Module versions:

dns.providers.cloudflare v0.0.0-20231018222540-737bf003fe8a

  Non-standard modules: 1

  Unknown modules: 0

Version:
v2.7.6 h1:w0NymbG2m9PcvKWsrXO6EEkY9Ru4FJK8uQbYcev1p3A=

2024/01/18 02:07:41.808 INFO  upgrade successful; please restart any running Caddy instances  {"executable": "/usr/bin/caddy"}
Cloudflare API Setup
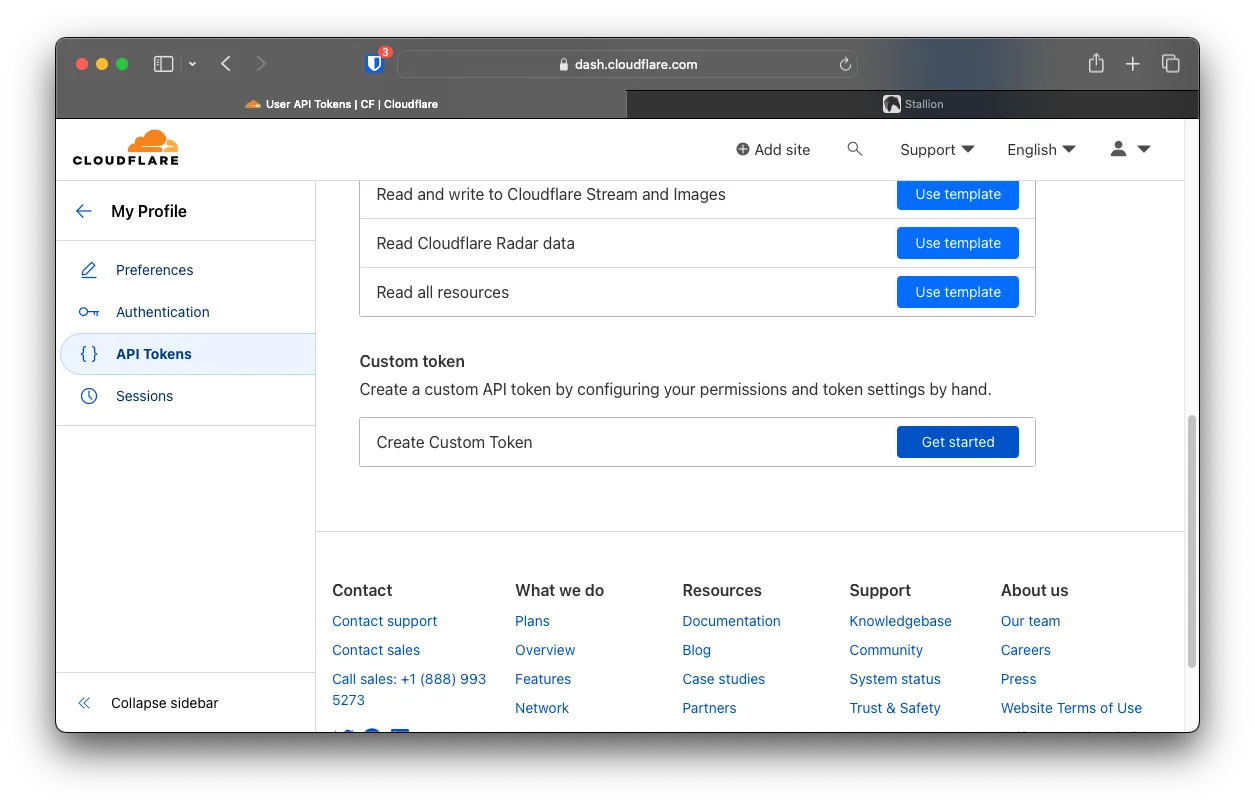
Under Cloudflare, add a new go to your domain and add a new API.
Click Create Token
 Choose
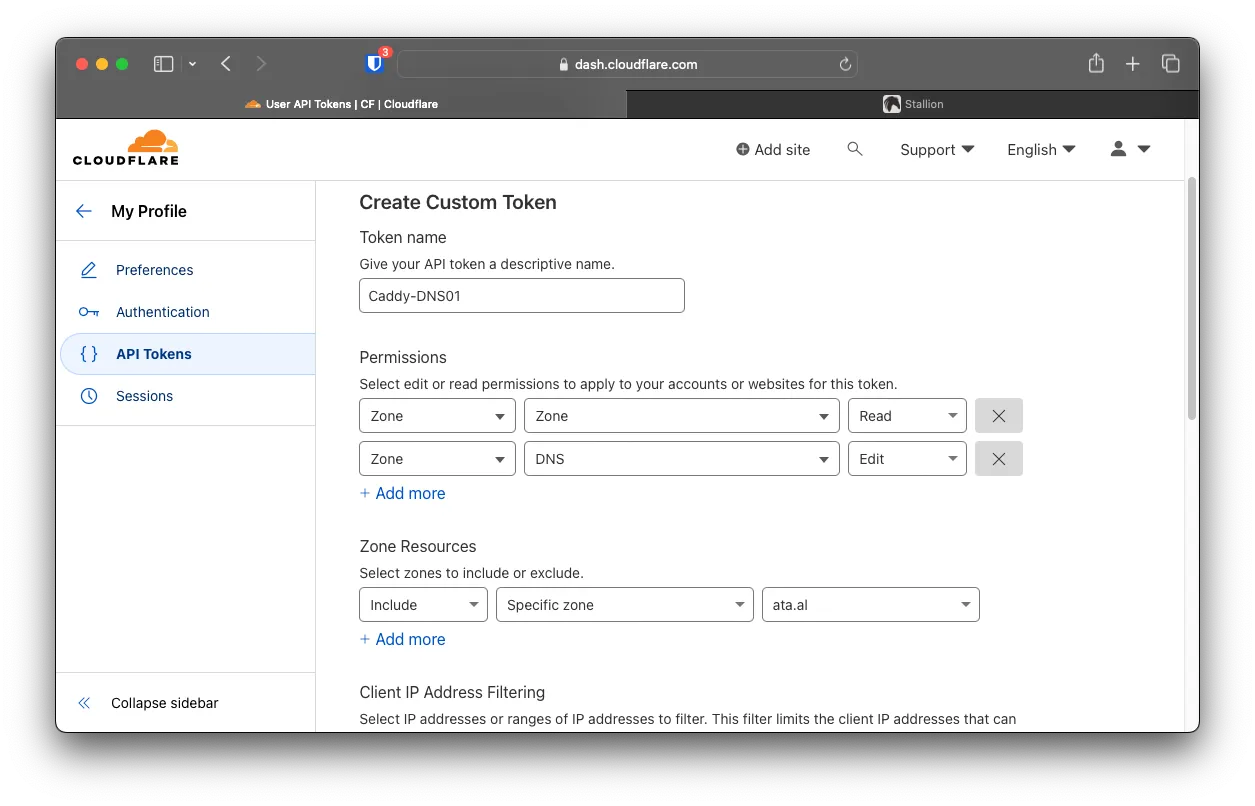
 Create Custom Token
 For the Name, choose anything; make sure to choose
 Zone with Read and DNS with Edit. You can also isolate to only that specific domain
On the VM, to add a new ENV variable, use export CLOUDFLARE_API_TOKEN=xxxxx while replacing xxxxx with your token.
Adding the DNS-01 Challange
Modify the Caddy.json file to include this after "http": {...}
"tls": {
      "automation": {
        "policies": [
          {
            "subjects": [
              "ipv4.ata.al",
              "ipv6.ata.al"
            ],
            "issuers": [
              {
                "challenges": {
                  "dns": {
                    "provider": {
                      "api_token": "{env.CLOUDFLARE_API_TOKEN}",
                      "name": "cloudflare"
                    }
                  }
                },
                "module": "acme"
              },
              {
                "challenges": {
                  "dns": {
                    "provider": {
                      "api_token": "{env.CLOUDFLARE_API_TOKEN}",
                      "name": "cloudflare"
                    }
                  }
                },
                "module": "zerossl"
              }
            ]
          }
        ]
      }
    }
Testing it out
You can visit either ipv4.ata.al or ipv6.ata.al to see the static response of which IP you are connecting from and which Server is responding.