Setting up Active Directry with failover
/ 3 min read
Last Updated:Introduction
With our setup of a Proxmox Cluster, Another tool I would like to learn is Active Directory. To start things off, I will be setting up Windows Server 2022 21H2 on Proxmox and linking it to the domain ata.al
Finalizing Windows Server installer
Setting Hostname
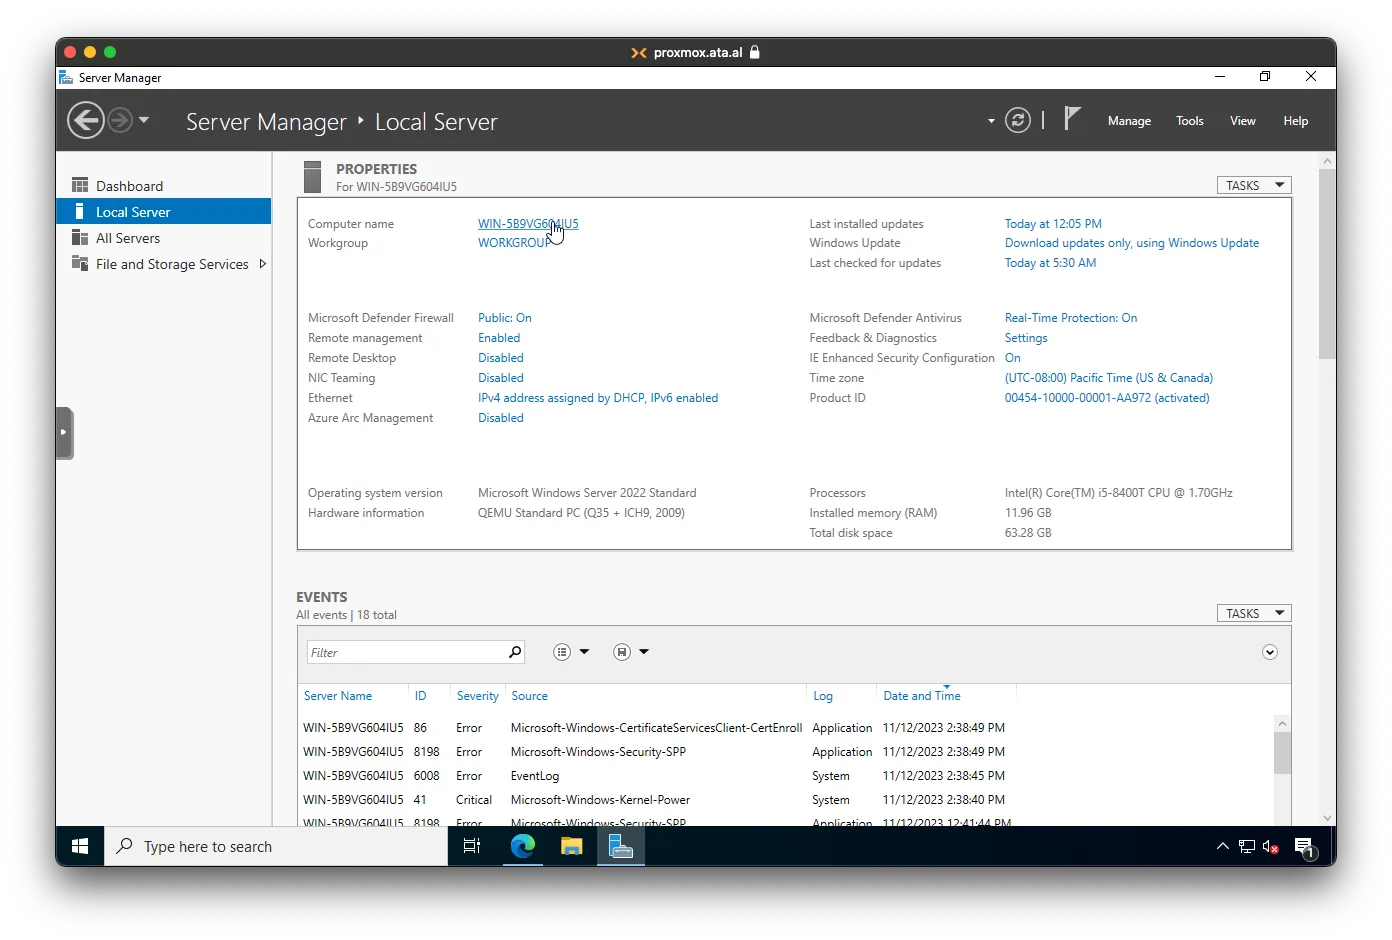
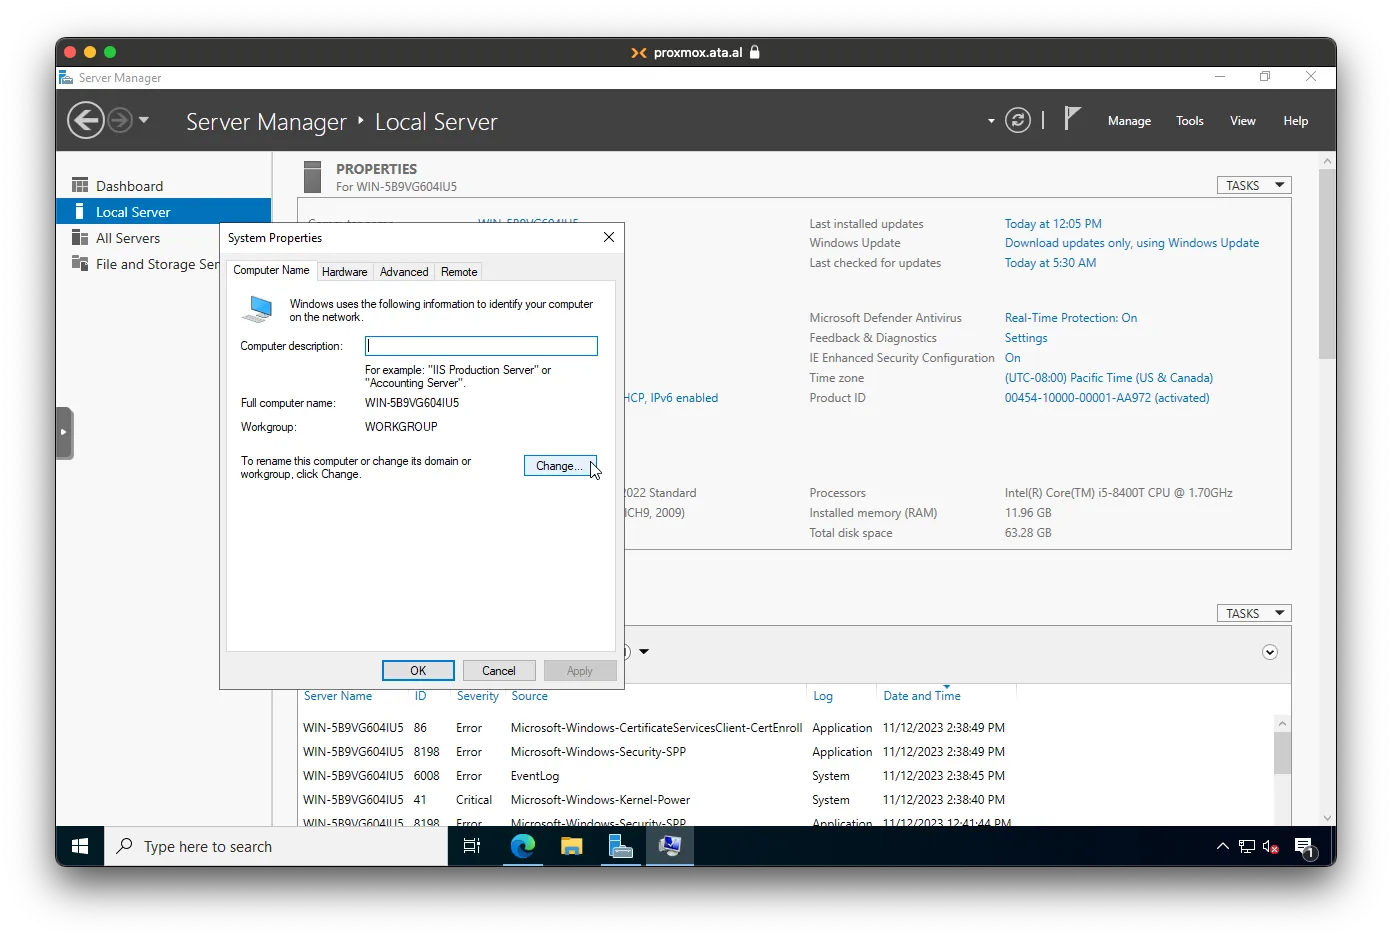
Open Server Manager and click on Local Server.
Click on the Computer name.
Under System Properties click on Change
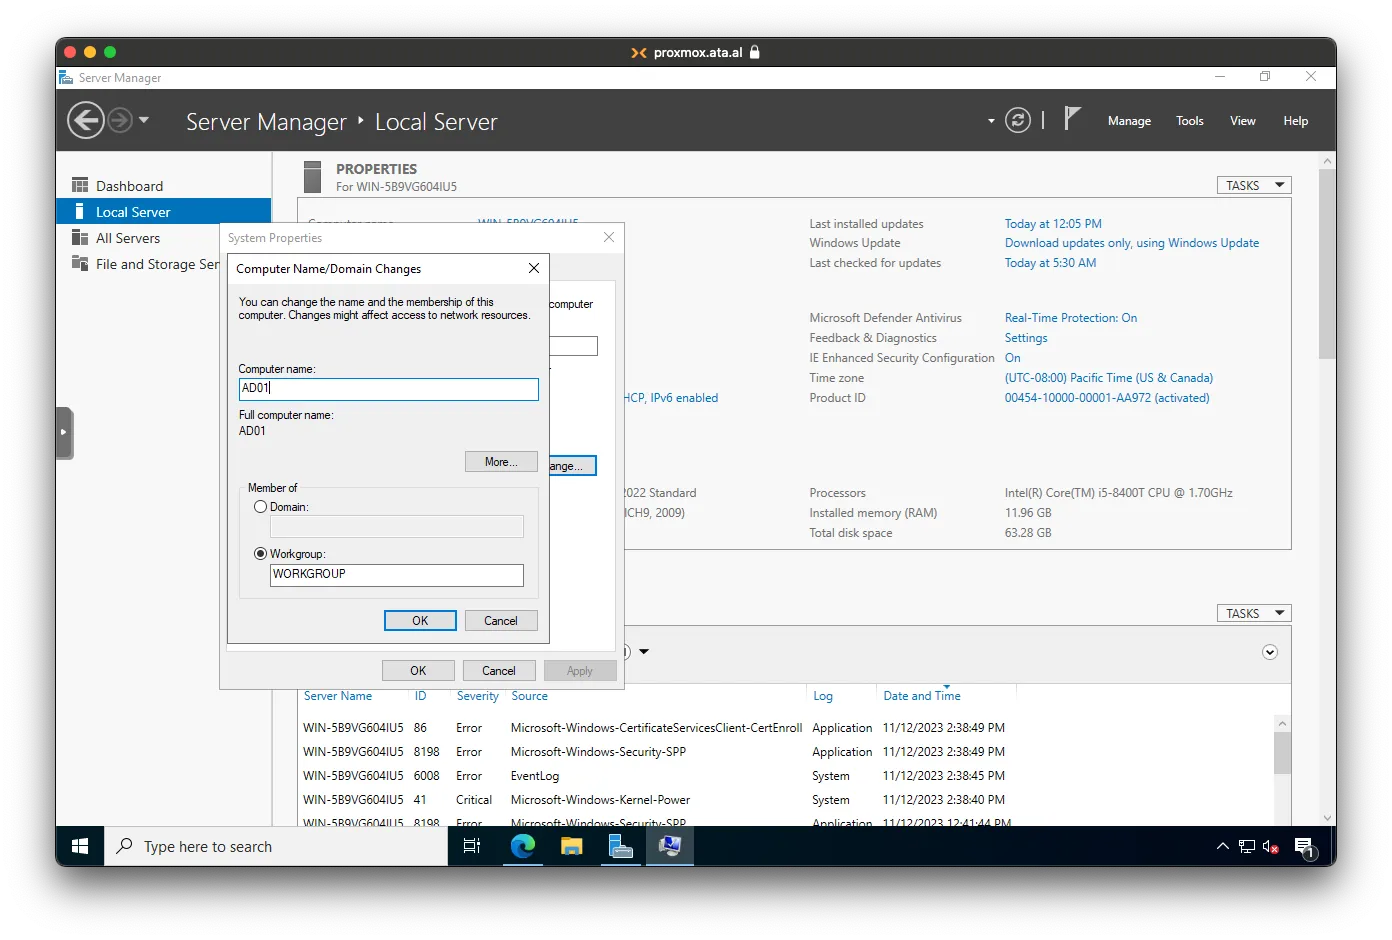
Set the computer name to AD01, then click on OK.
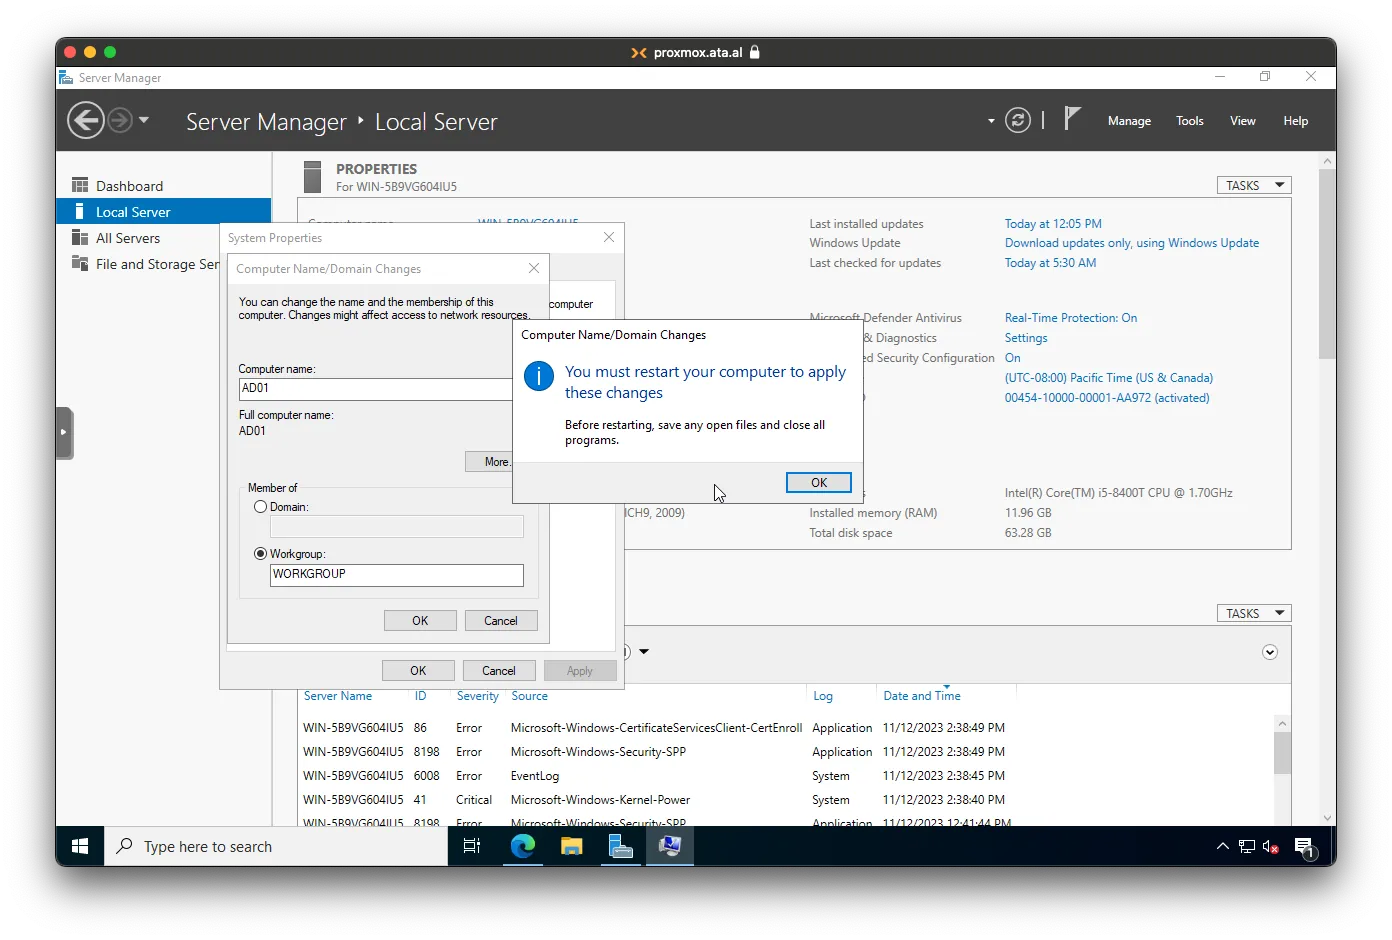
OK again
then Close
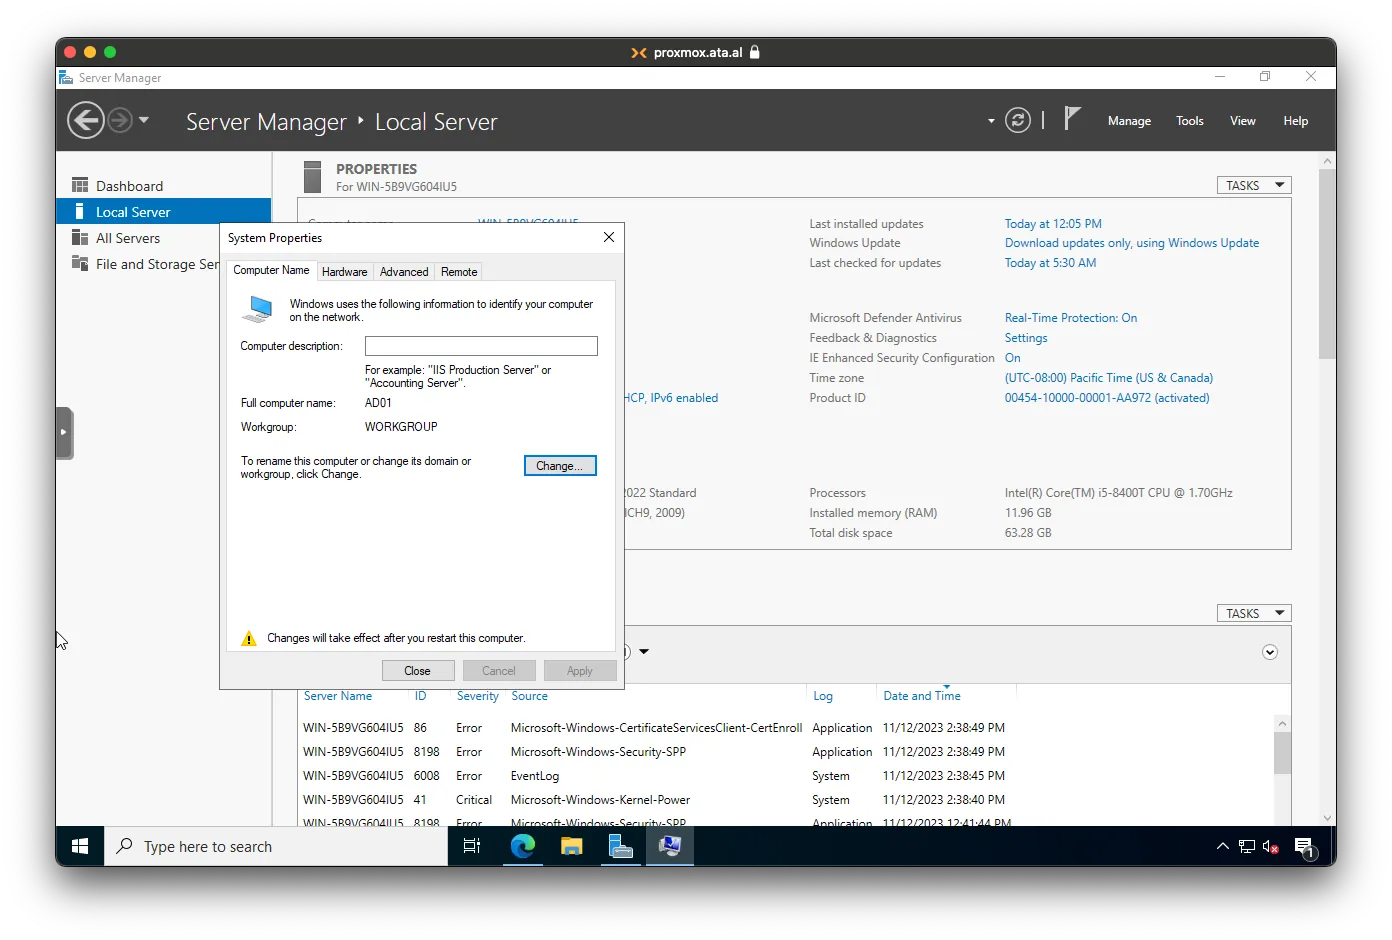
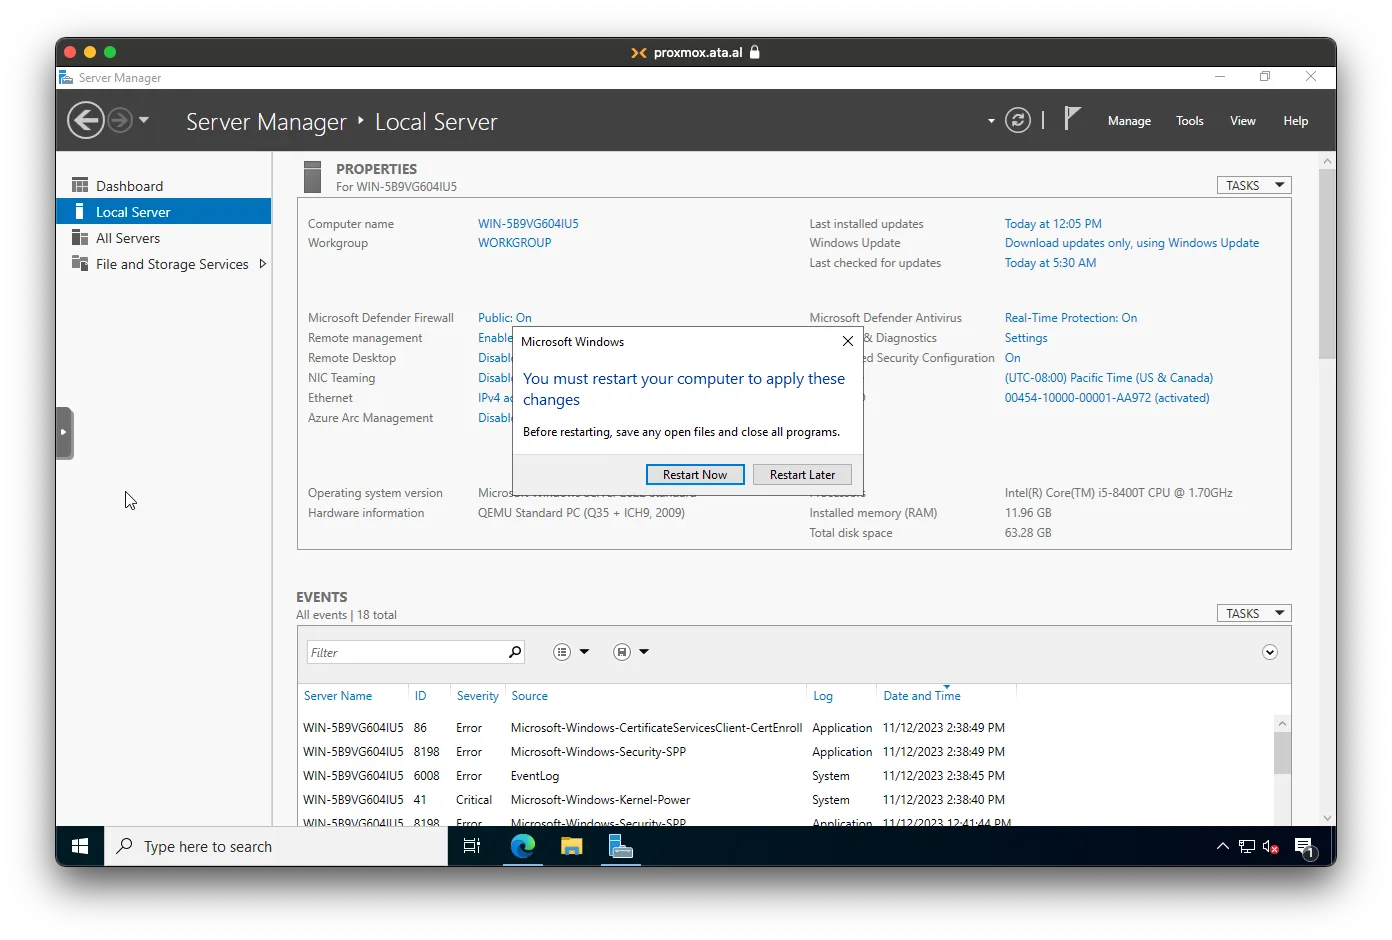
Click Restart Later on the popup
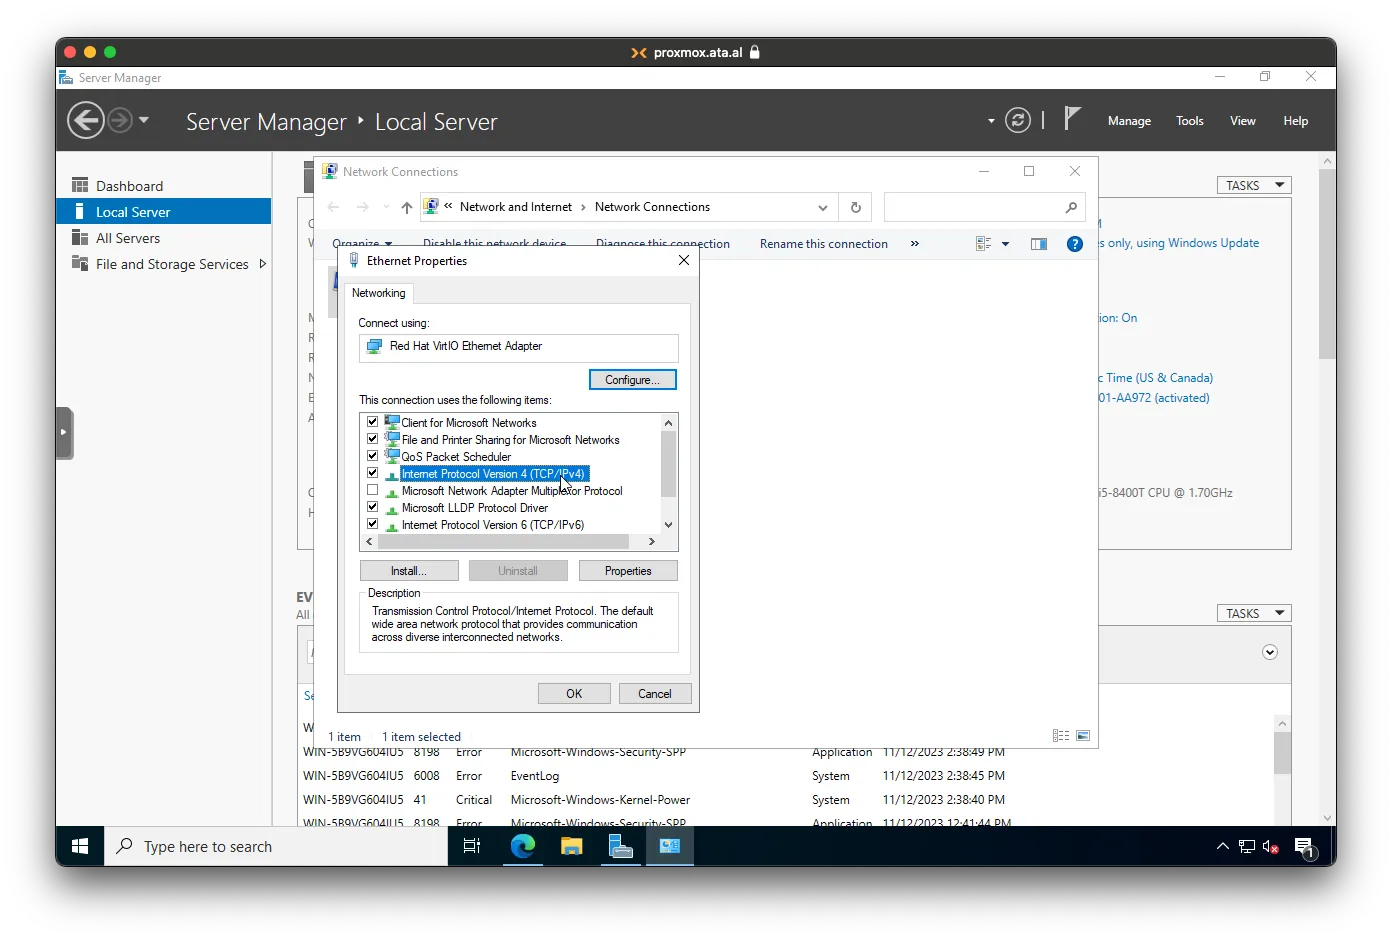
Setting Static IP
Under Ethernet, click on IPv4 address assigned by ...

Right-click the Ethernet adaptor and Properties.

Double click on Internet Protocol Version 4
And set your static values for IP address, Subnet Mask, Default gateway, and DNS servers
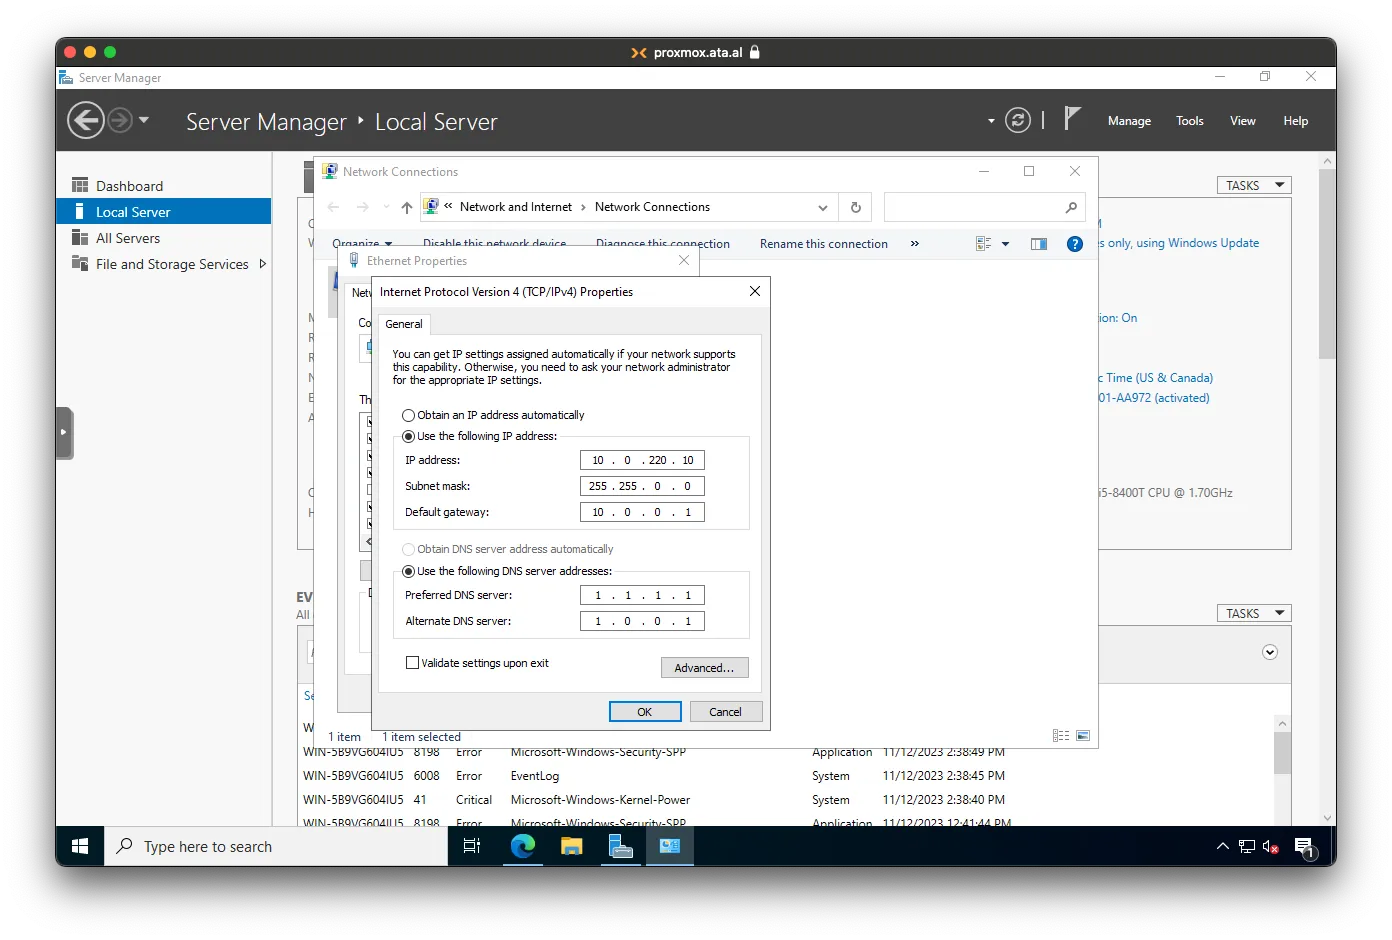
Reboot the server after this setup.
Creating AD
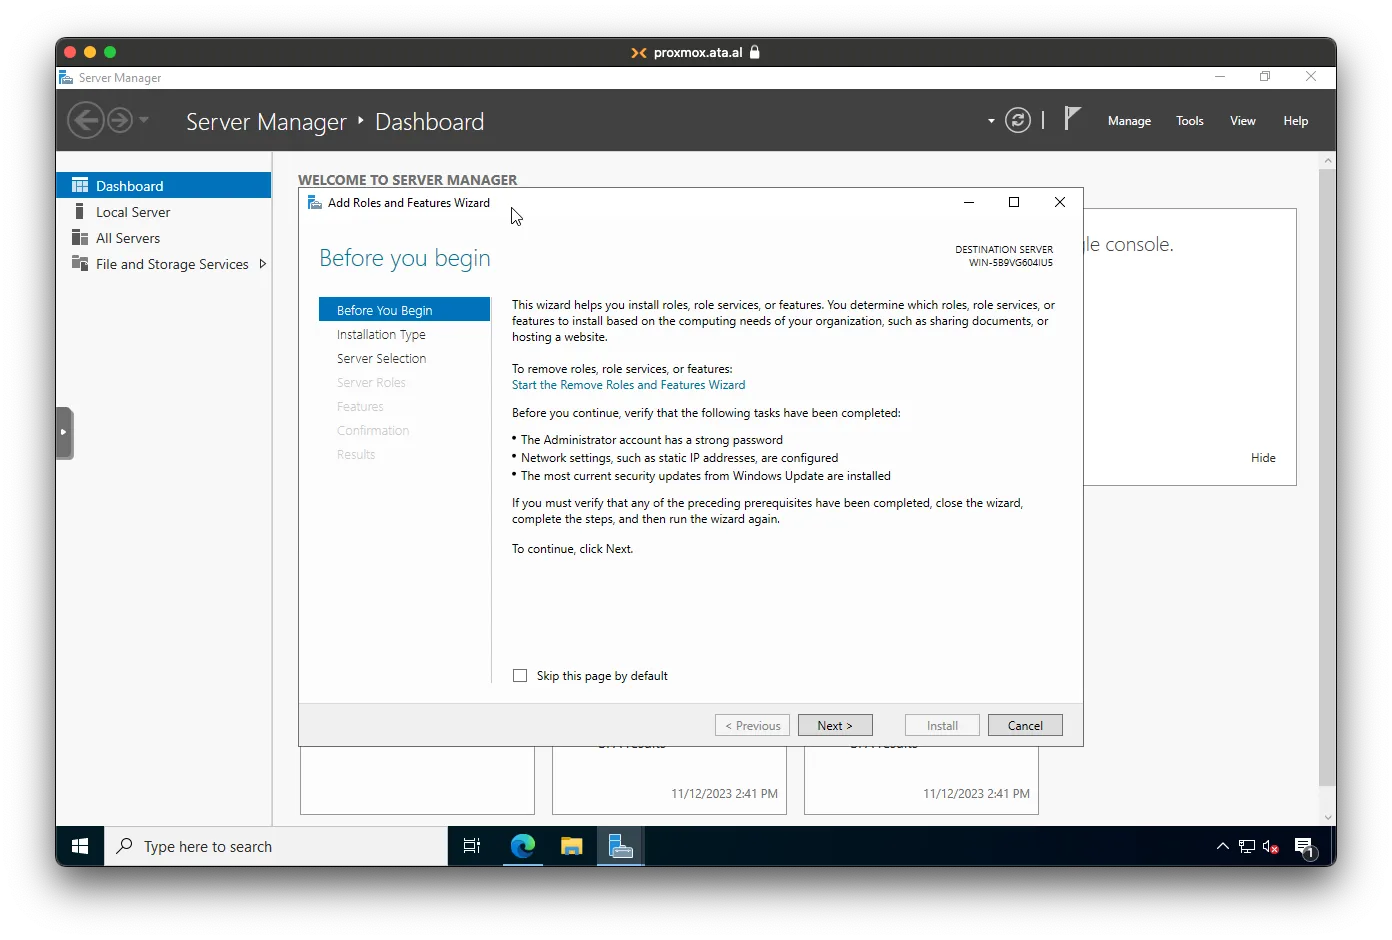
Adding Server Role
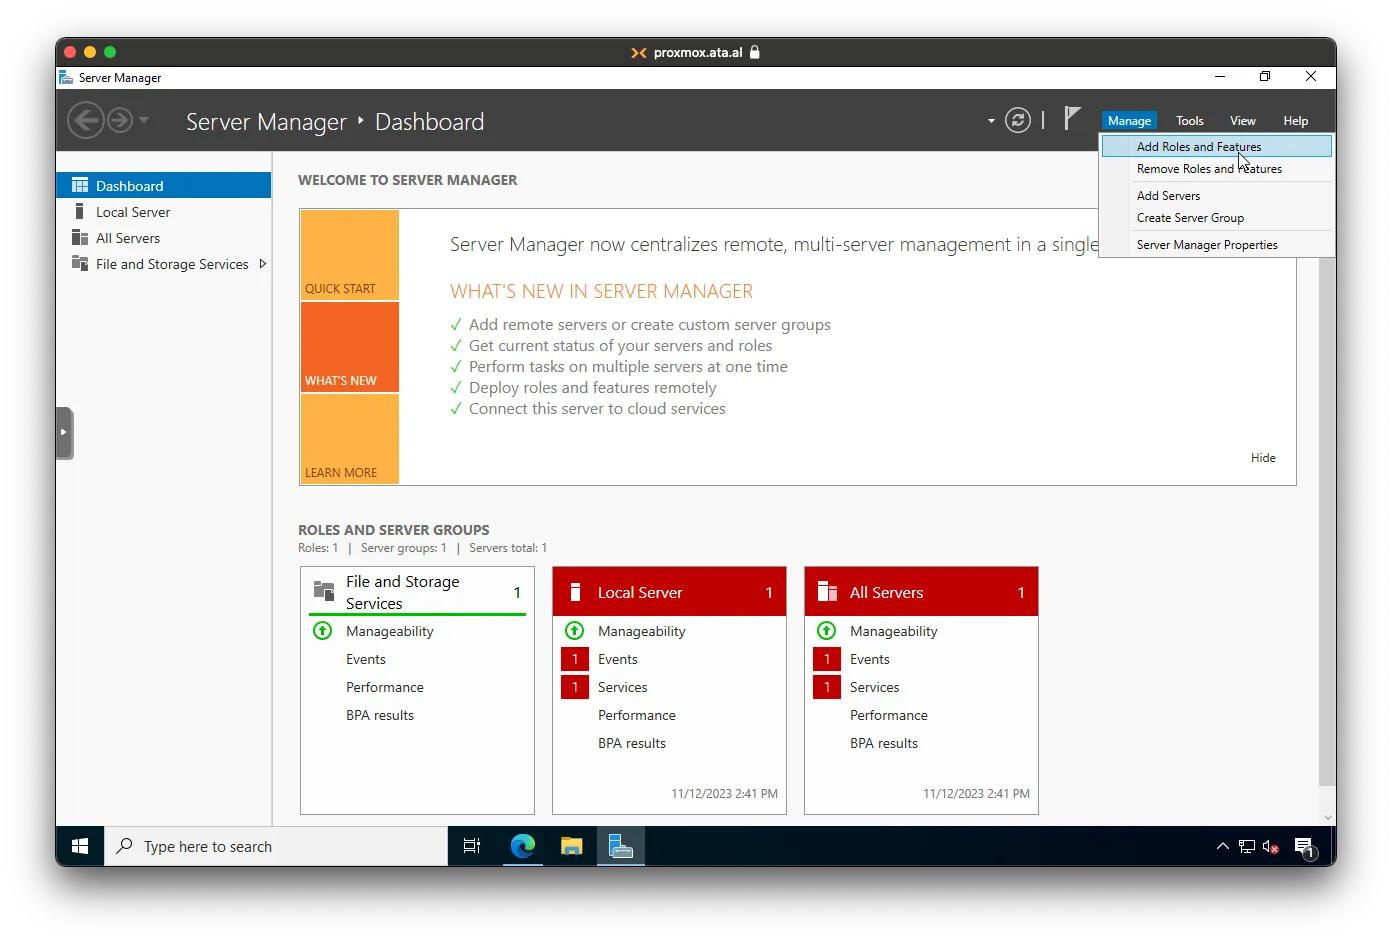
Open Server Manager and click on Manage -> Add Roles and Features
On the new windows, click on Next.
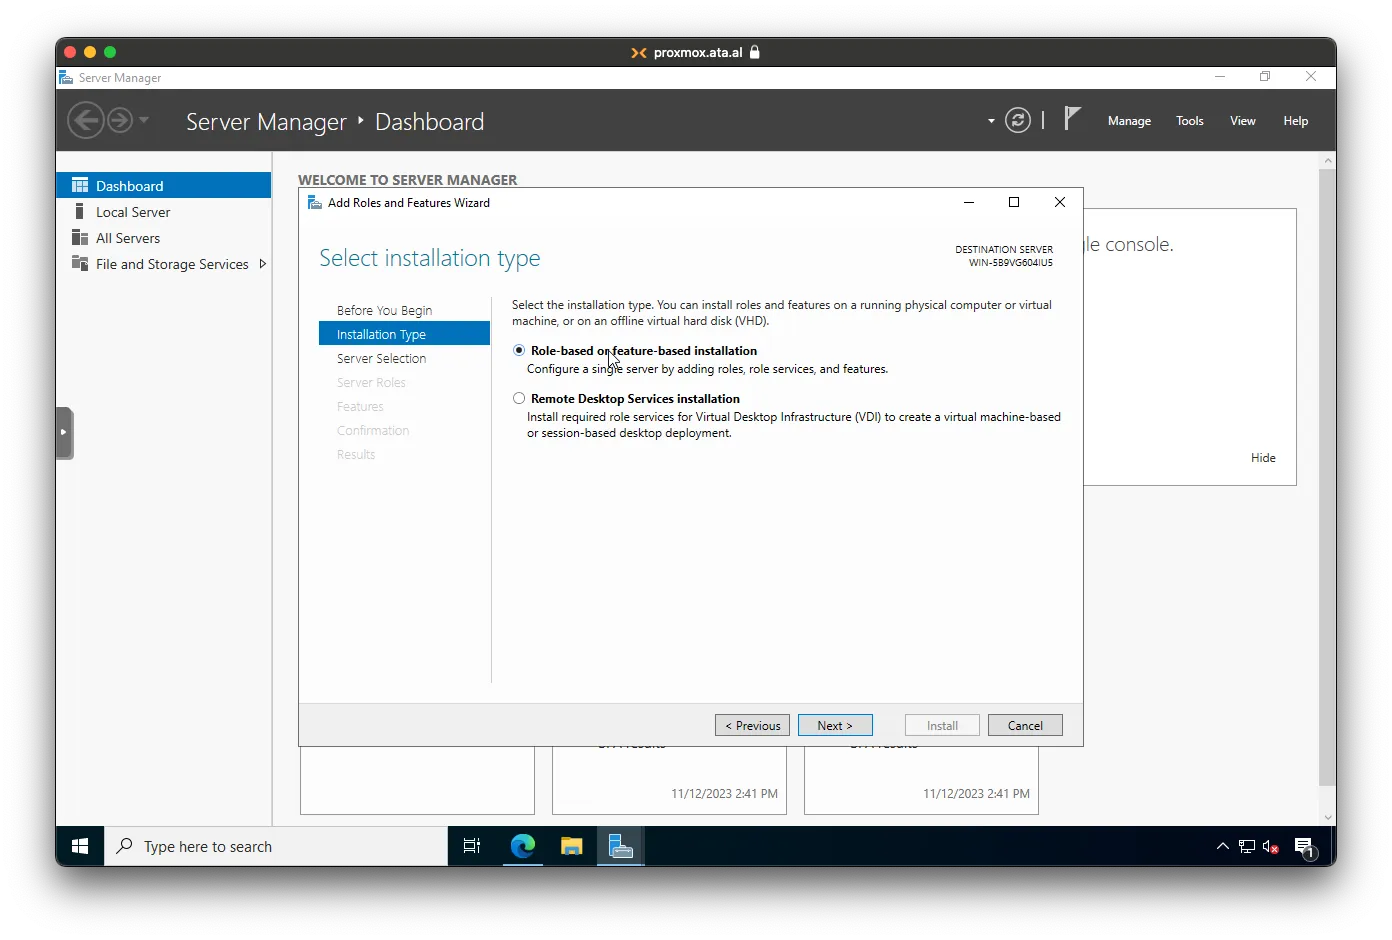
Make sure Role-based or feature-based install is selected
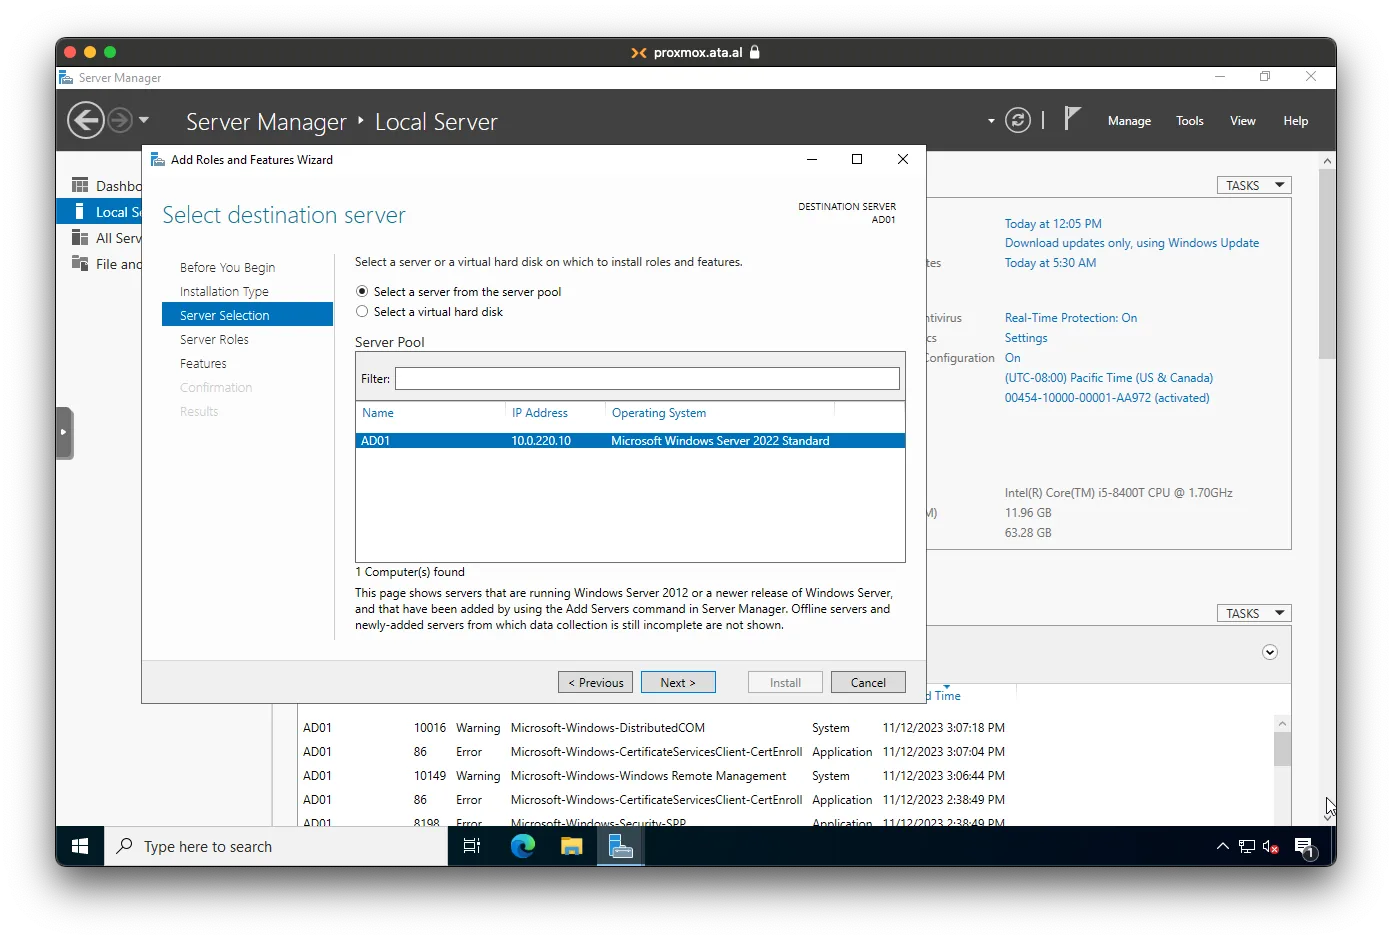
Select the AD01 server on the list and click on Next.
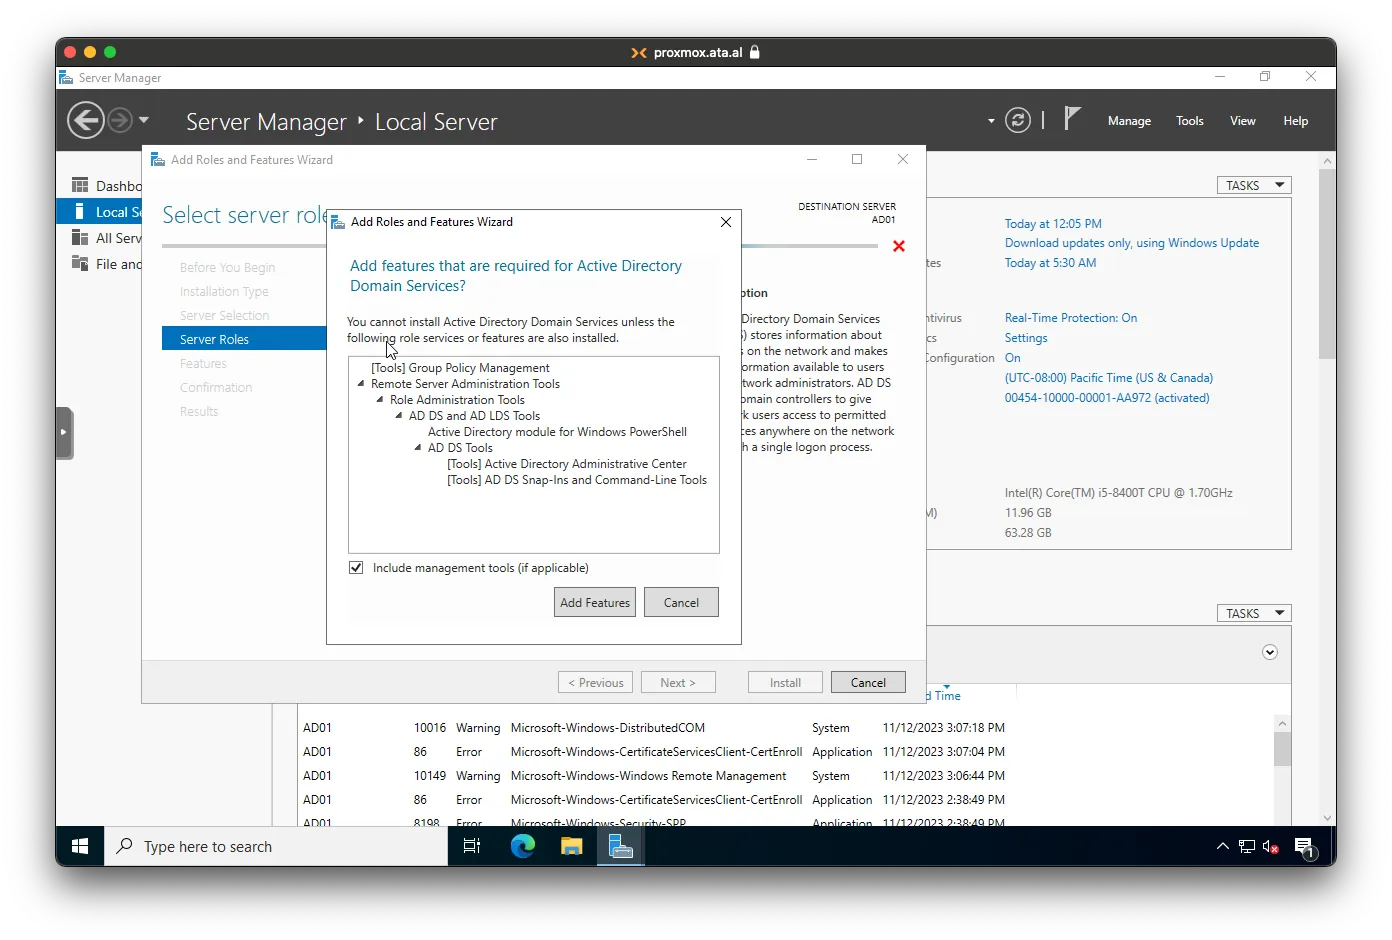
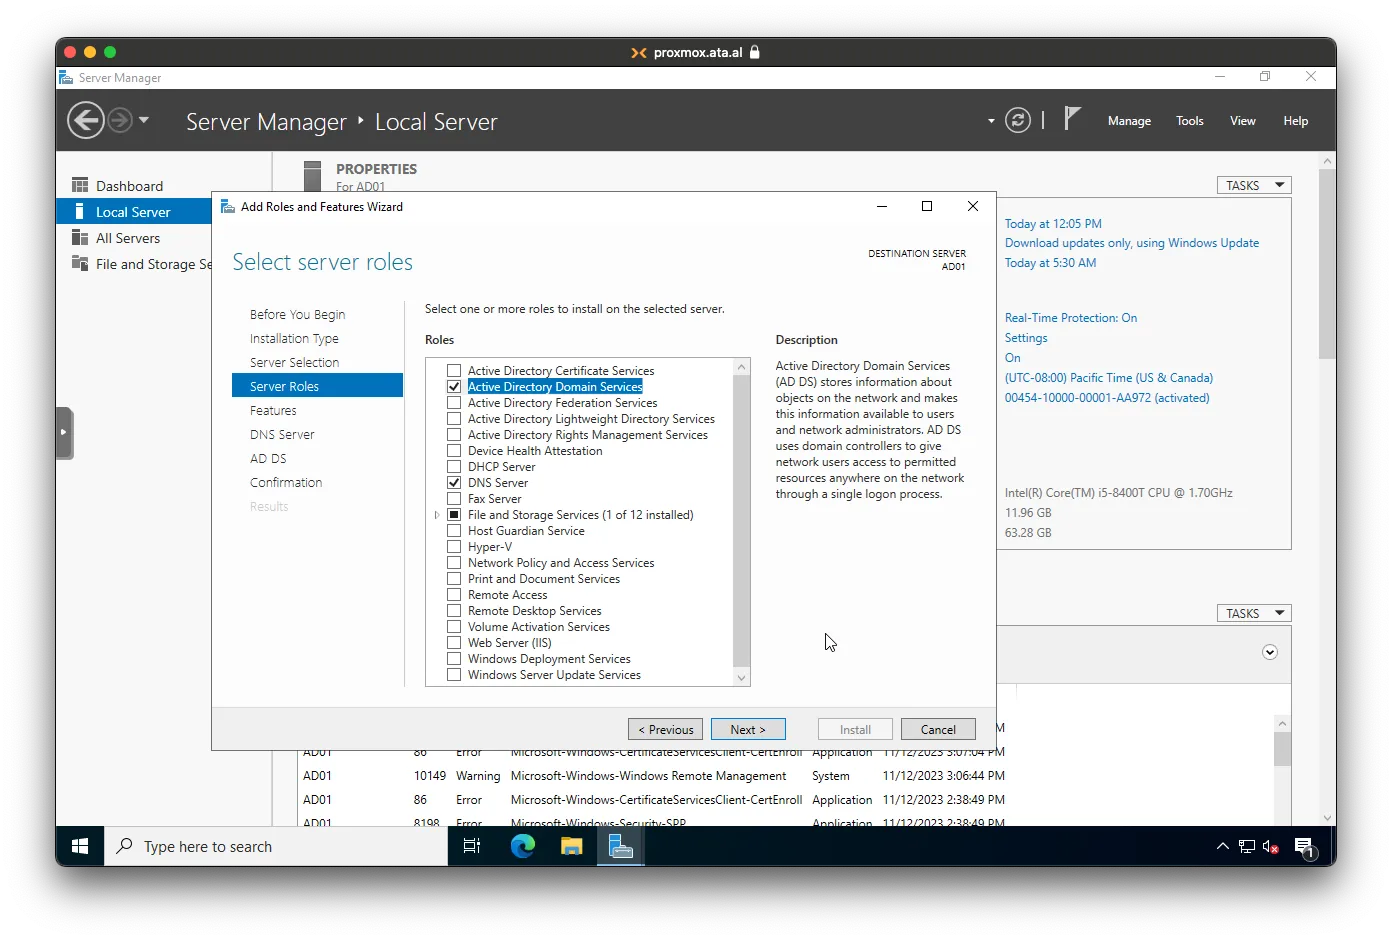
On Server Roles select Active Directory Domain Services
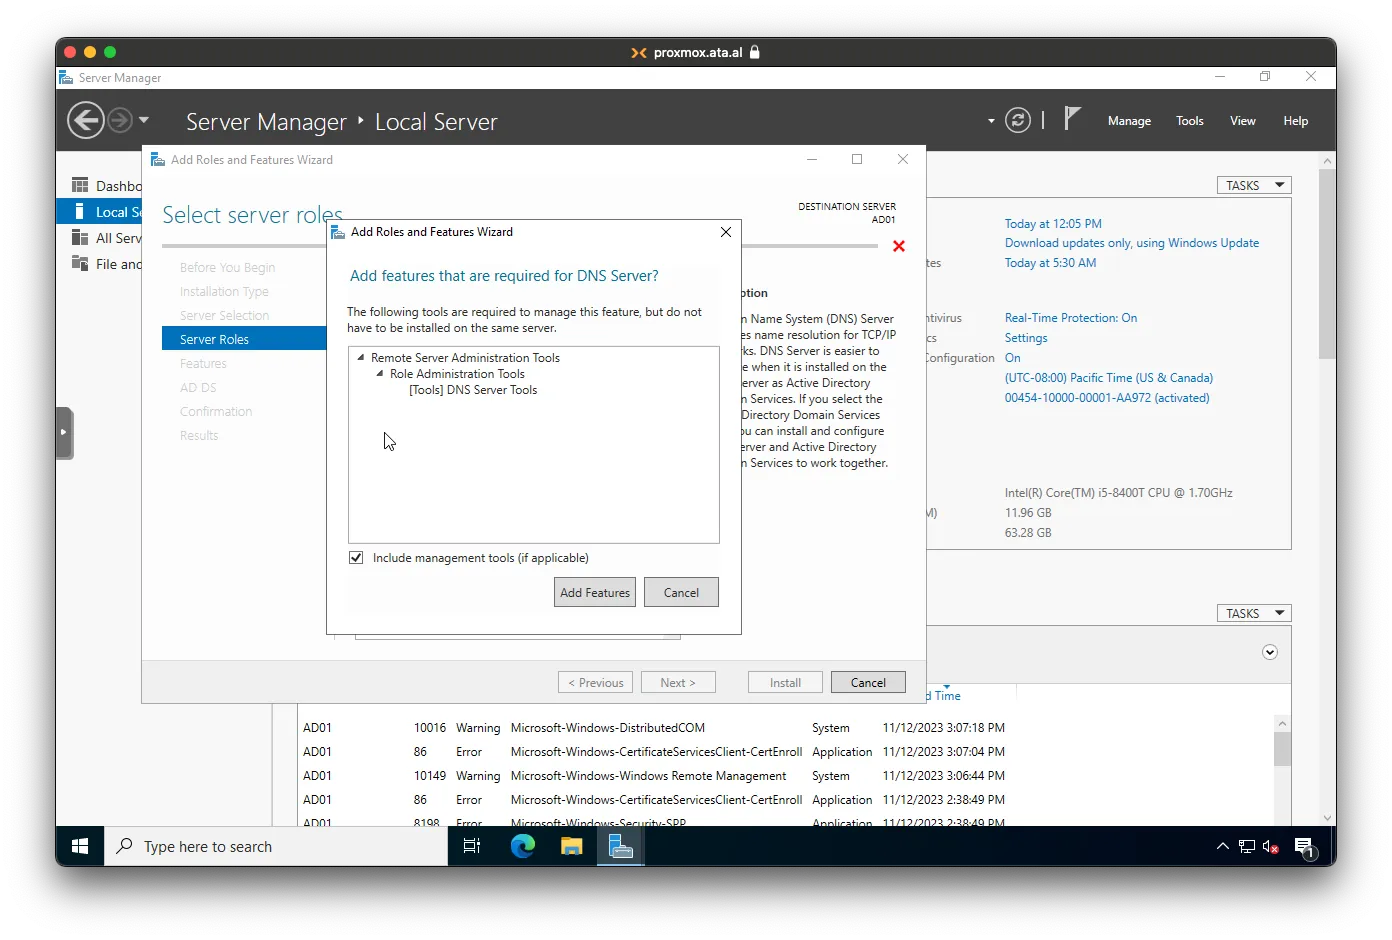
Also, select DNS Server.
Click on Next
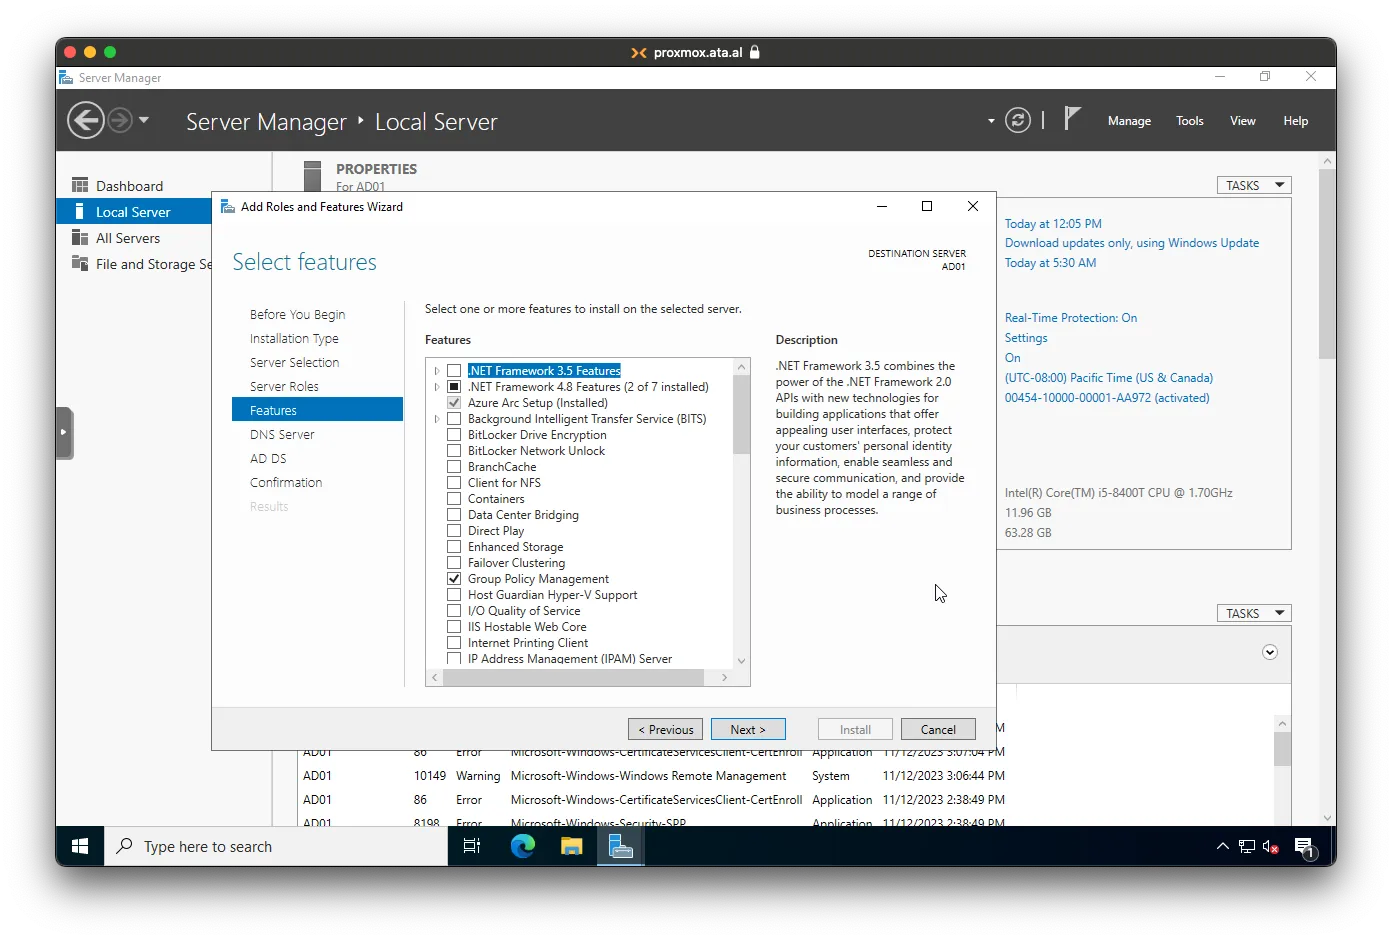
On the Features tab, make sure Group Policy Management is selected
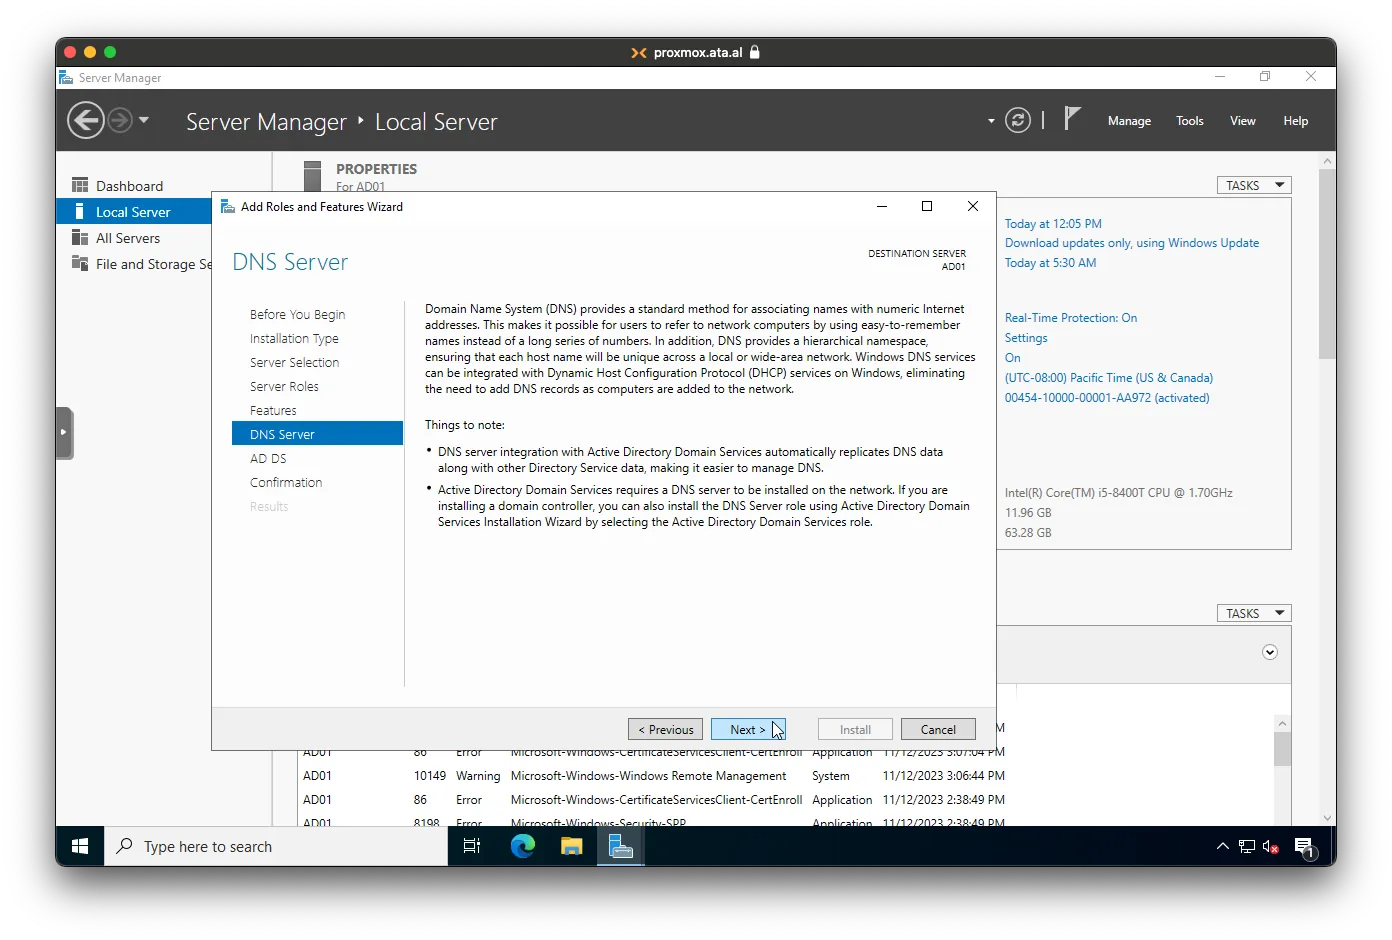
Click Next on the DNS Server Page
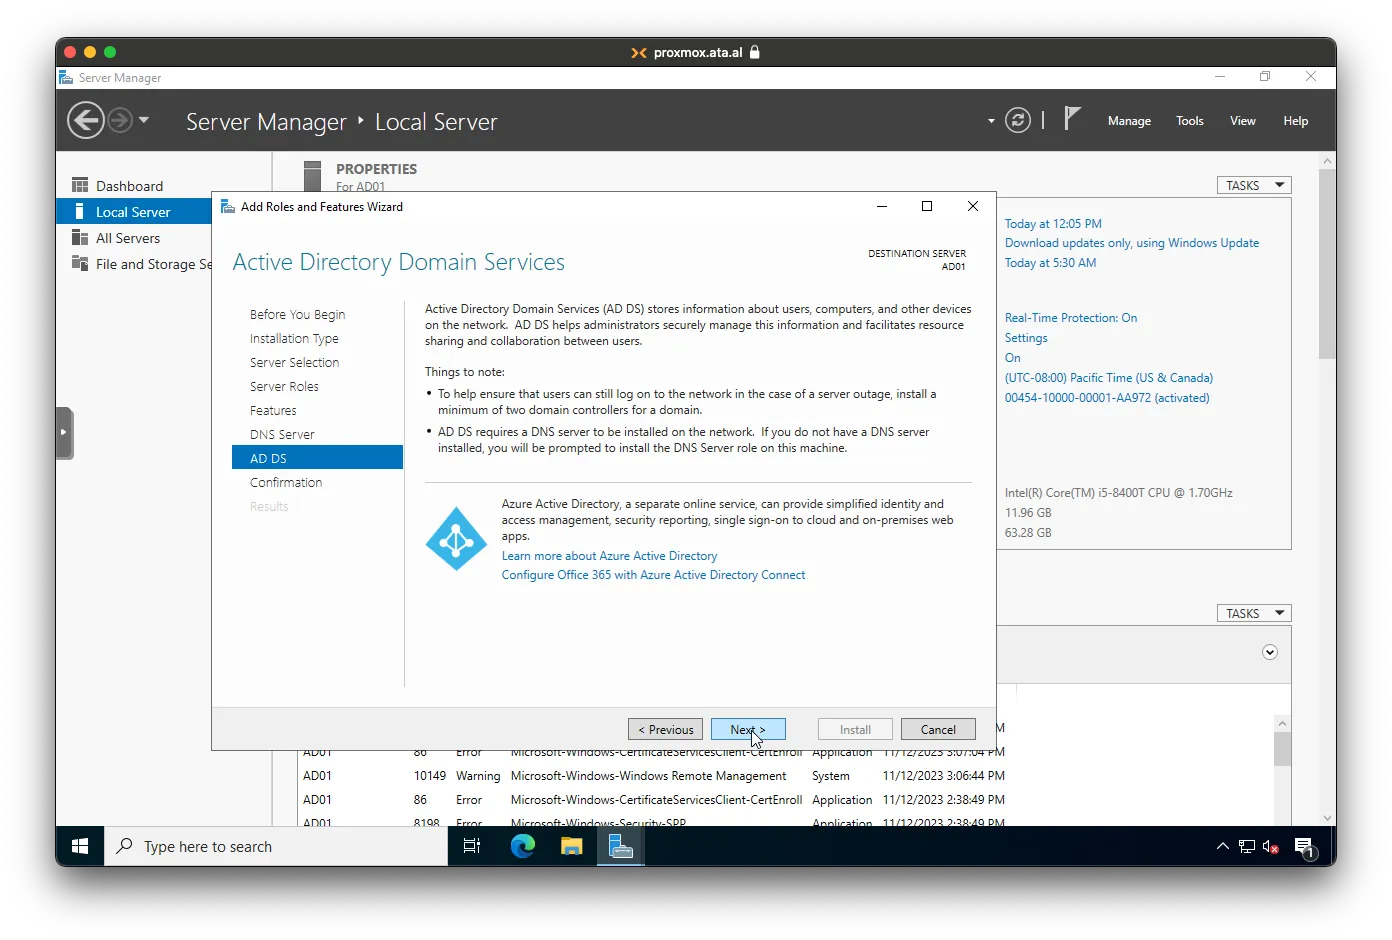
Also Click Next on the AD DS Page
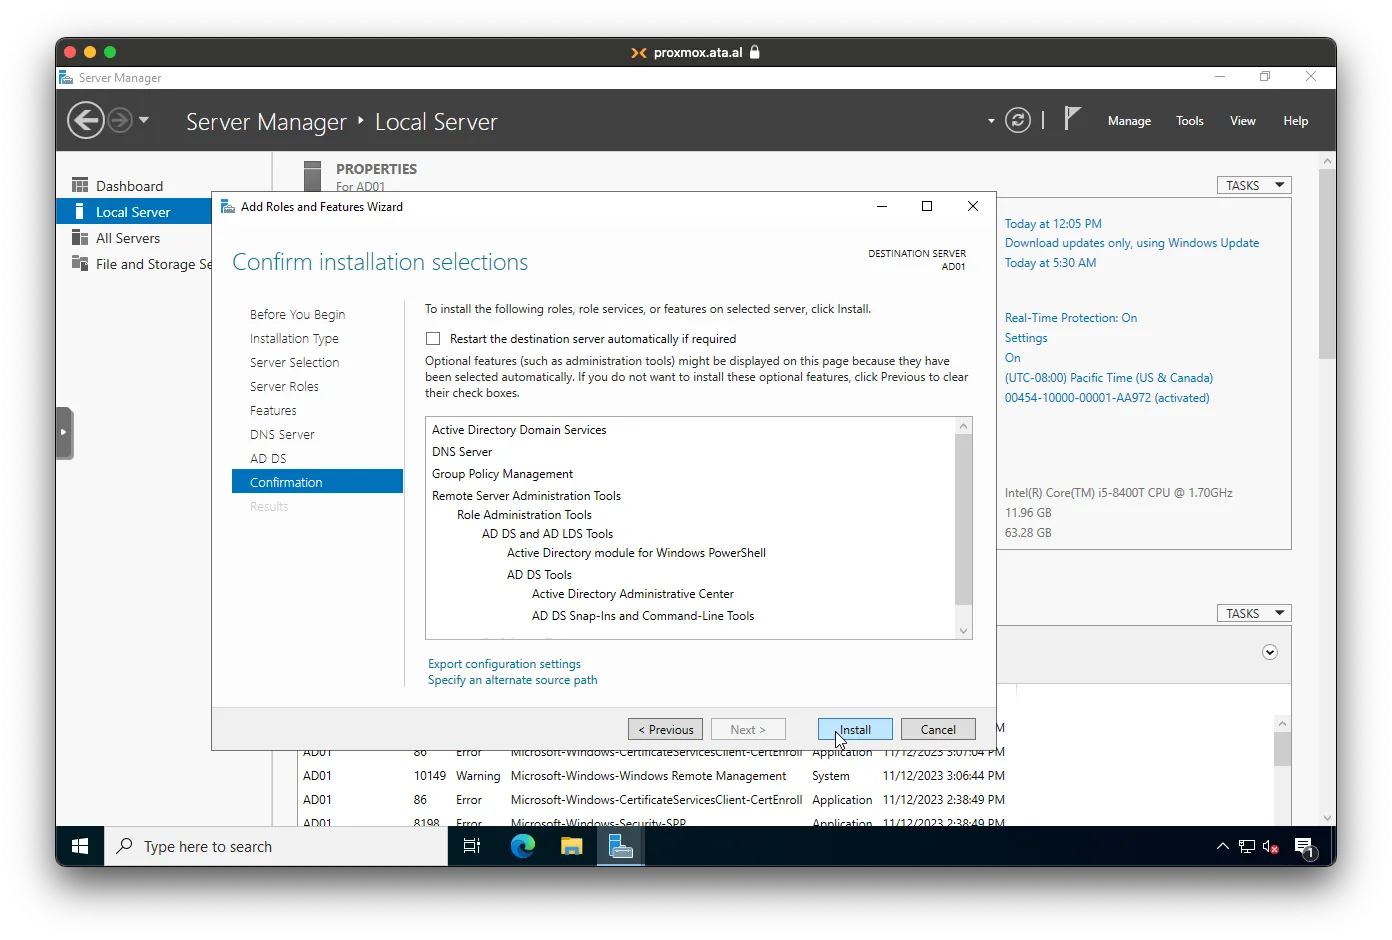
Click Install on the Confirmation Page
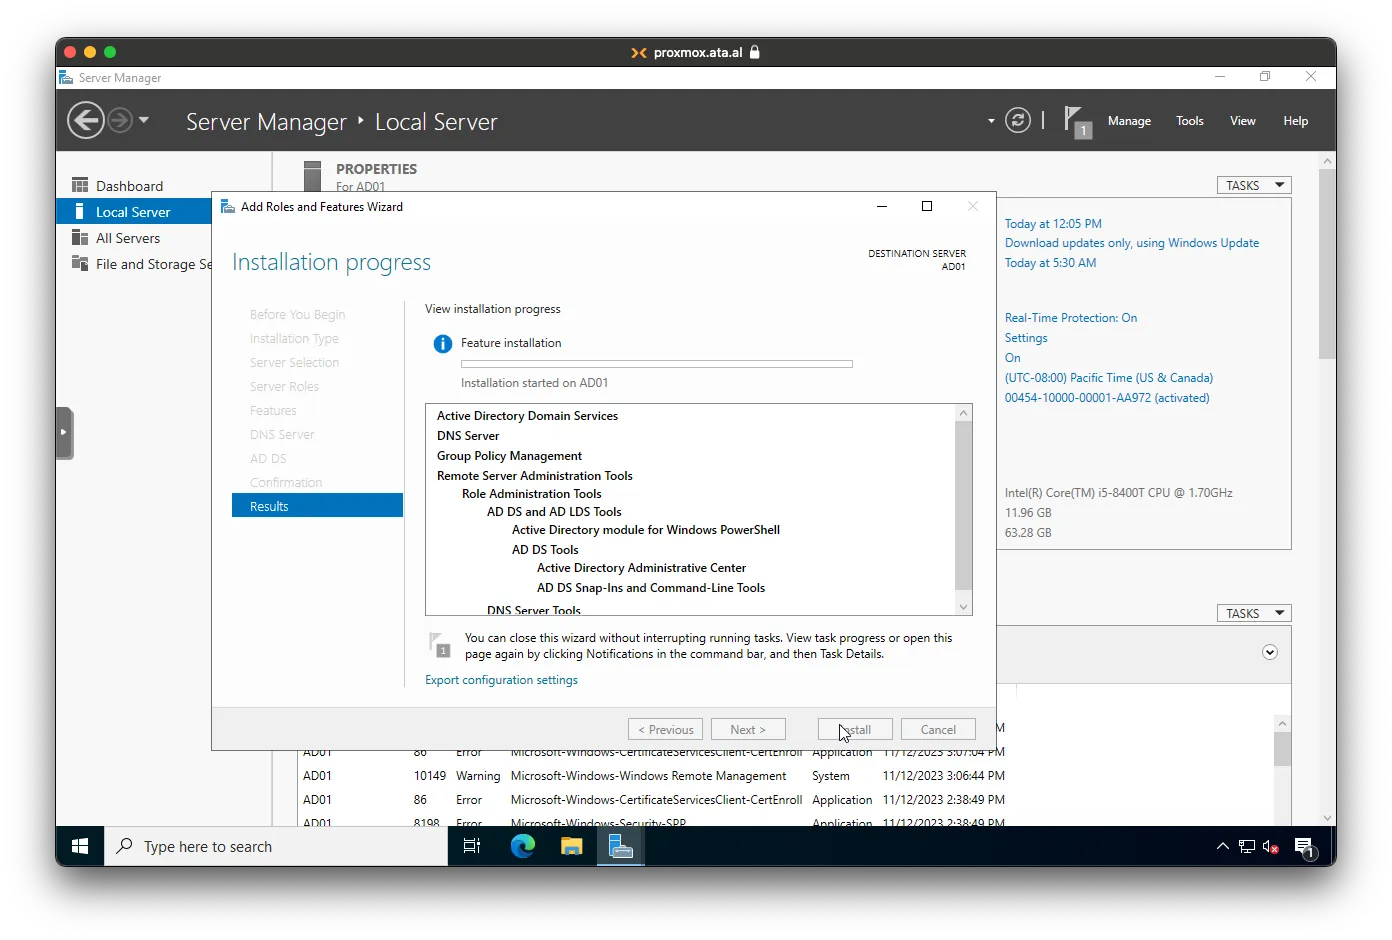
Wait until the features are installed, then click on Close.
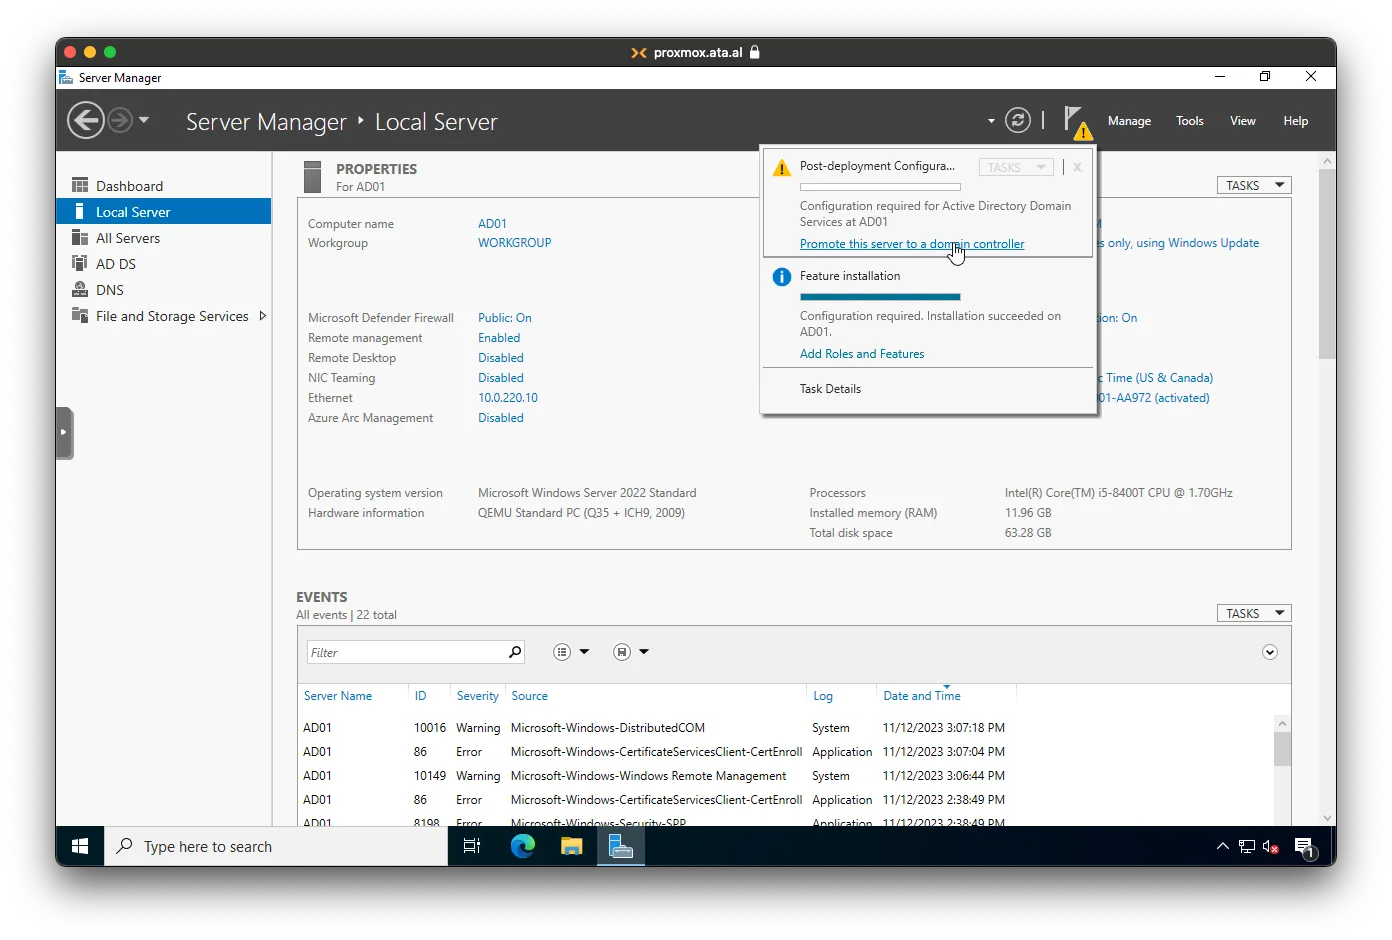
Promoting to Domain Controller
On the top right corner, Click on the Flag and then Promote this server to a domain controller.
Under Root domain name, you can put whatever domain you own or a .local one
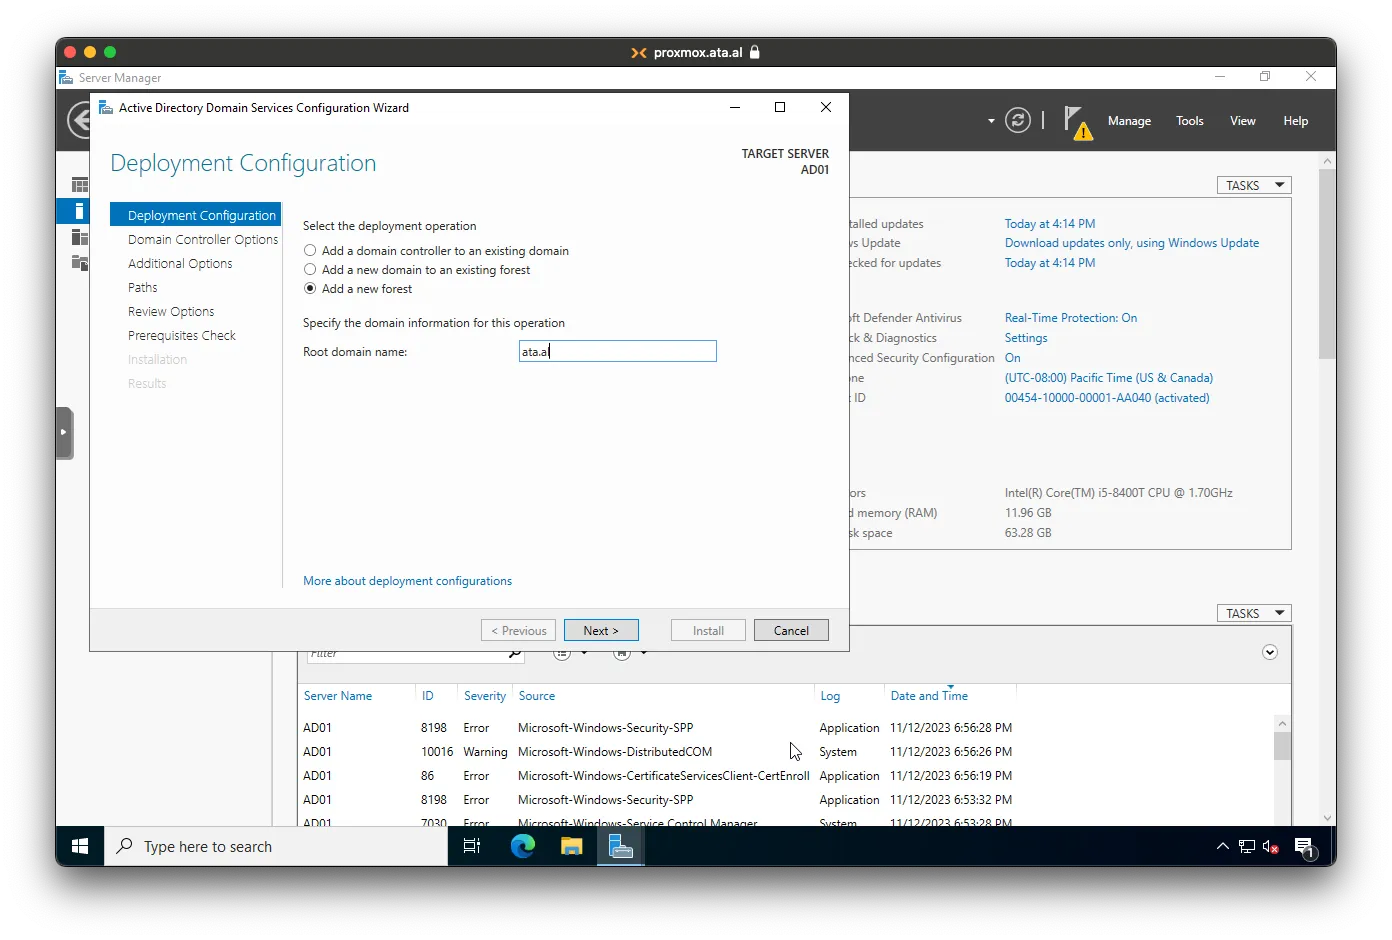
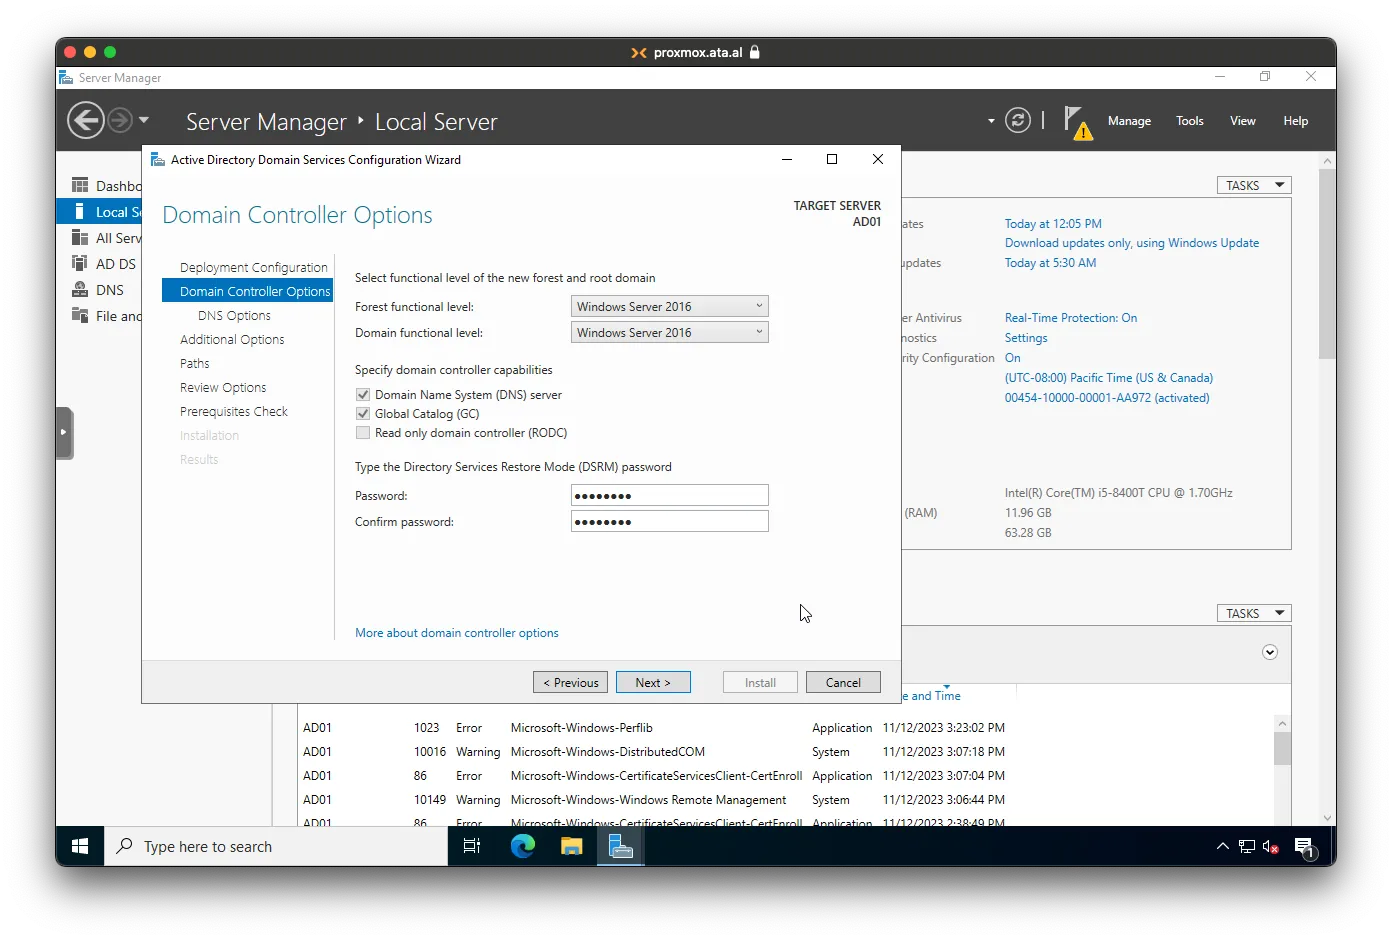
As this is a new AD, you can keep both Forest and Domain function level as the default. You will also need to make a DSRM password. This is used in case you need to restore the Directory Services
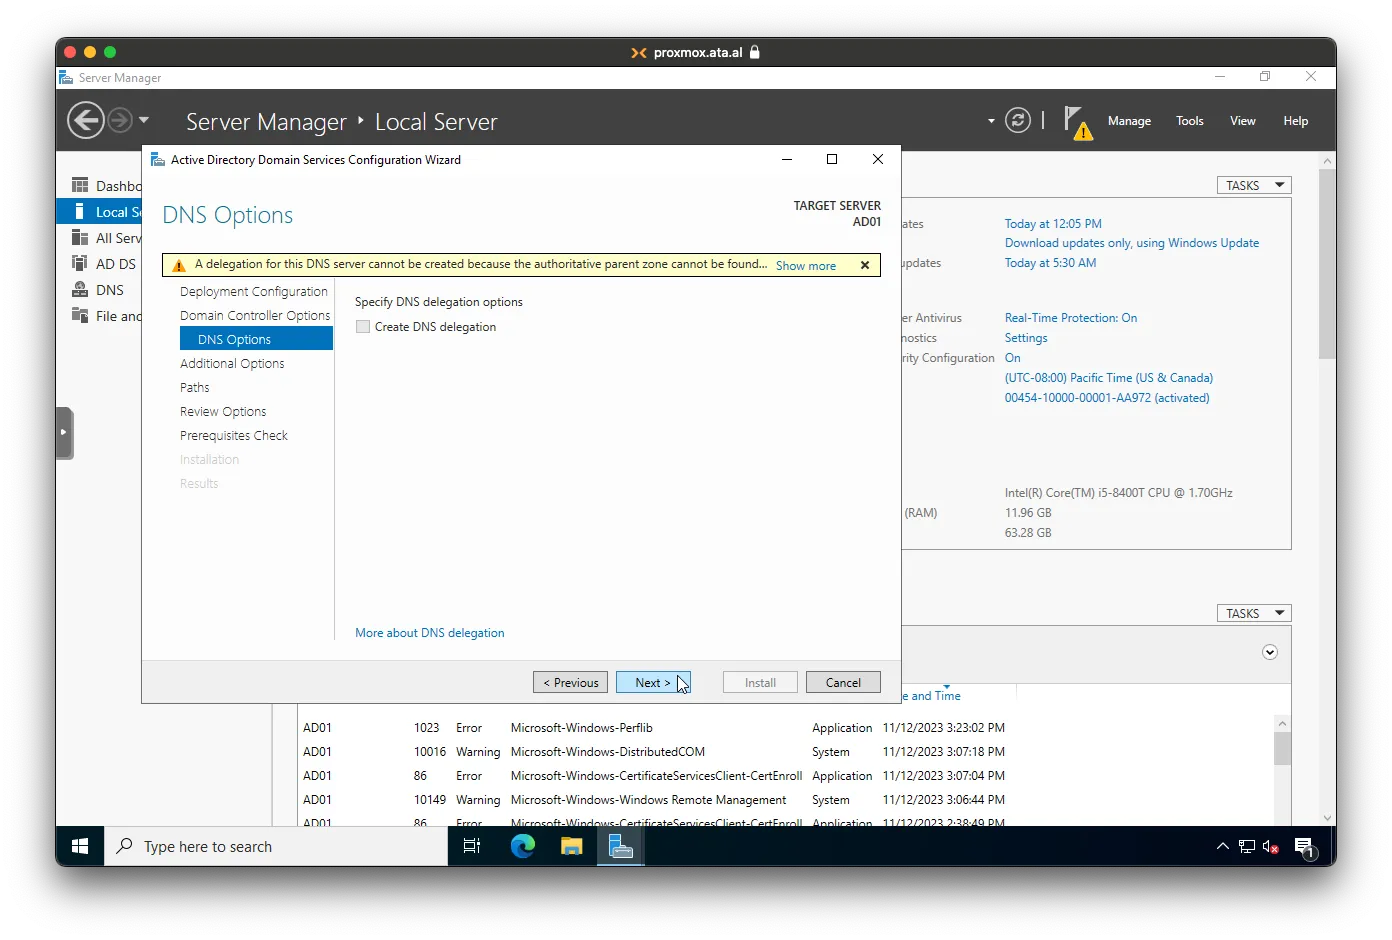
Click on Next for DNS Options
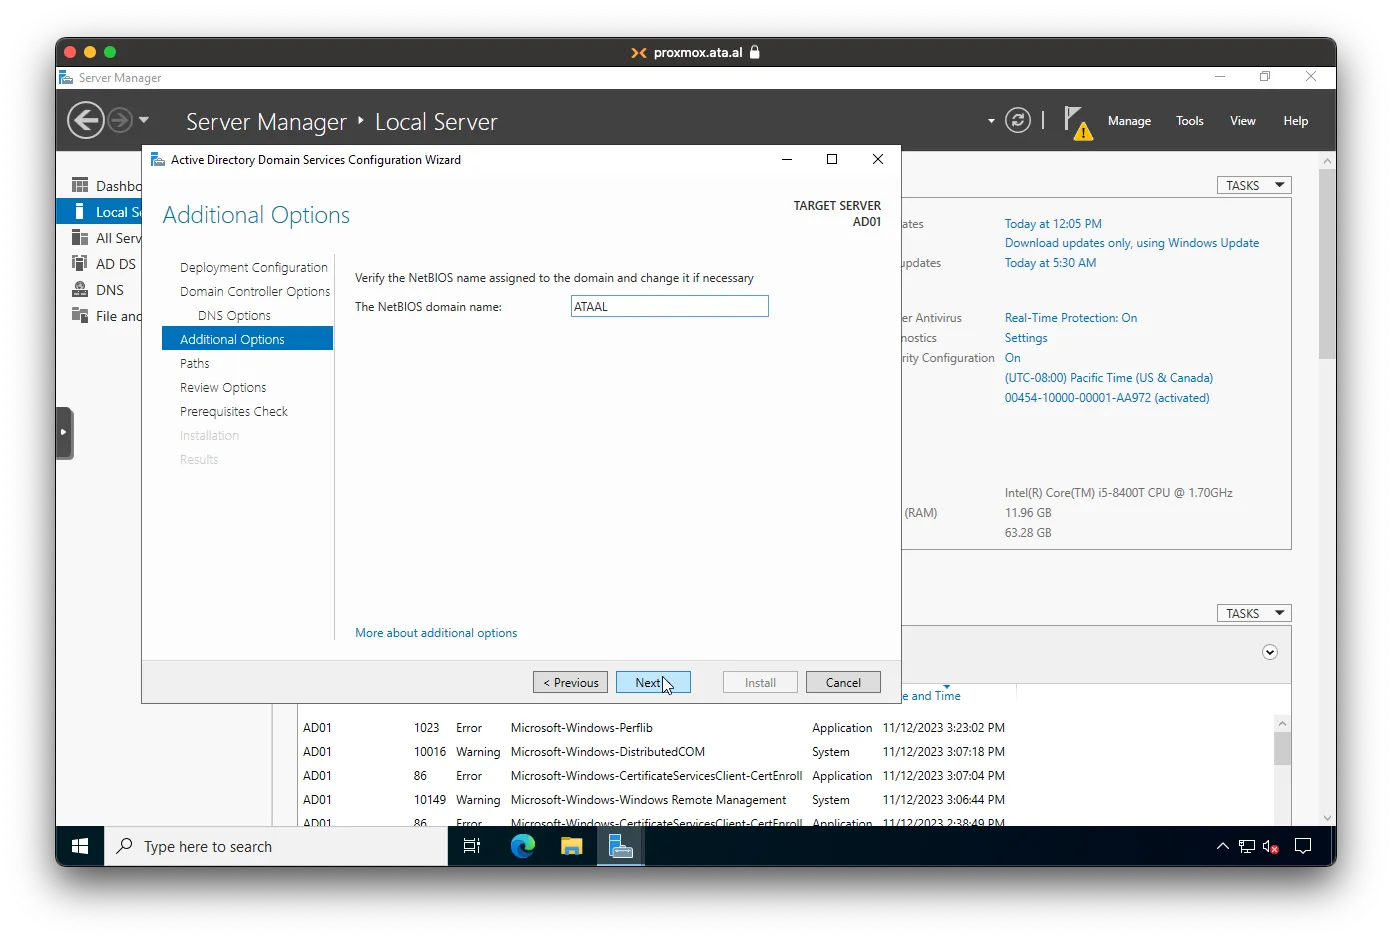
For Net Bios, I changed the name from ATA to ATAAL as it used the subdomain. Click on Next
Keep the Paths the same

On this page, you can validate the options that you choose by clicking on Next.

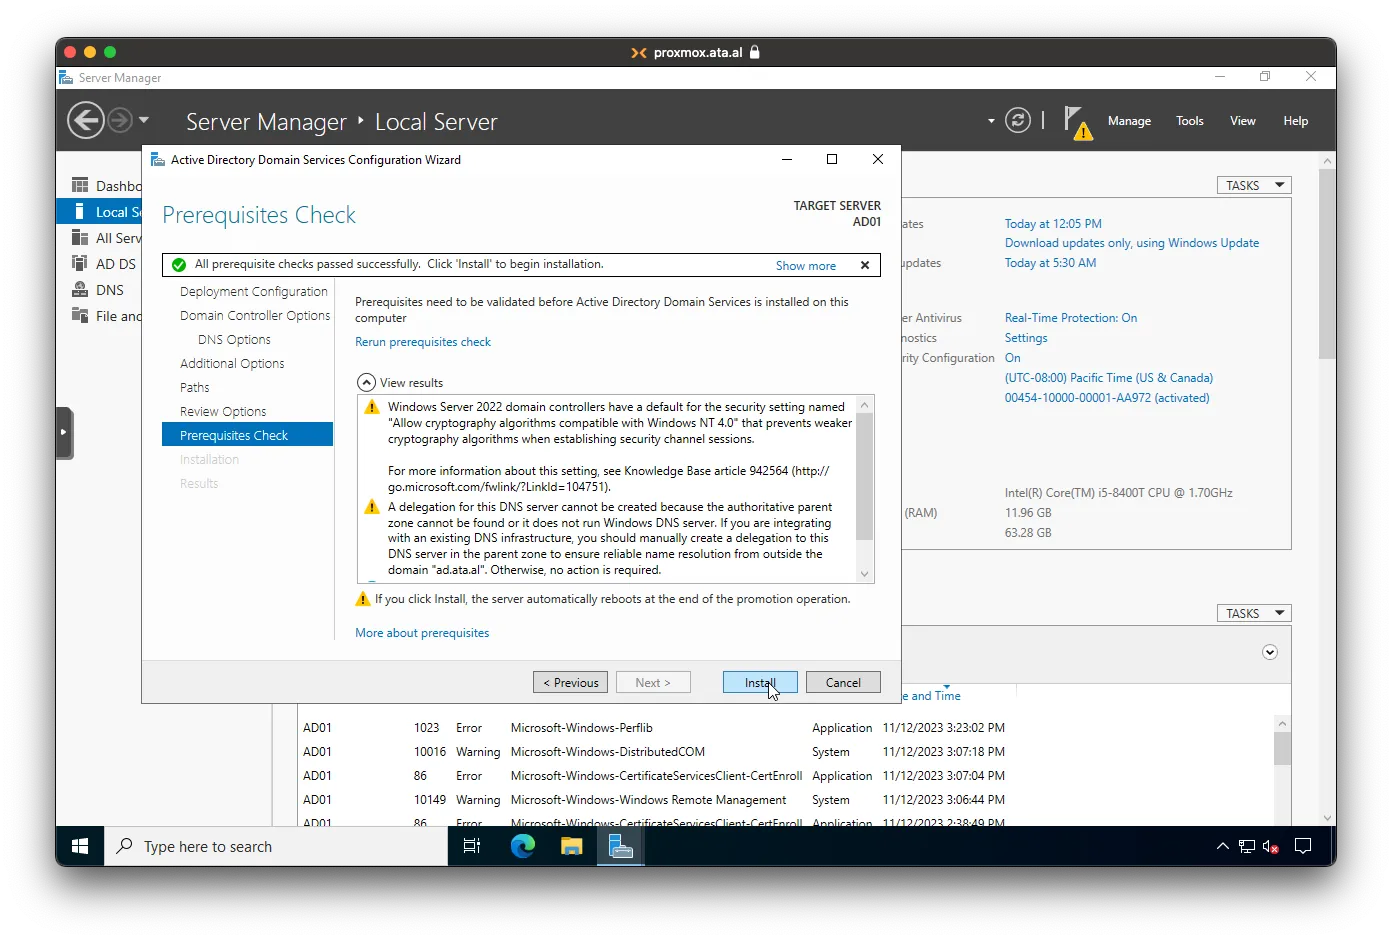
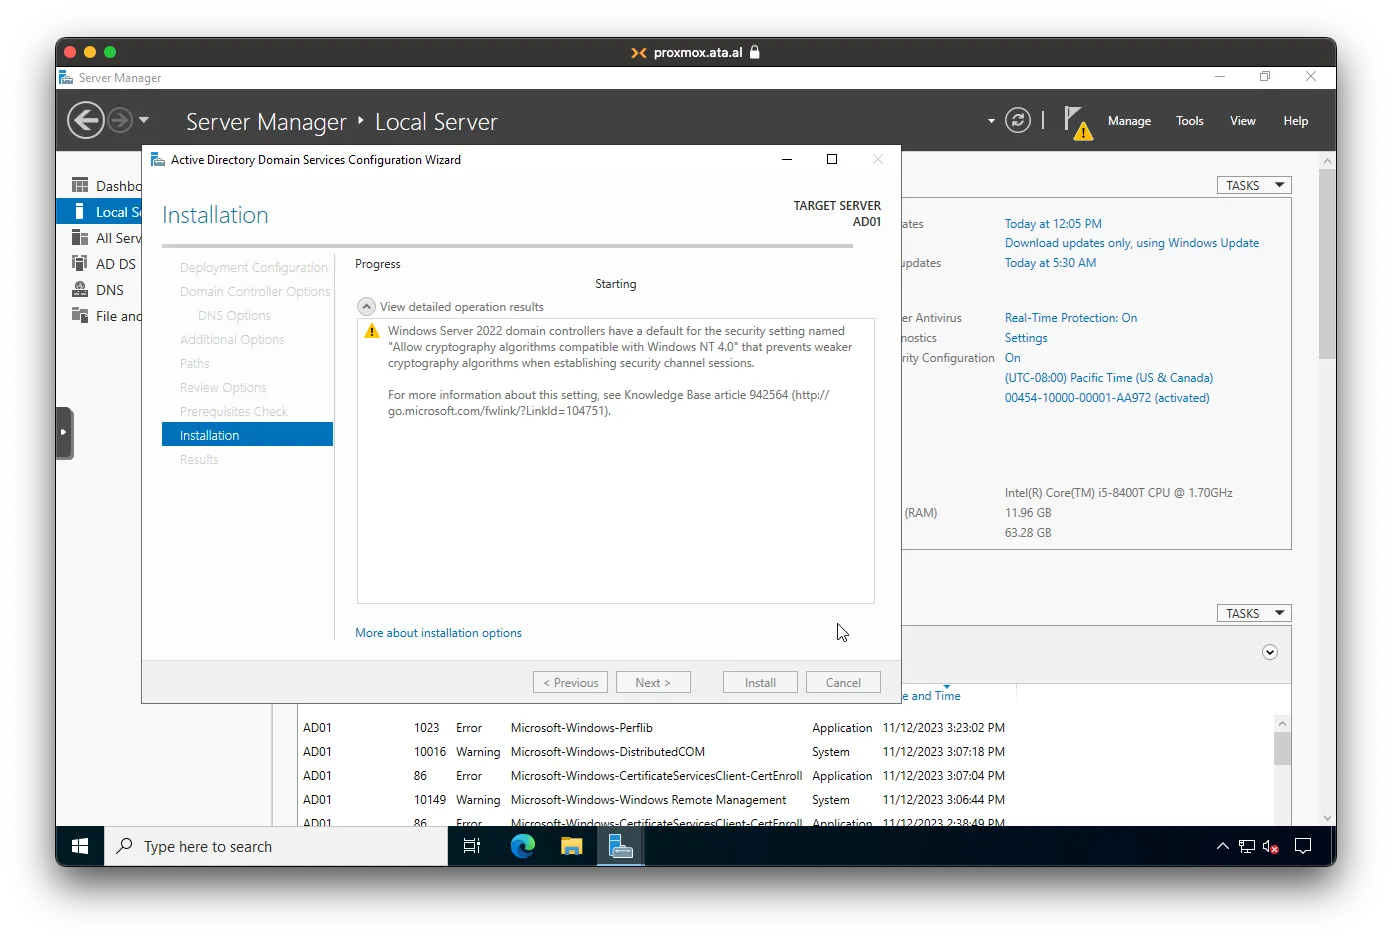
This is the Final Check. It might take a minute to validate your selections

After Valaladatin, click on Install
This part might take a while to install, depending on how your hardware performs
You will be forced to reboot to finalize the changes
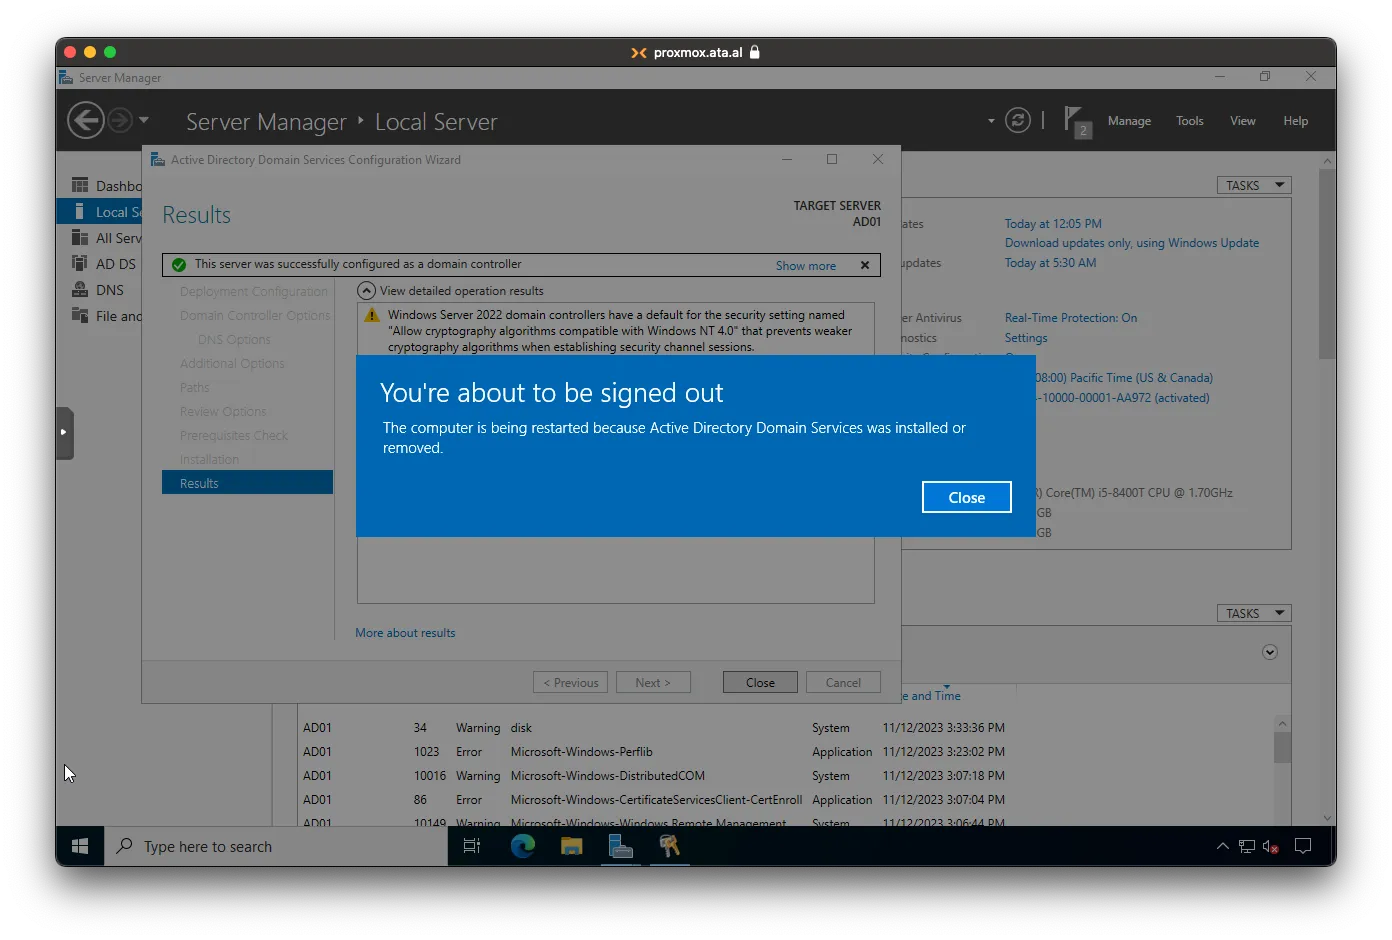
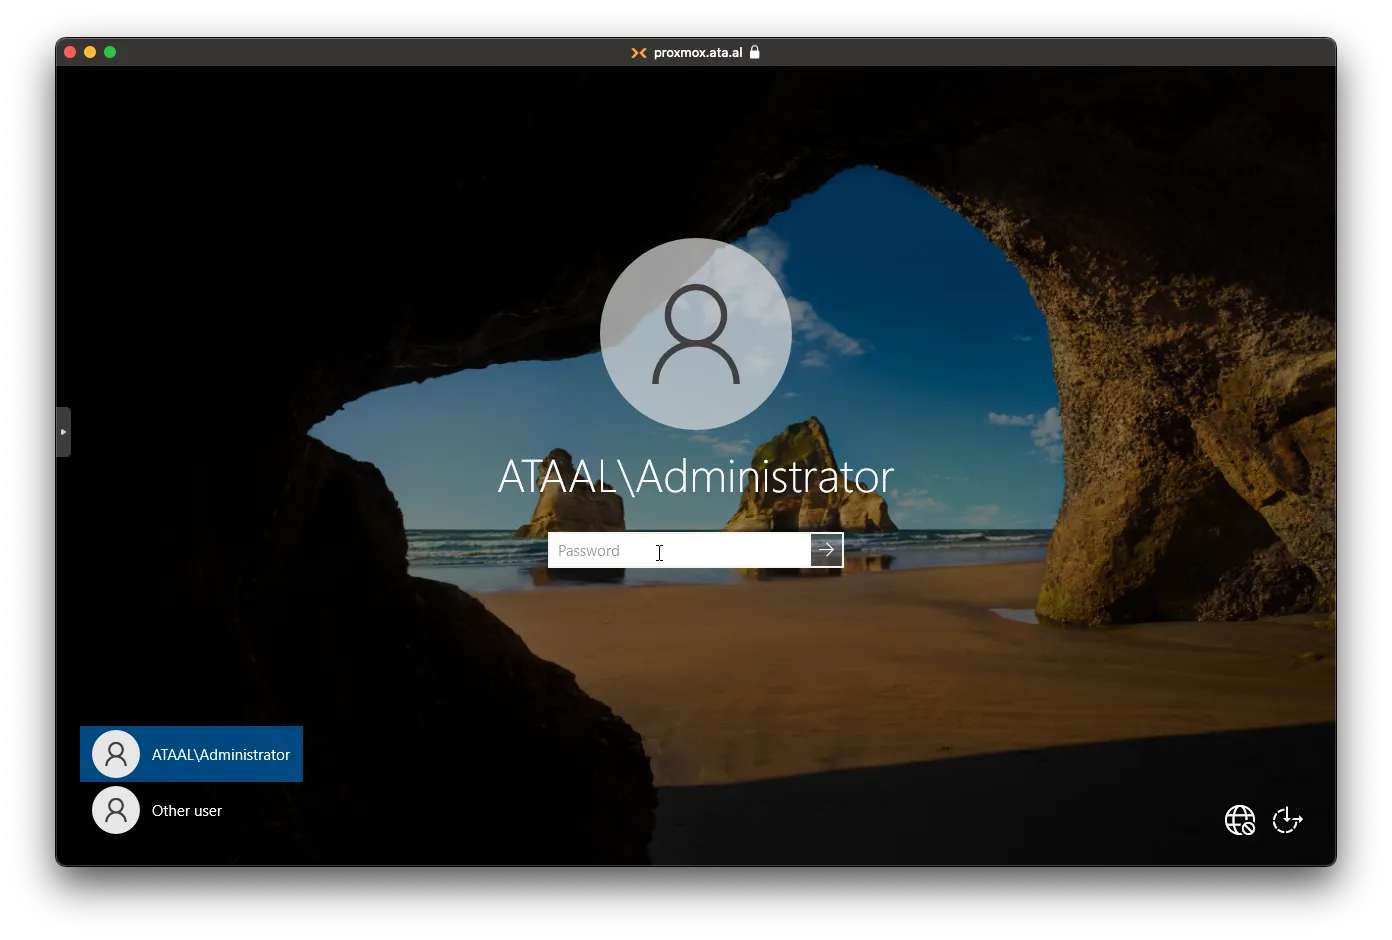
After the server is rebooted, login with your local admin account, which is now a domain account
Updating DNS
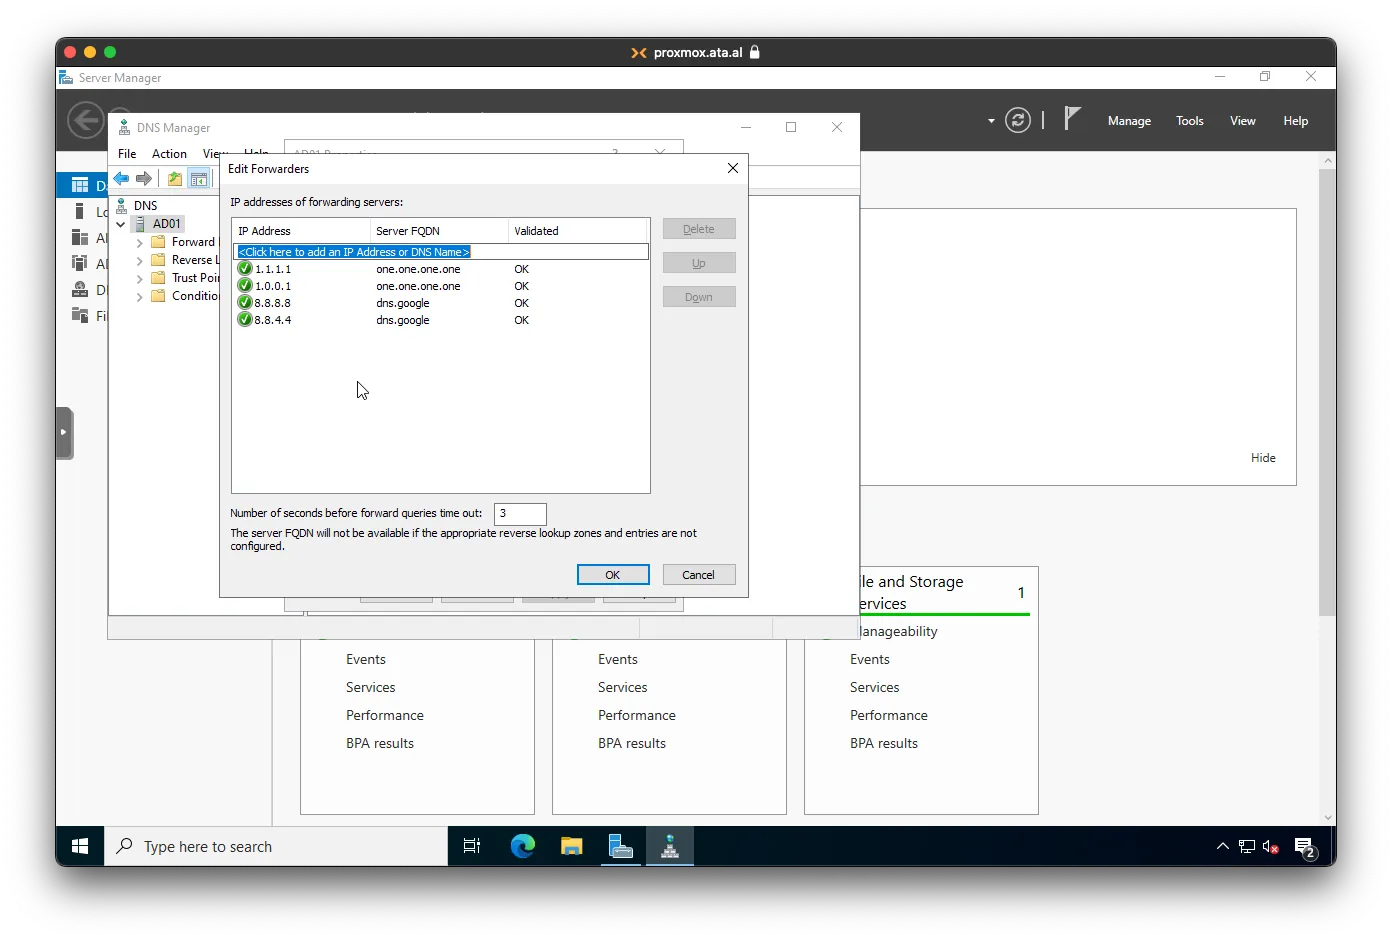
Adding Google as another DNS Provider
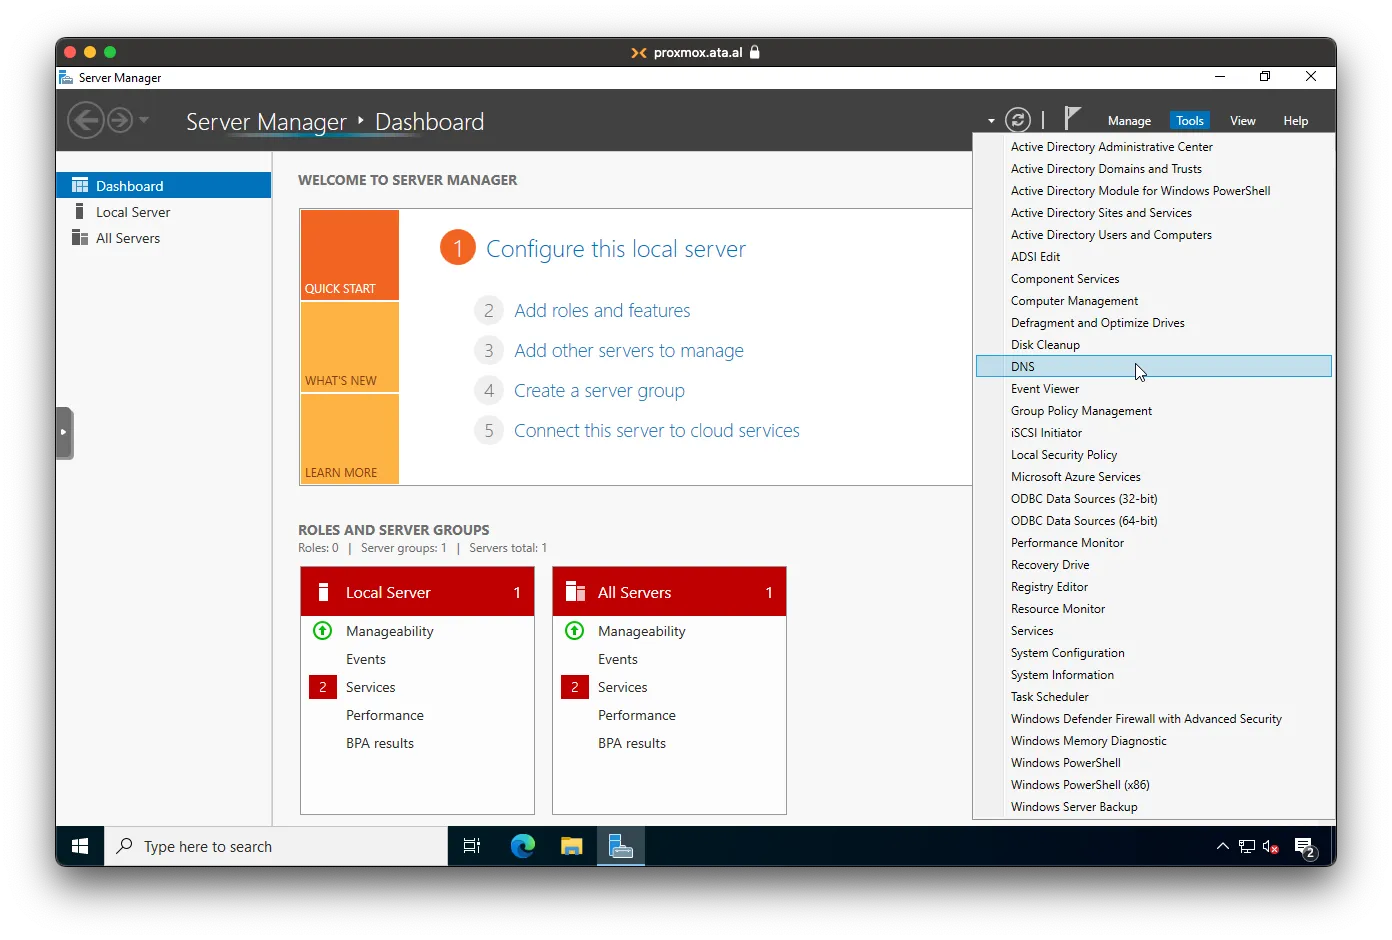
Under Server Manager click on Tools then DNS.
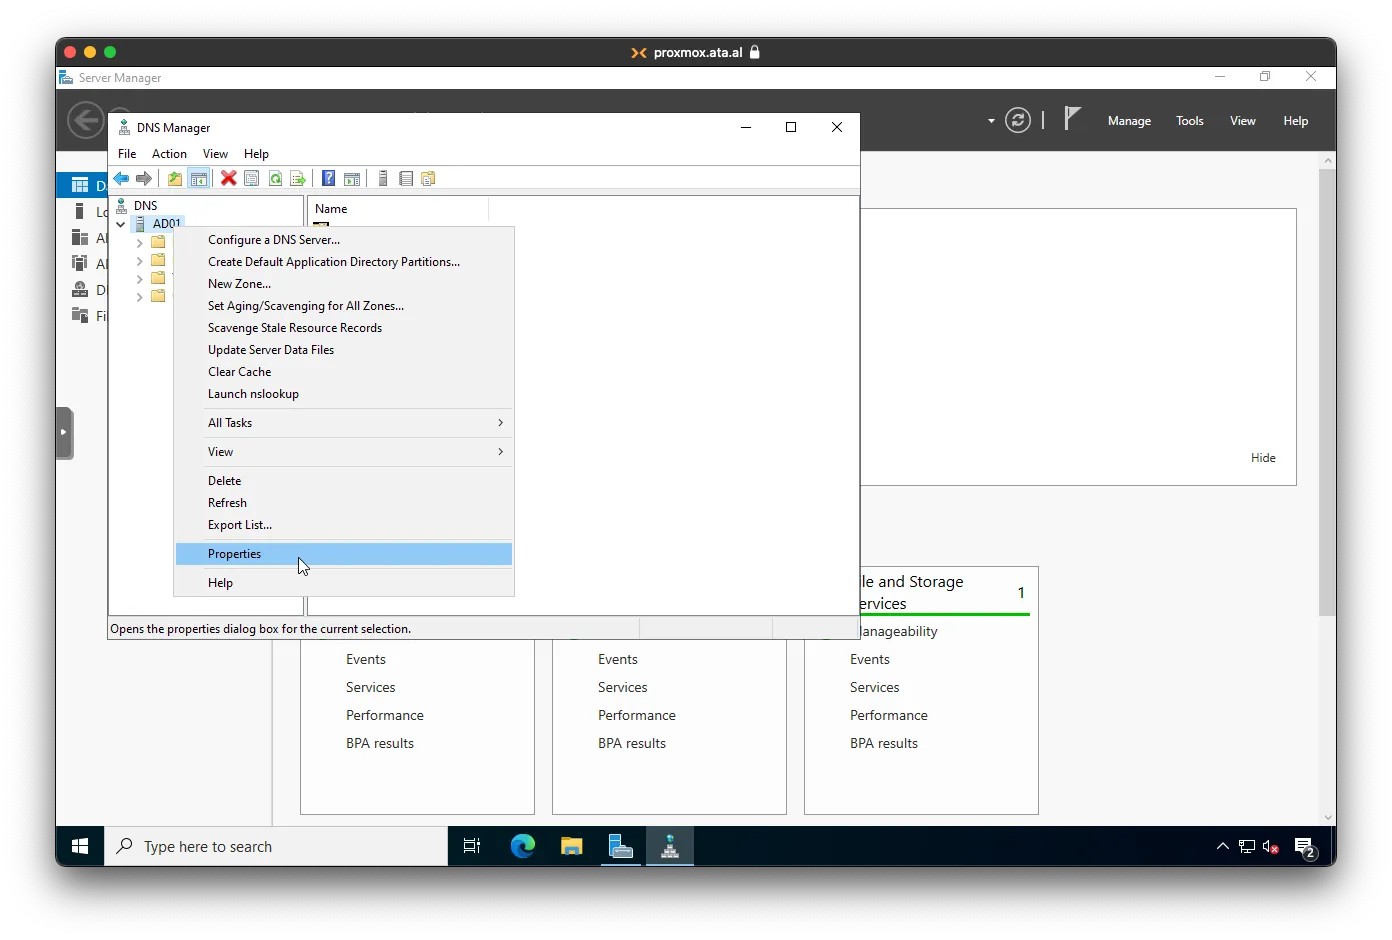
After the DNS Manager loads, right-click on AD01 and then Properties.
After AD01 Properties loads, click on Forwards then Edit.
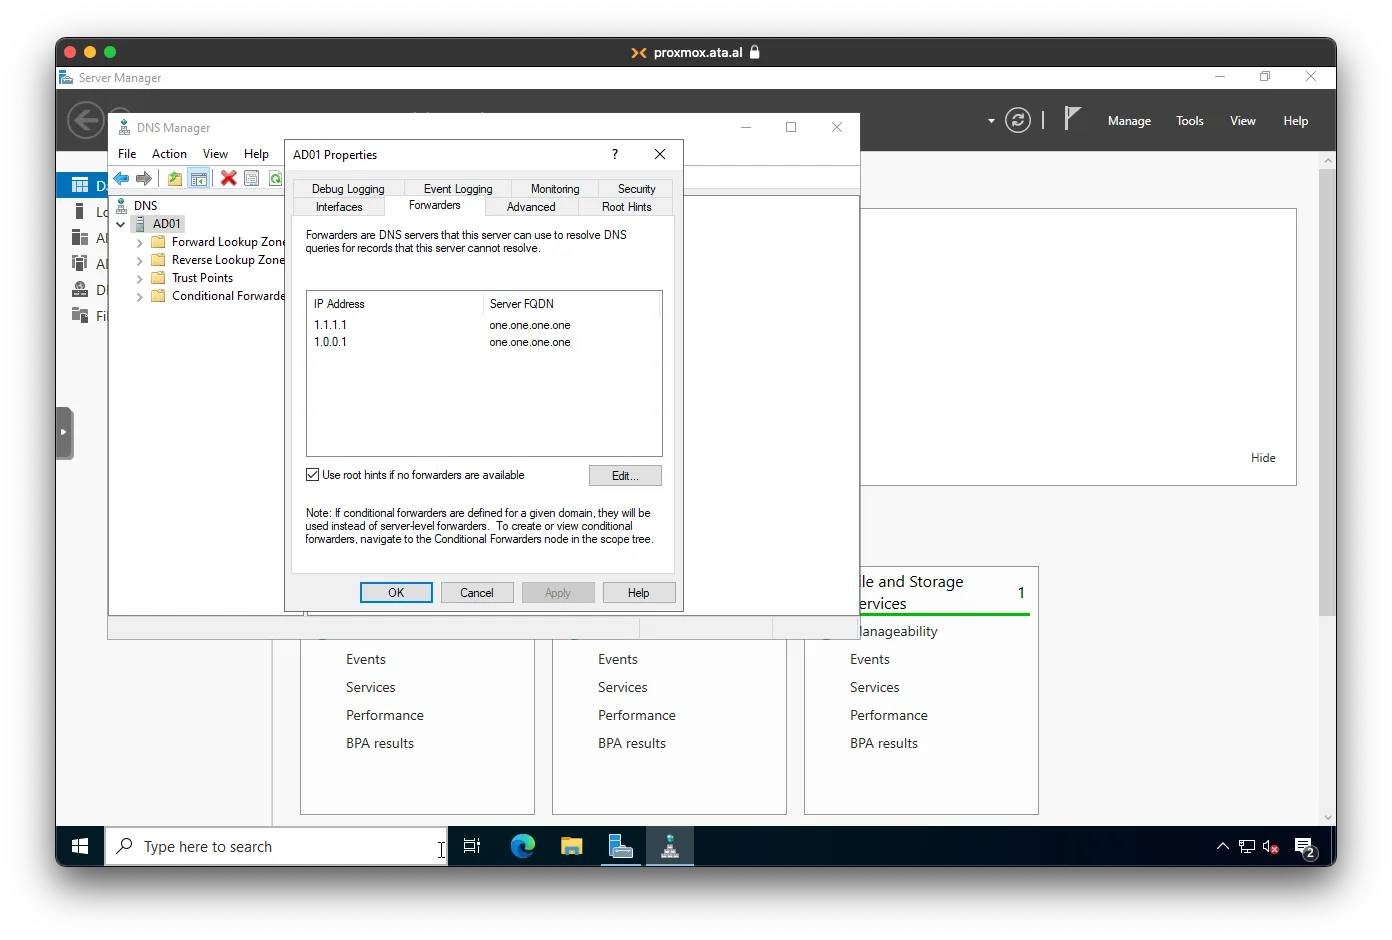
Add 8.8.8.8 and 8.8.4.4 to the list, click on OK, then Apply.