
Installing Windows Server 2022 21H2 on Proxmox
/ 4 min read
Last Updated:Introduction
With our setup of a Proxmox Cluster, Another tool I would like to learn is Active Directory. To start things off, I will be setting up Windows Server 2022 21H2 on Proxmox and linking it to the domain ata.al
Windows Server 2022
Downloading the ISO
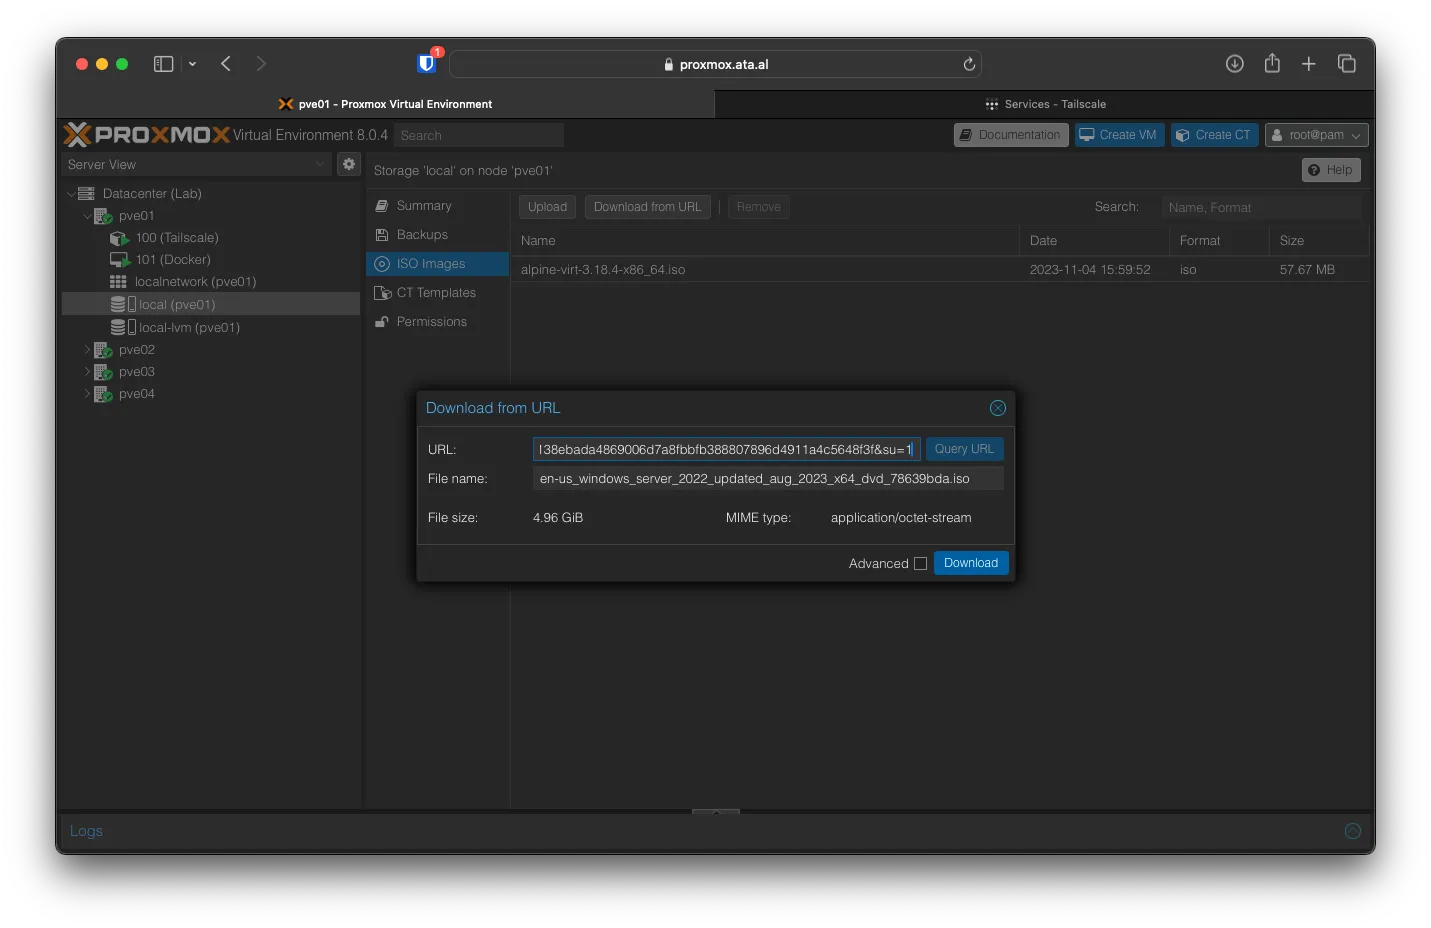
If you have access to MSDN, you can use that to get the ISO, but Please get a legal copy. On Proxmox, navigate to pve01 -> local (pev01) -> ISO Images and click Download from URL. Paste in the Link, then click on Download
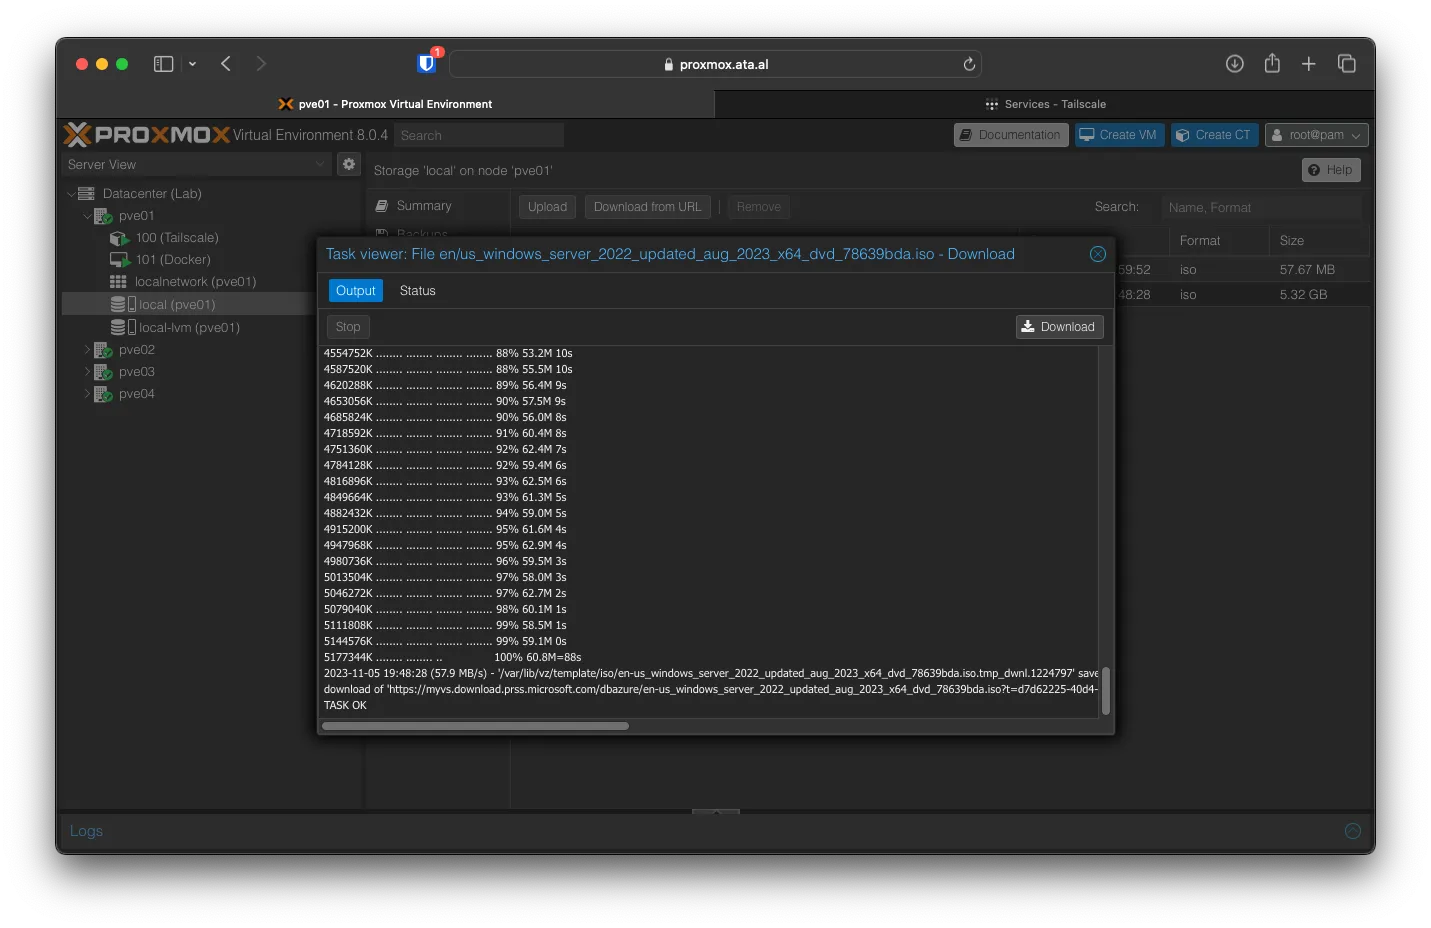
After downloading, you can close on the Task Viewer.
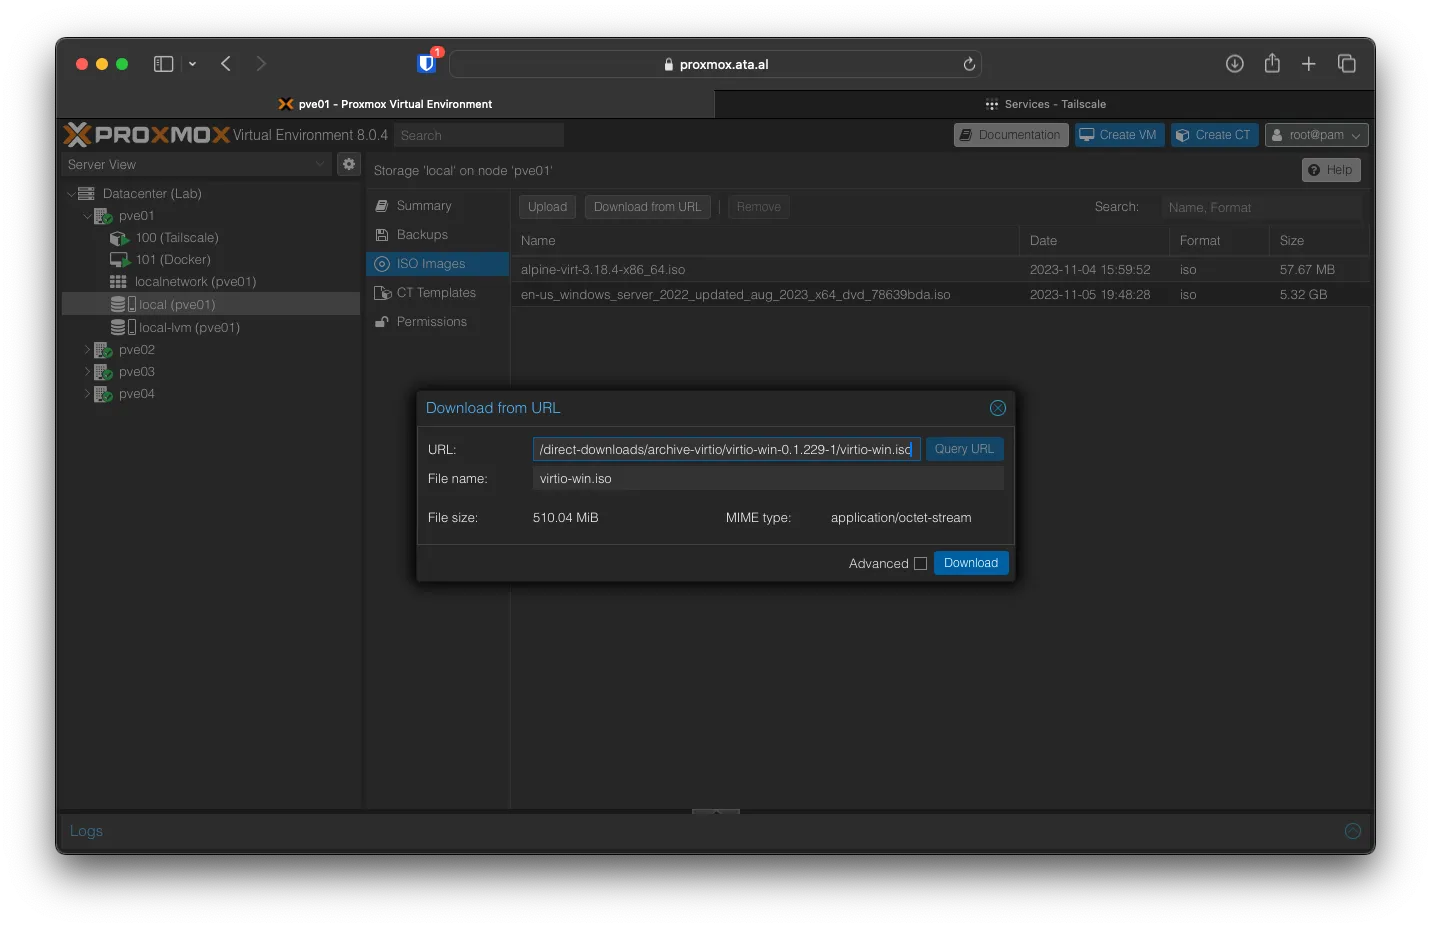
Downloading VirtIO ISO
One other image that you will need is the VirtIO drivers, which can be found here https://fedorapeople.org/groups/virt/virtio-win/direct-downloads/stable-virtio/virtio-win.iso
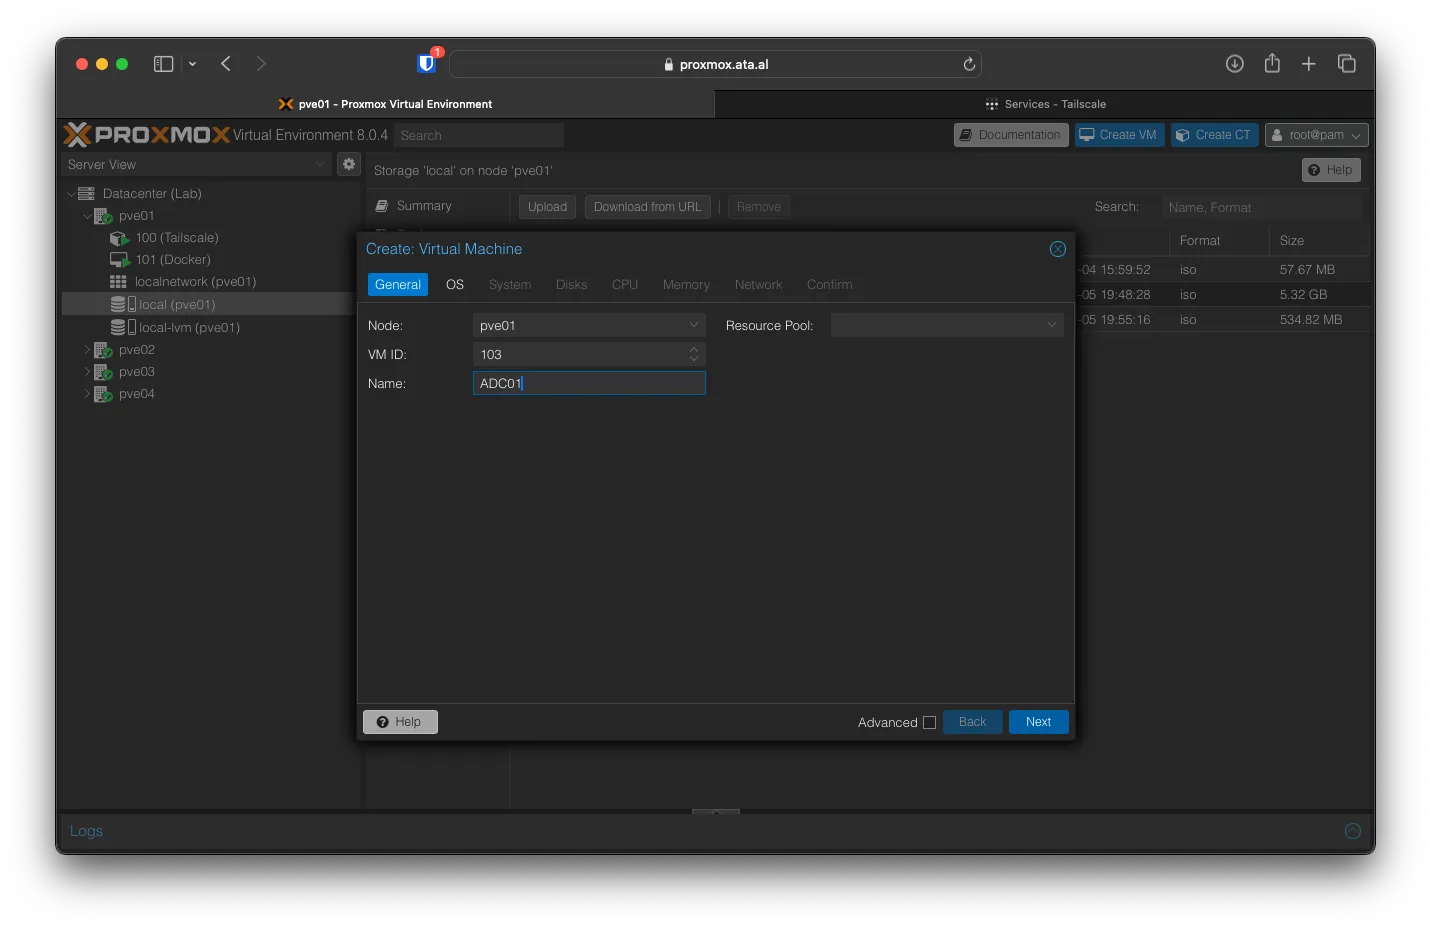
Creating a new VM
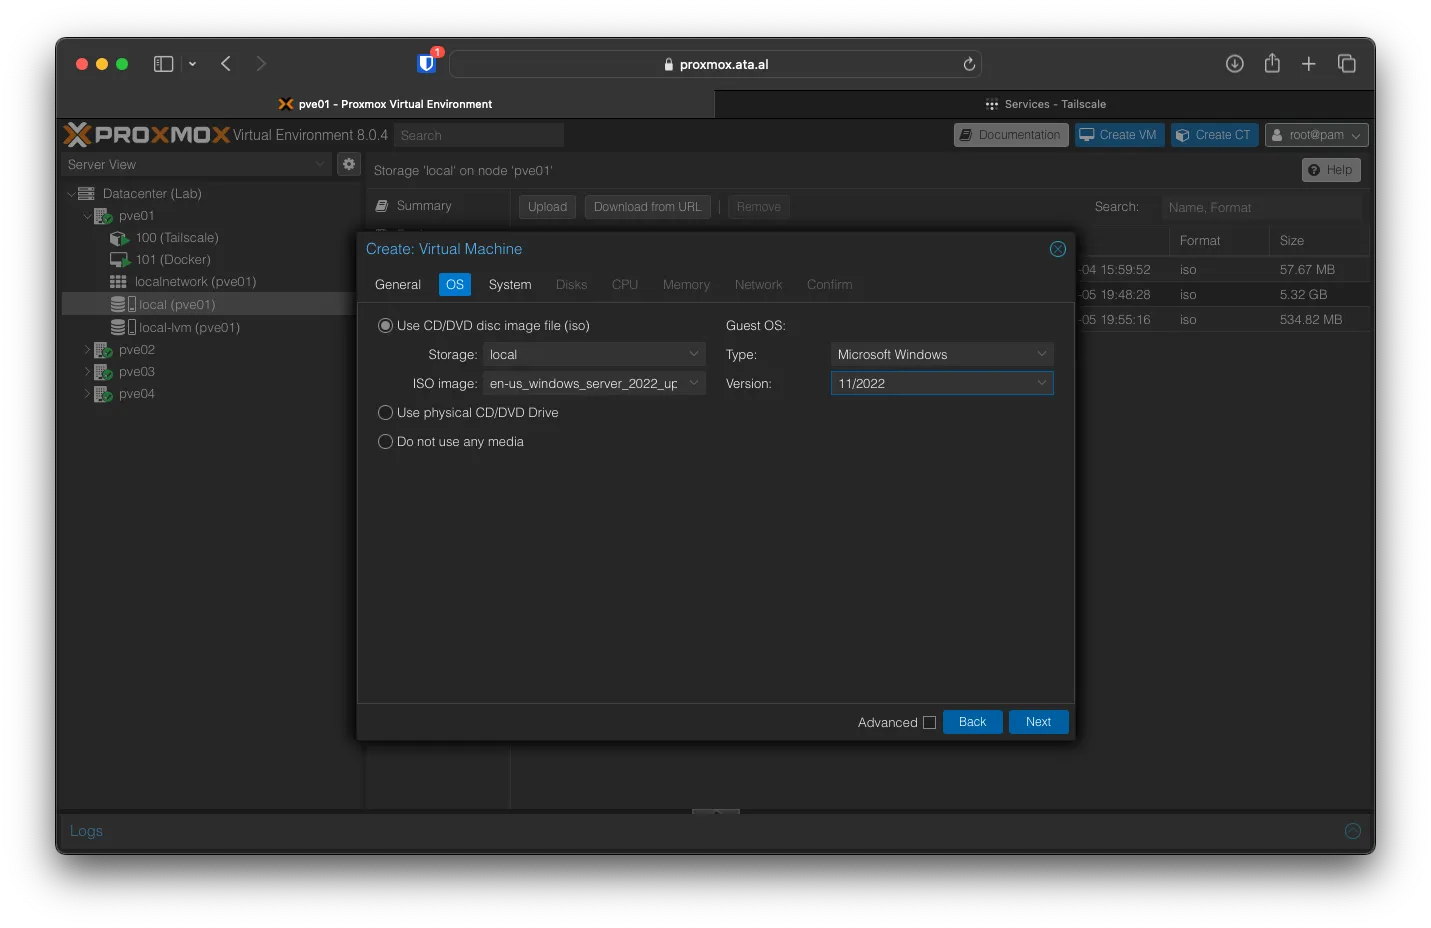
On Proxmox, under pve01, click Create VM. Keep Node and VM ID the same. For the Name, call it ADC01, then click on Next.
For OS, select the Windows Server 2022 ISO, and for Type, set it to Microsoft Windows and Version to 11/2022.
Under Disk, set Bus/Device to SCSI. Disk Size to 64, Cache to Write back, and tick both Discard and IO thread.

For CPU, set the Cores to 4 and Type to Host.

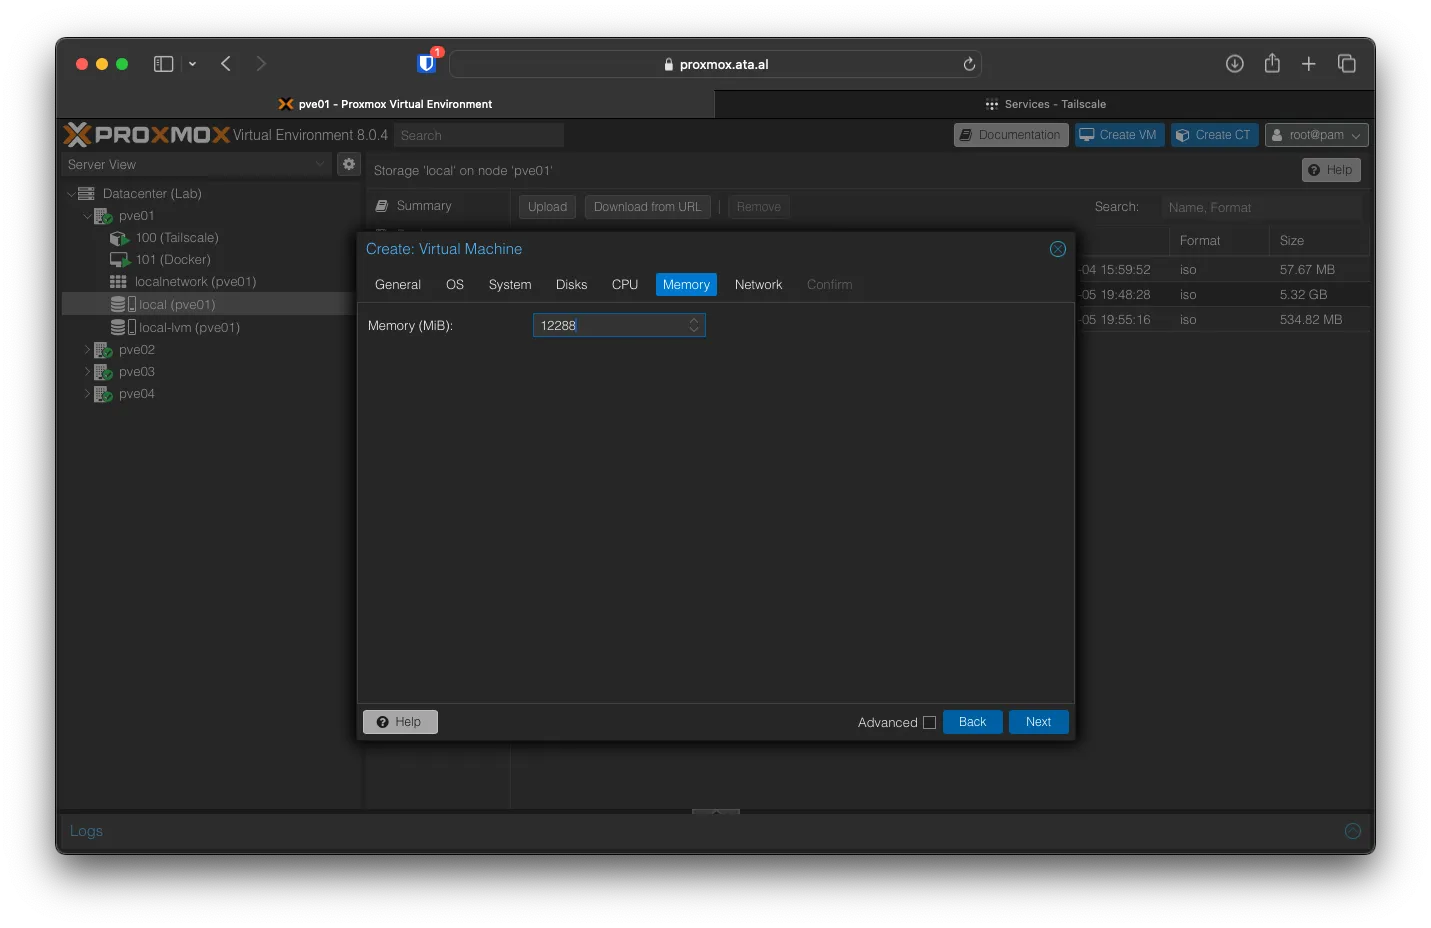
Set Memory to 12288
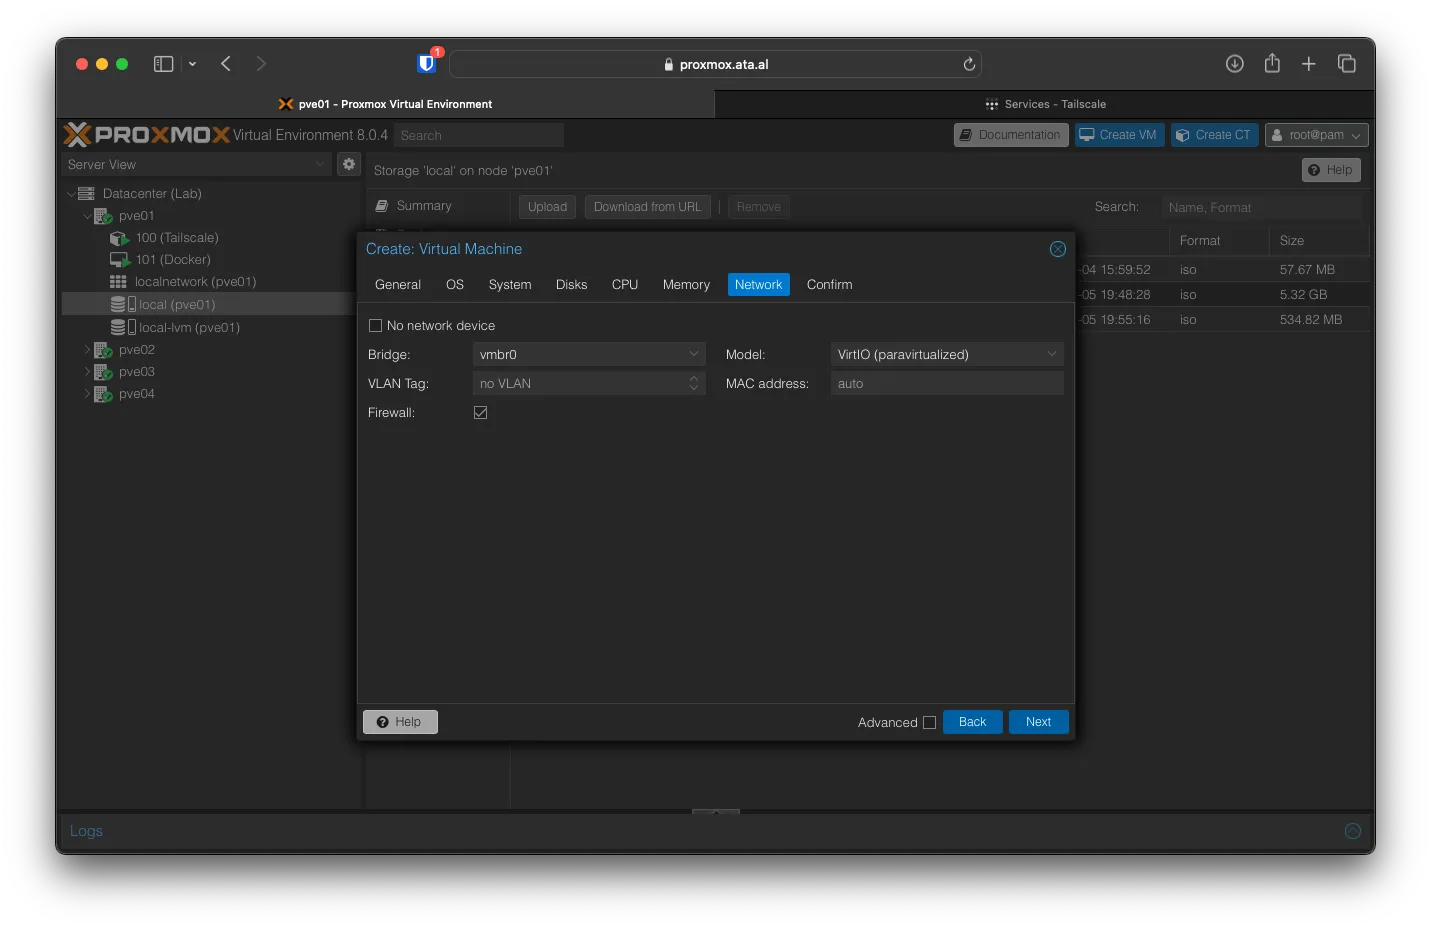
Under Networking, set Model to VirtIO (paravirtualized)
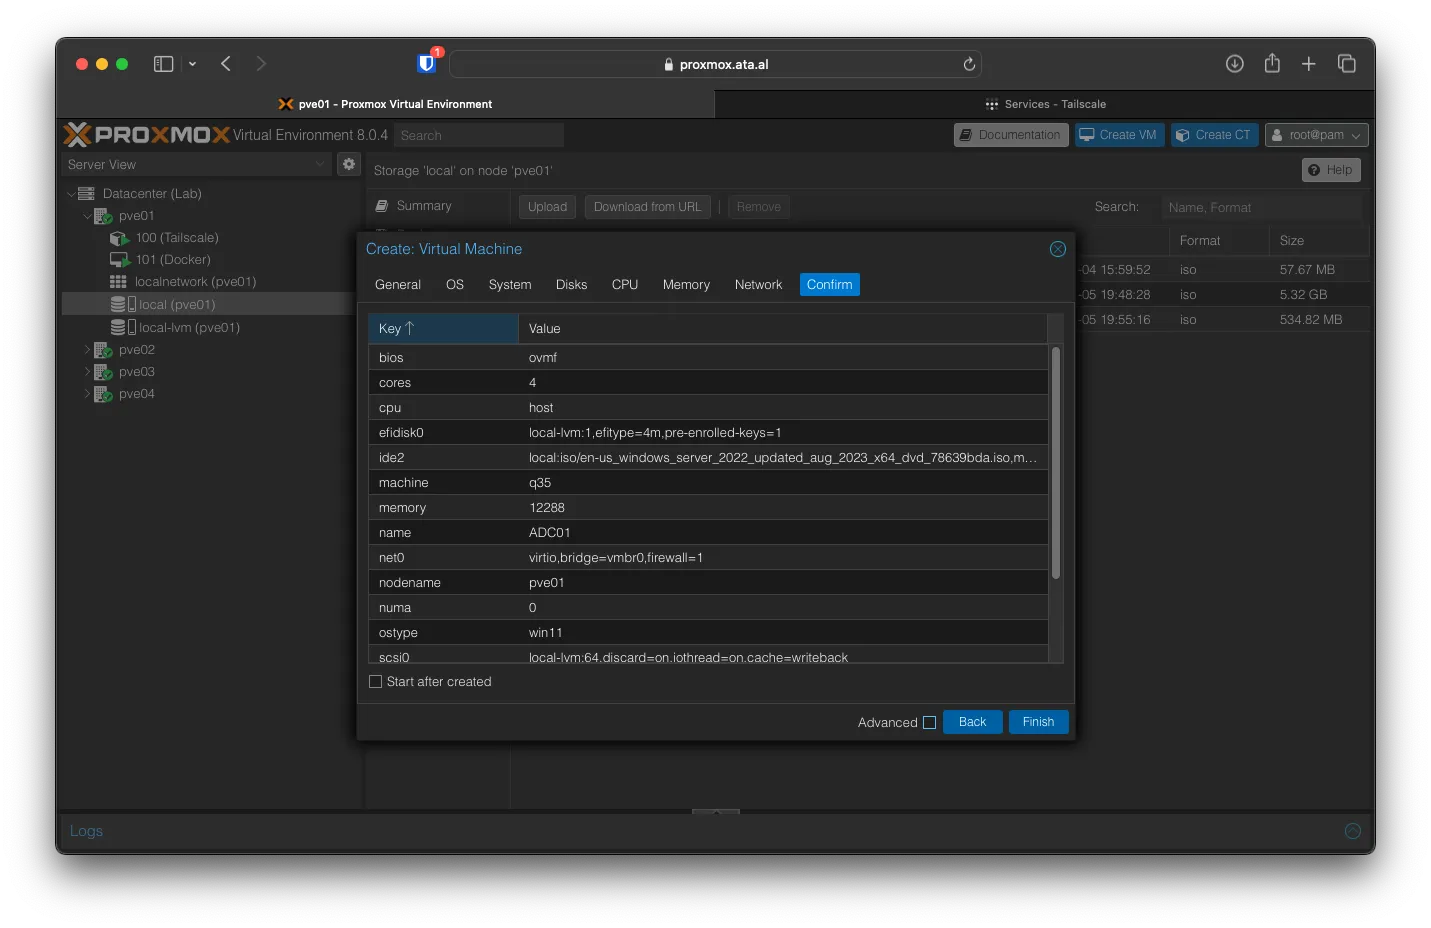
Confirm your setting and click on Finish.
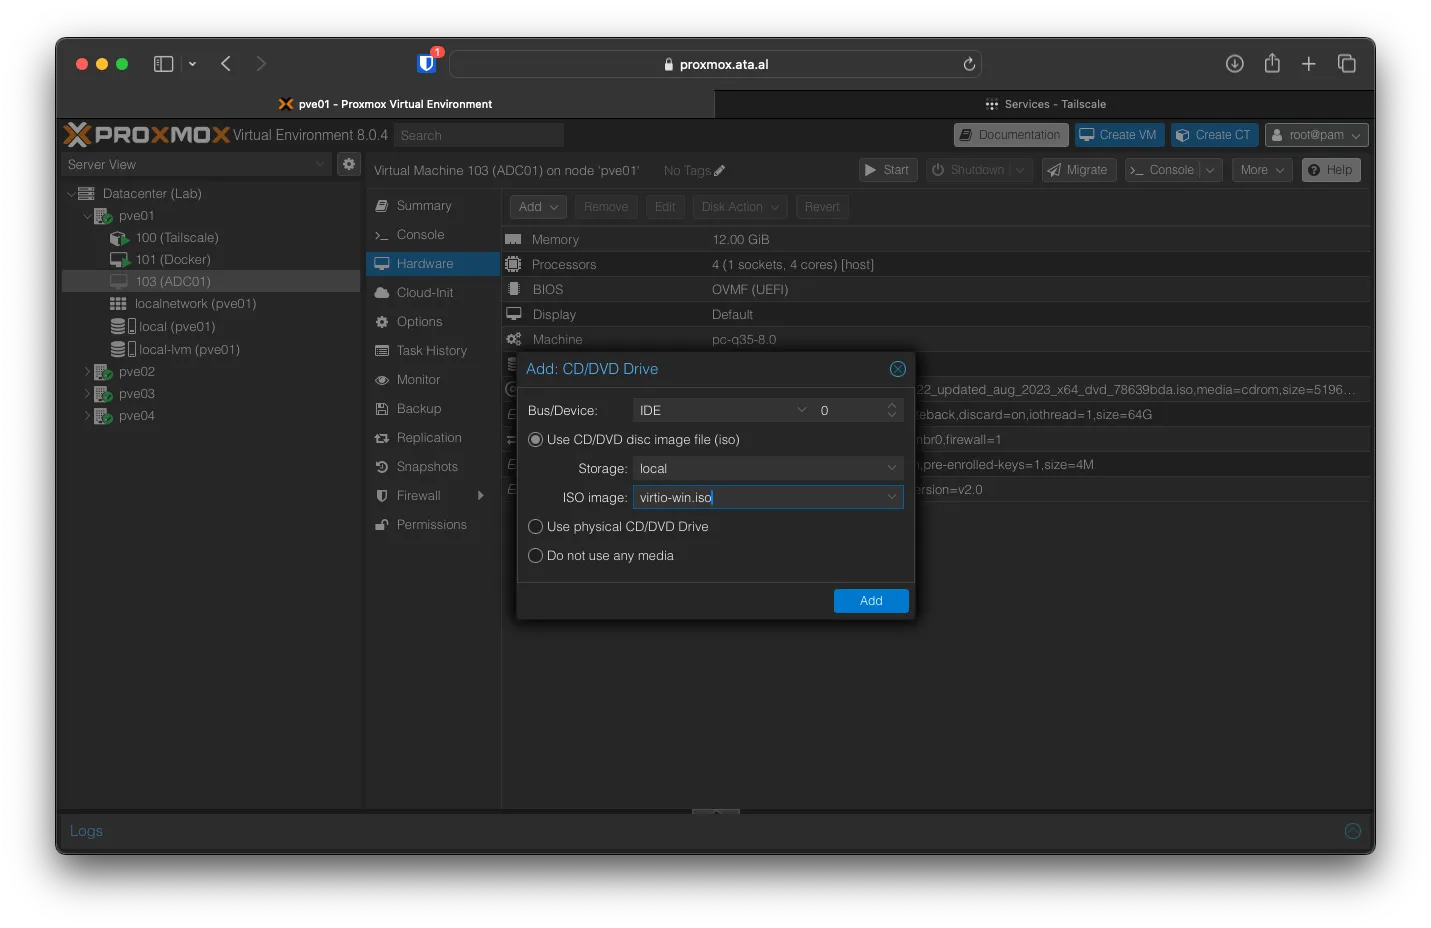
Under the new VM, go to Hardware -> Add -> CD/DVD
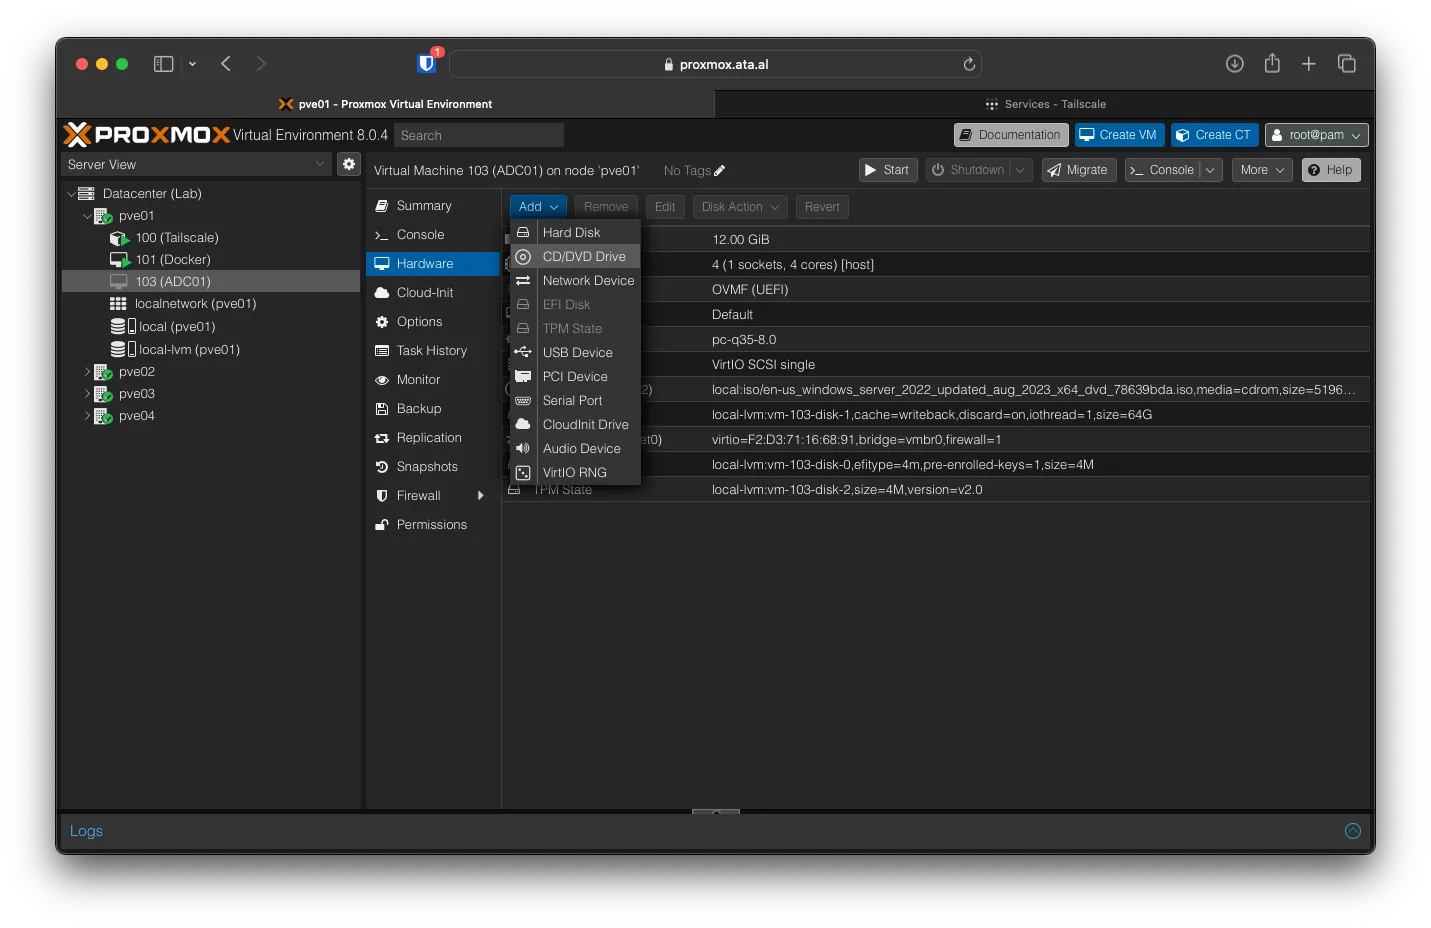
For the Bus/Device, choose IDE, and for ISO Image, select virtio-win.iso, then click on Add.
Booting the VM
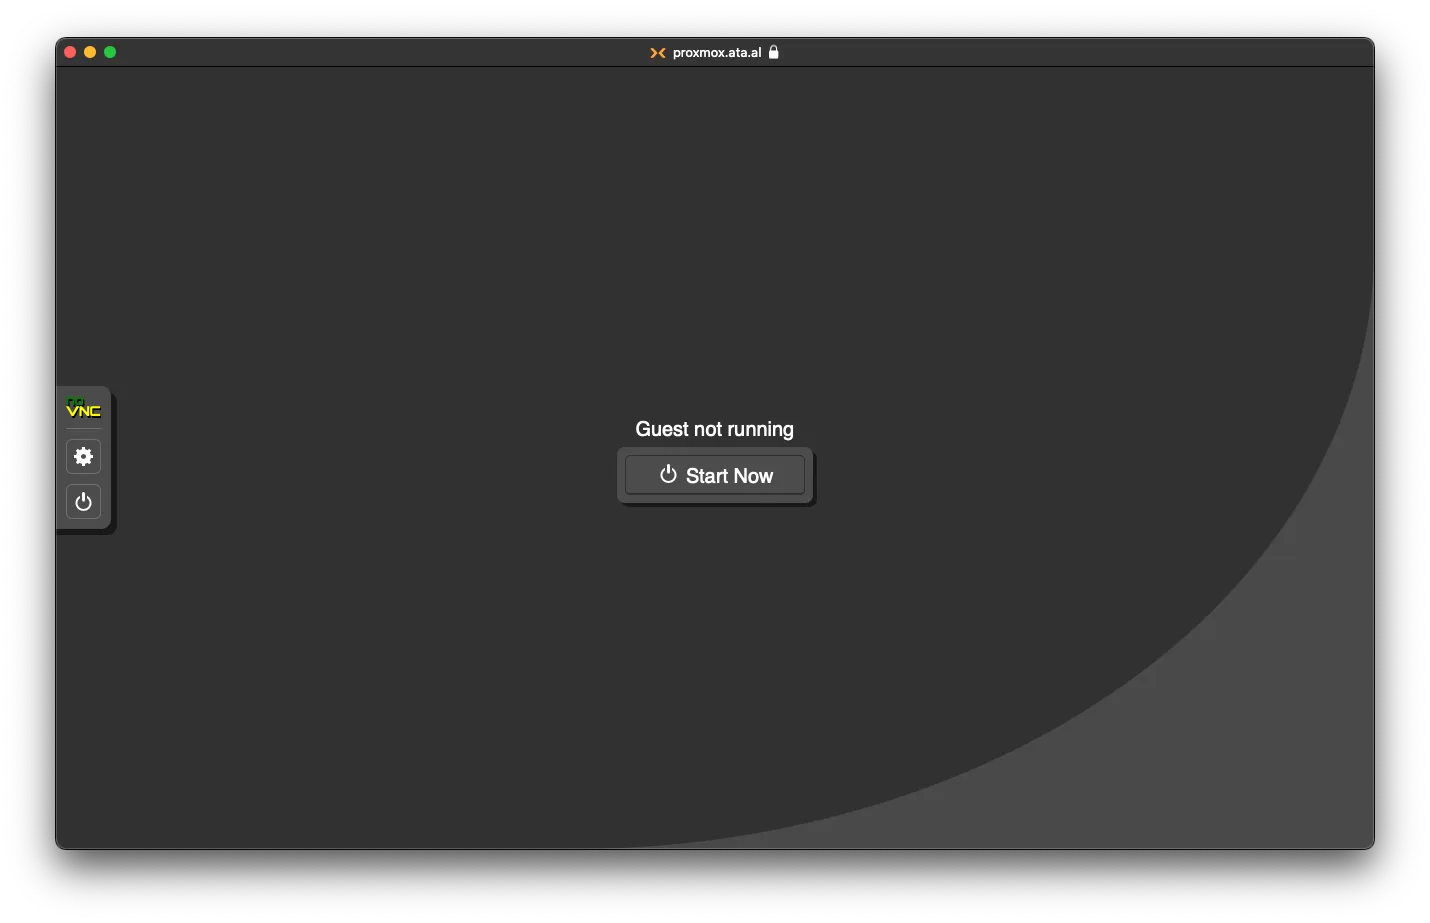
Click on Console, then Start Now.
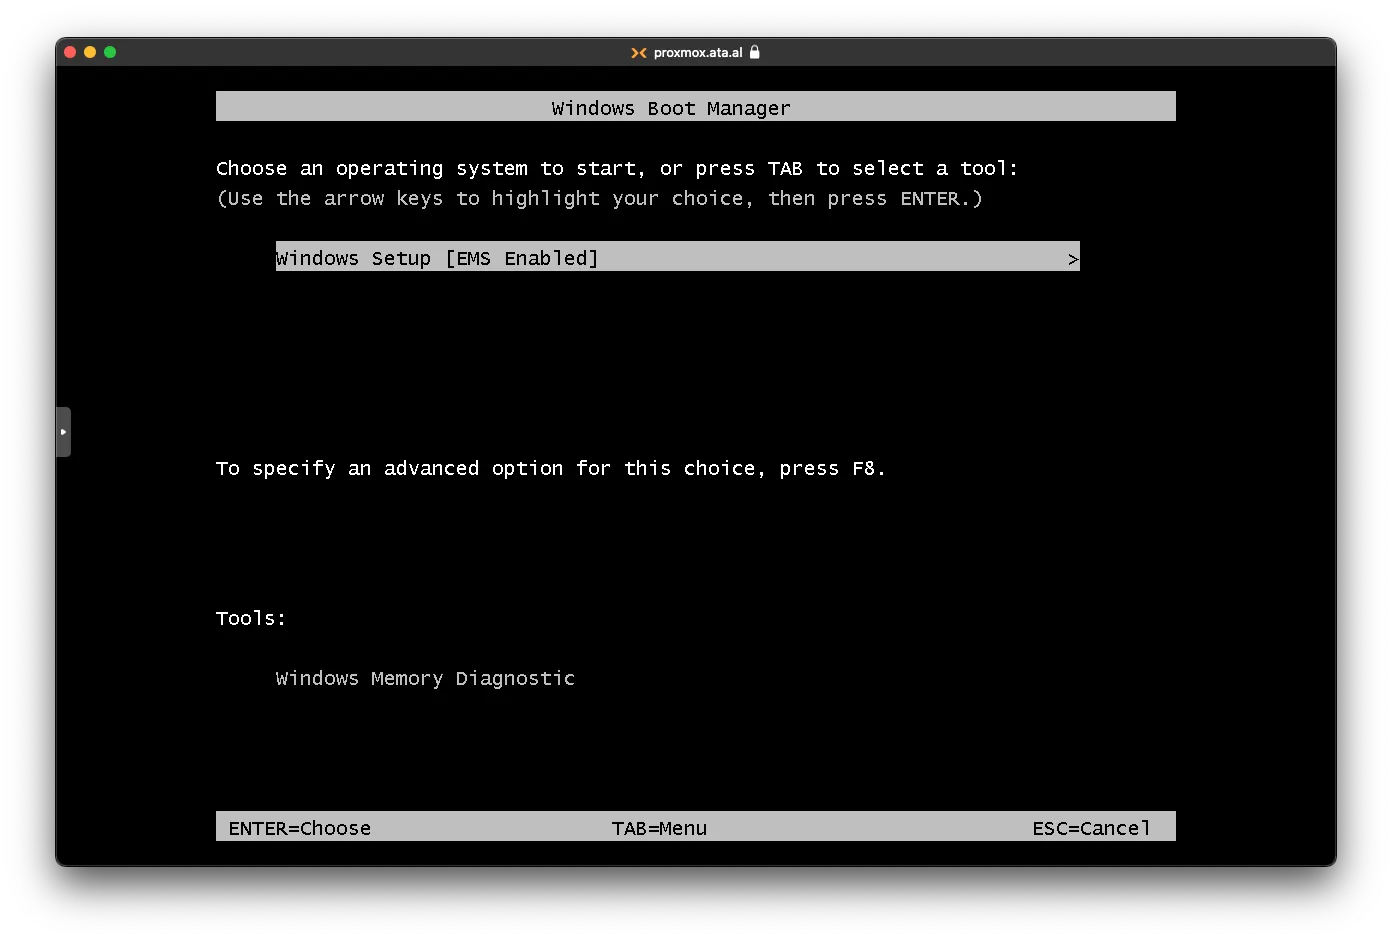
After the ISO loads, click on Windows Setup [EMS Enabled].
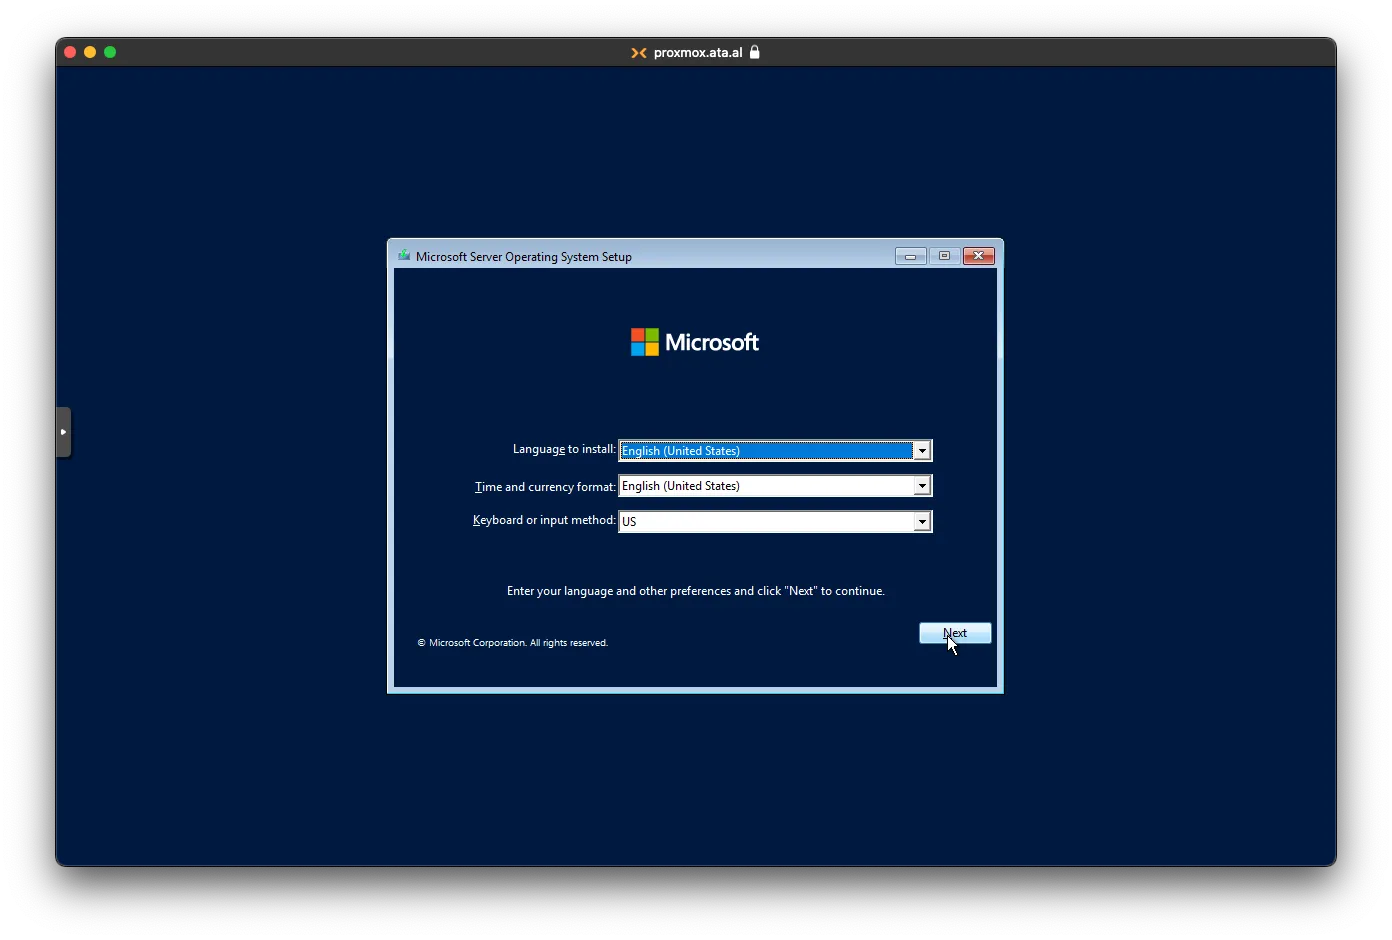
Keep the Language, Time, and Keyboard the same and click on Next.
Installing Windows Server 2022
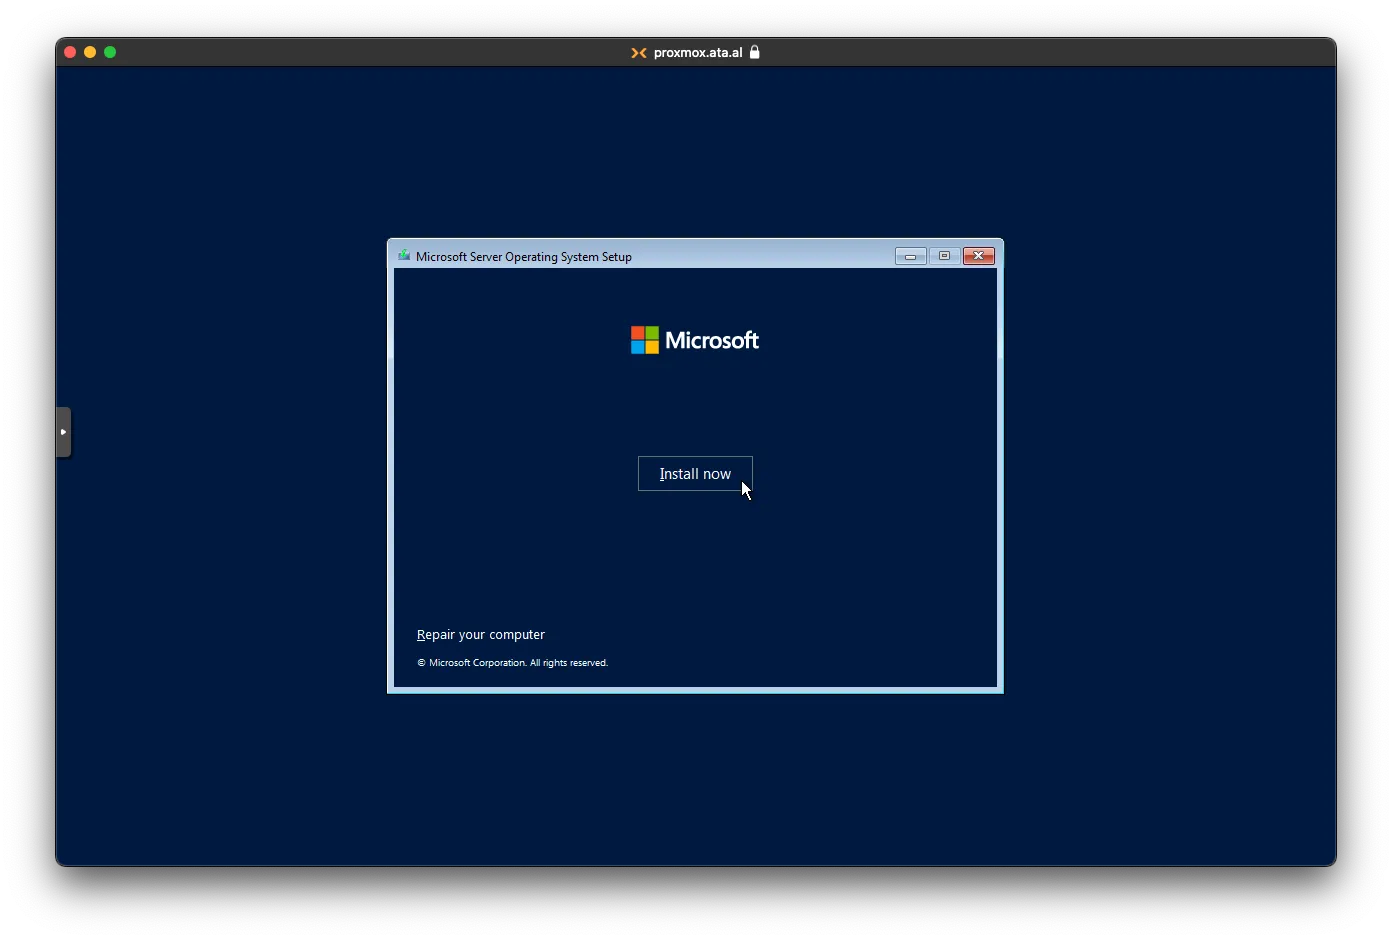
Press Install now
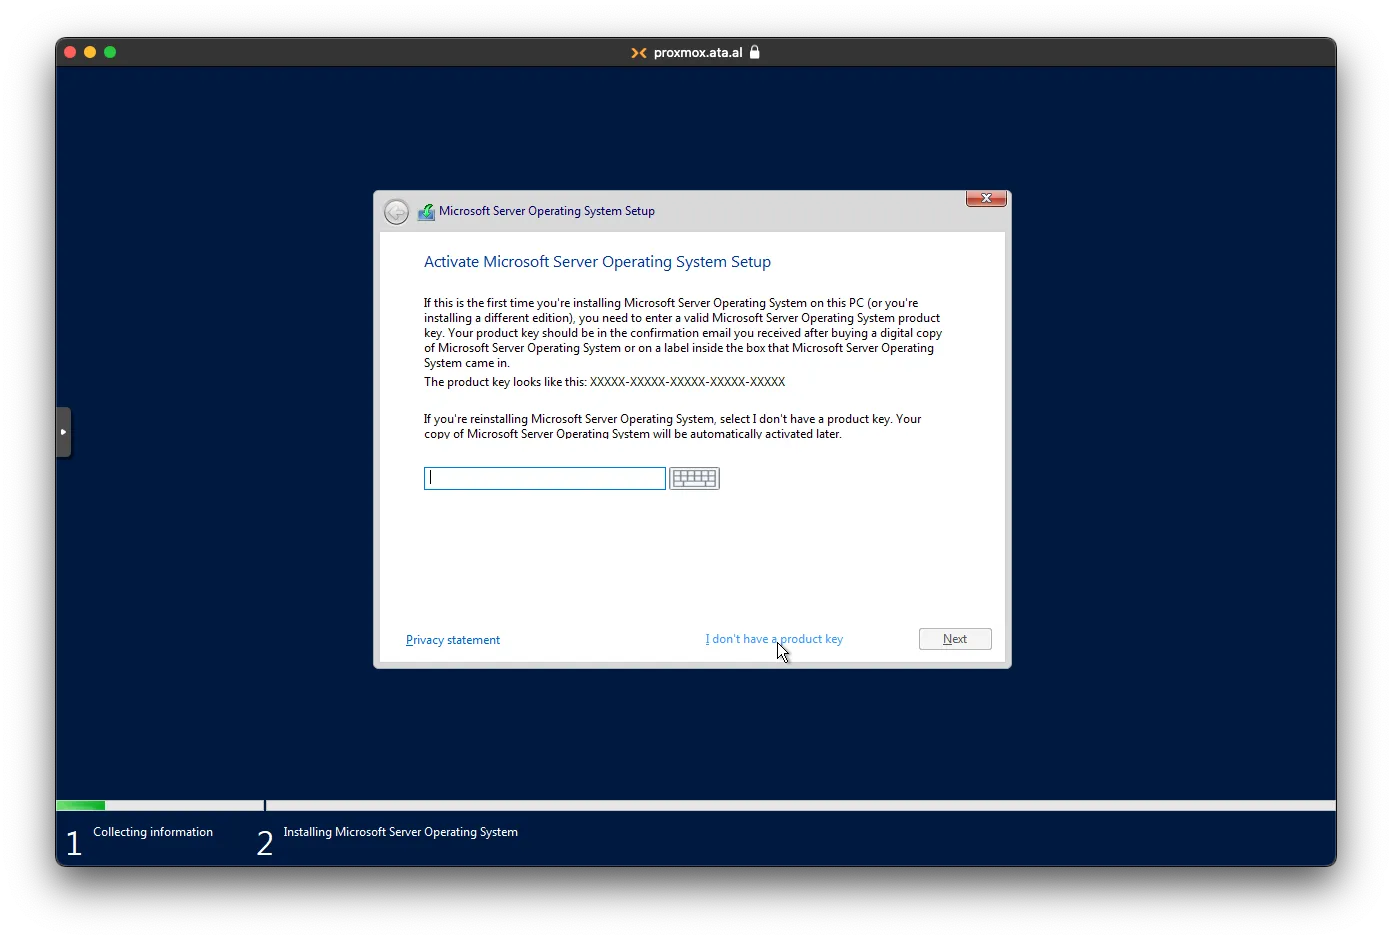
You can skip the Product Key.
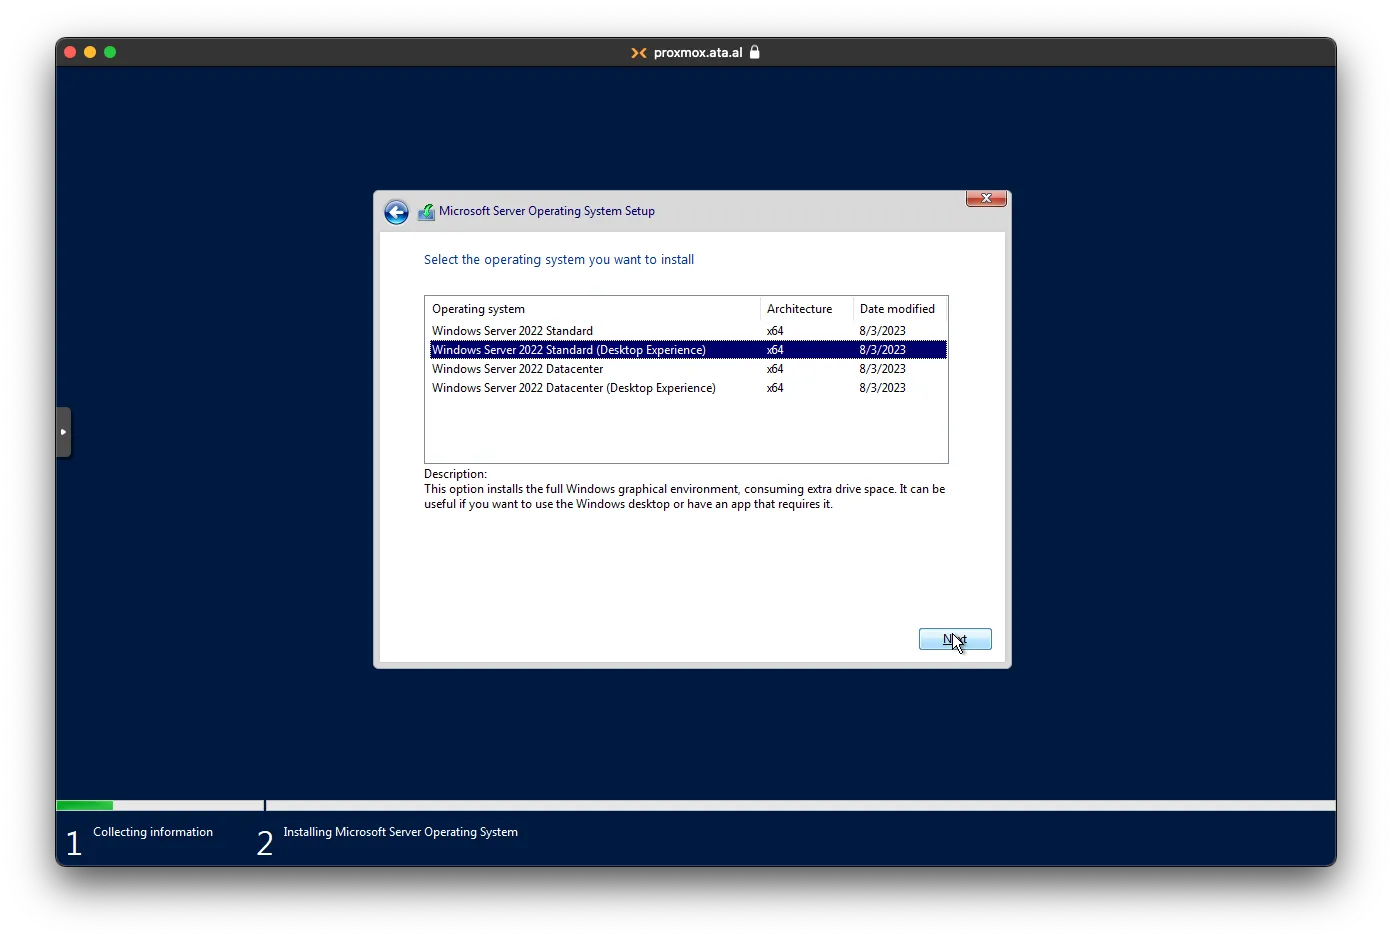
You can choose whichever Desktop Experience one. Standard only allows 1 Hypervisor and 2 VMs, but Datacenter allows multiple as well as virtual networks
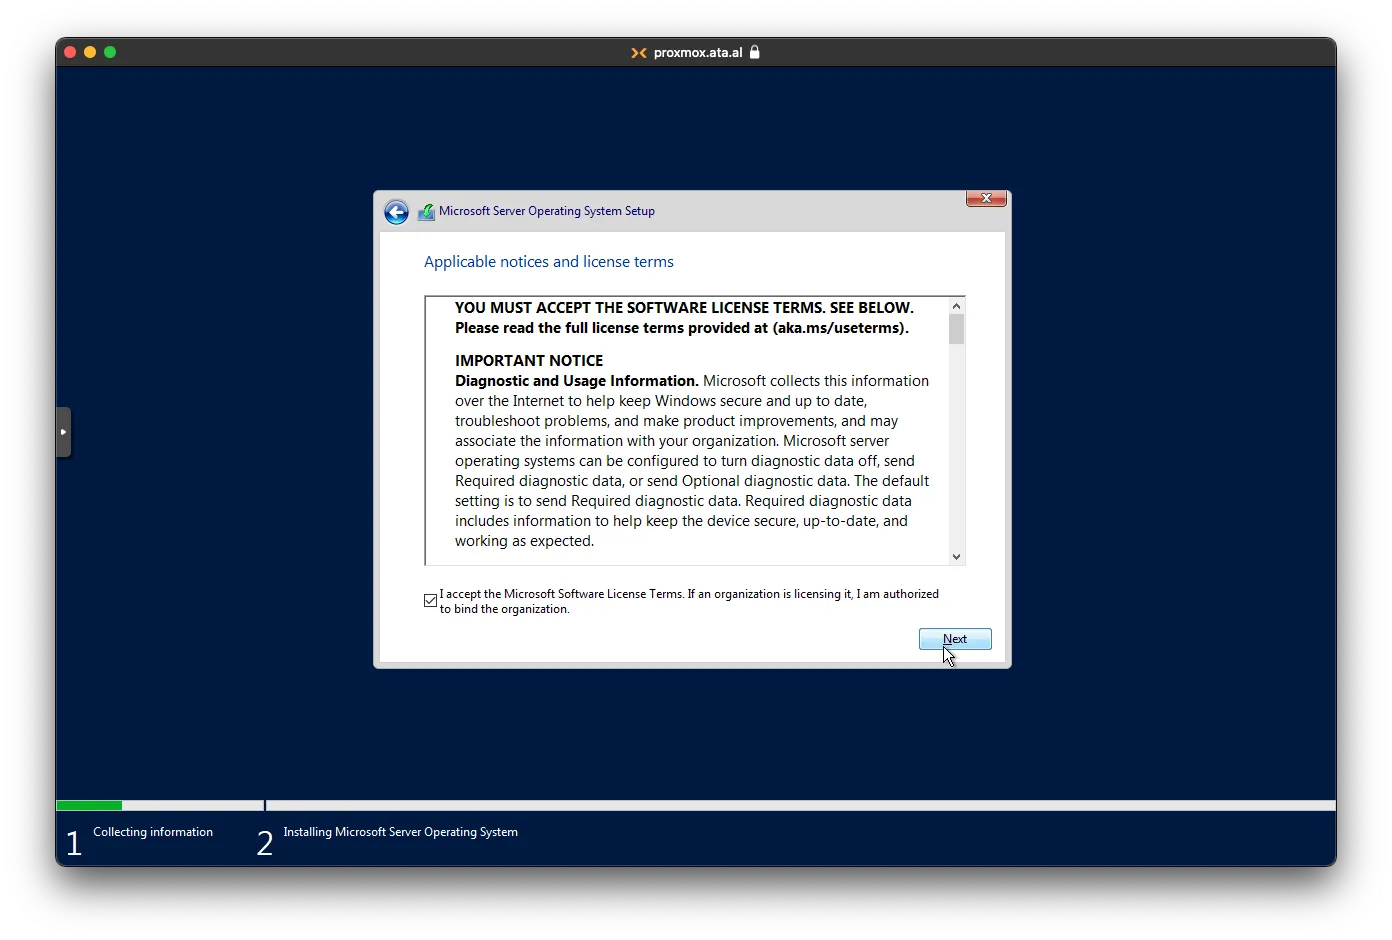
Agree to the terms and click on Next.
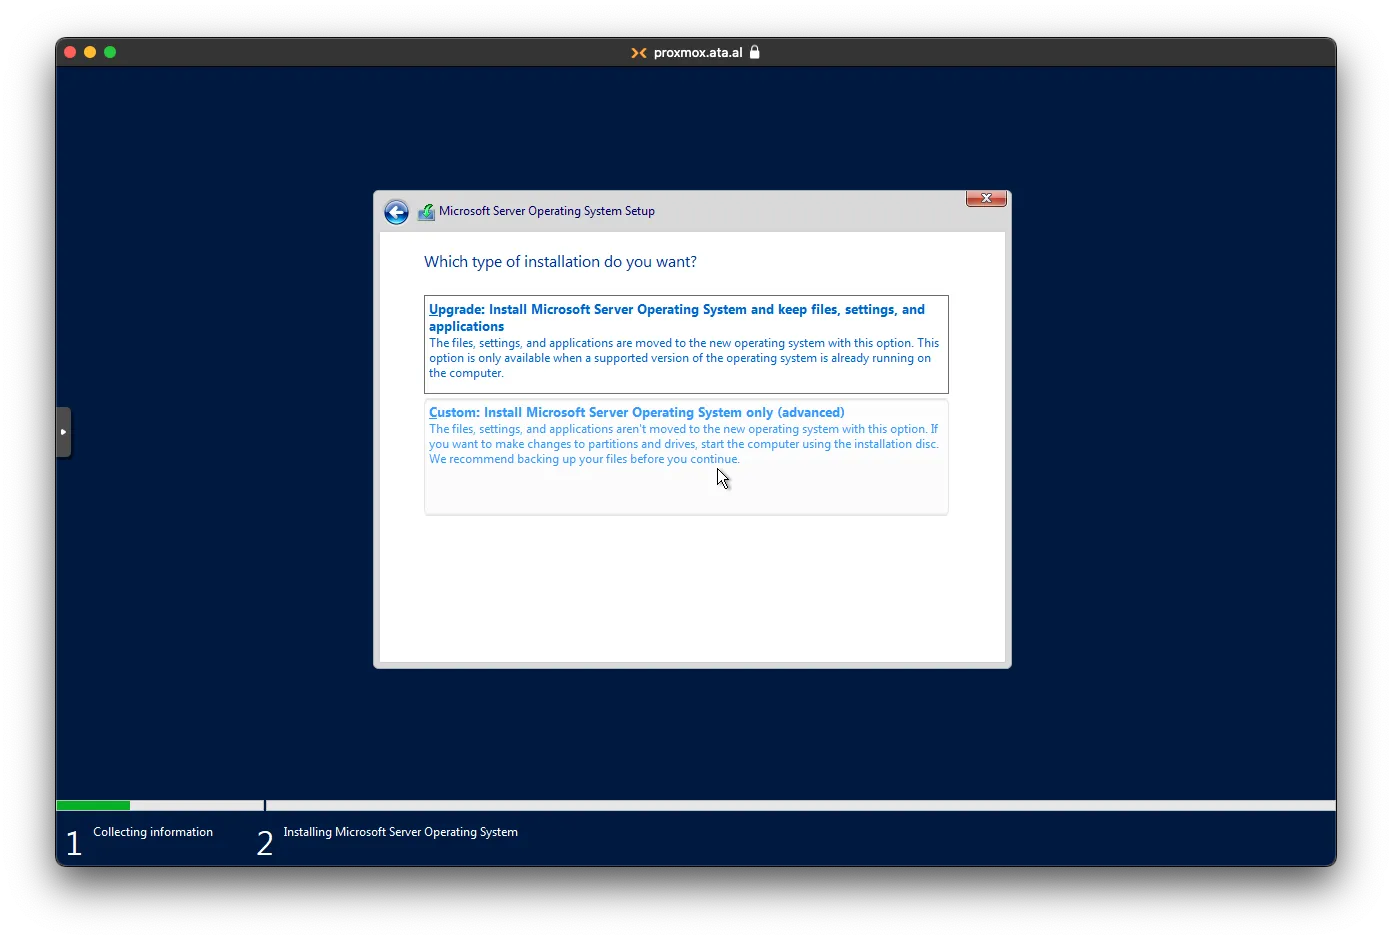
Choose Custom as there is no OS installed
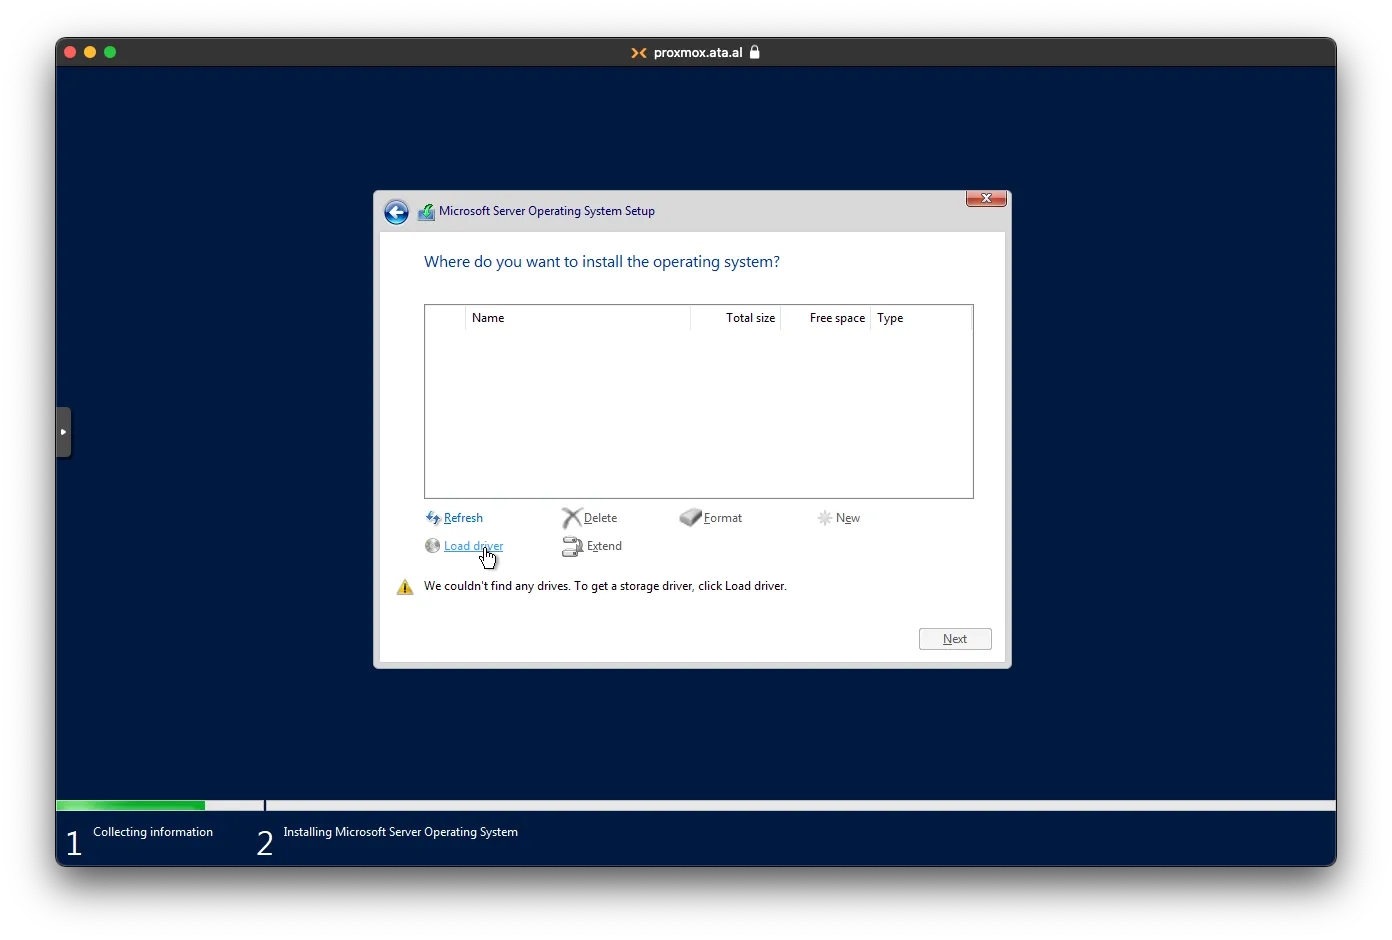
Loading VirtIO Drivers
Once you load, windows won’t be able to find the virtual drive as VirtIO drivers are not installed by default; click on Load Driver.
Click on Browse
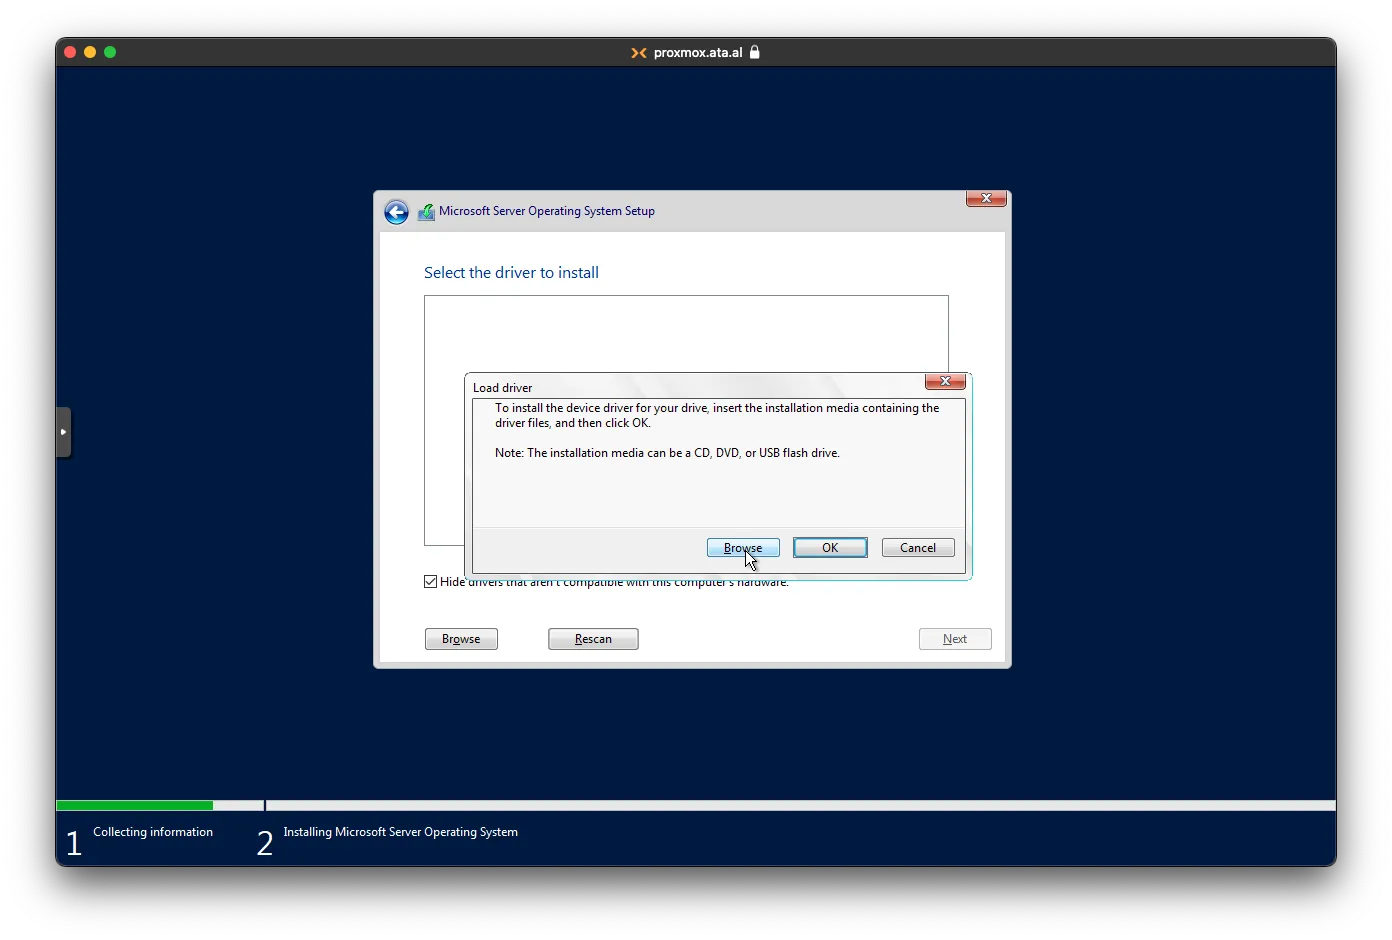
Select the virtual CD drive virt-win-x.x.xxxx
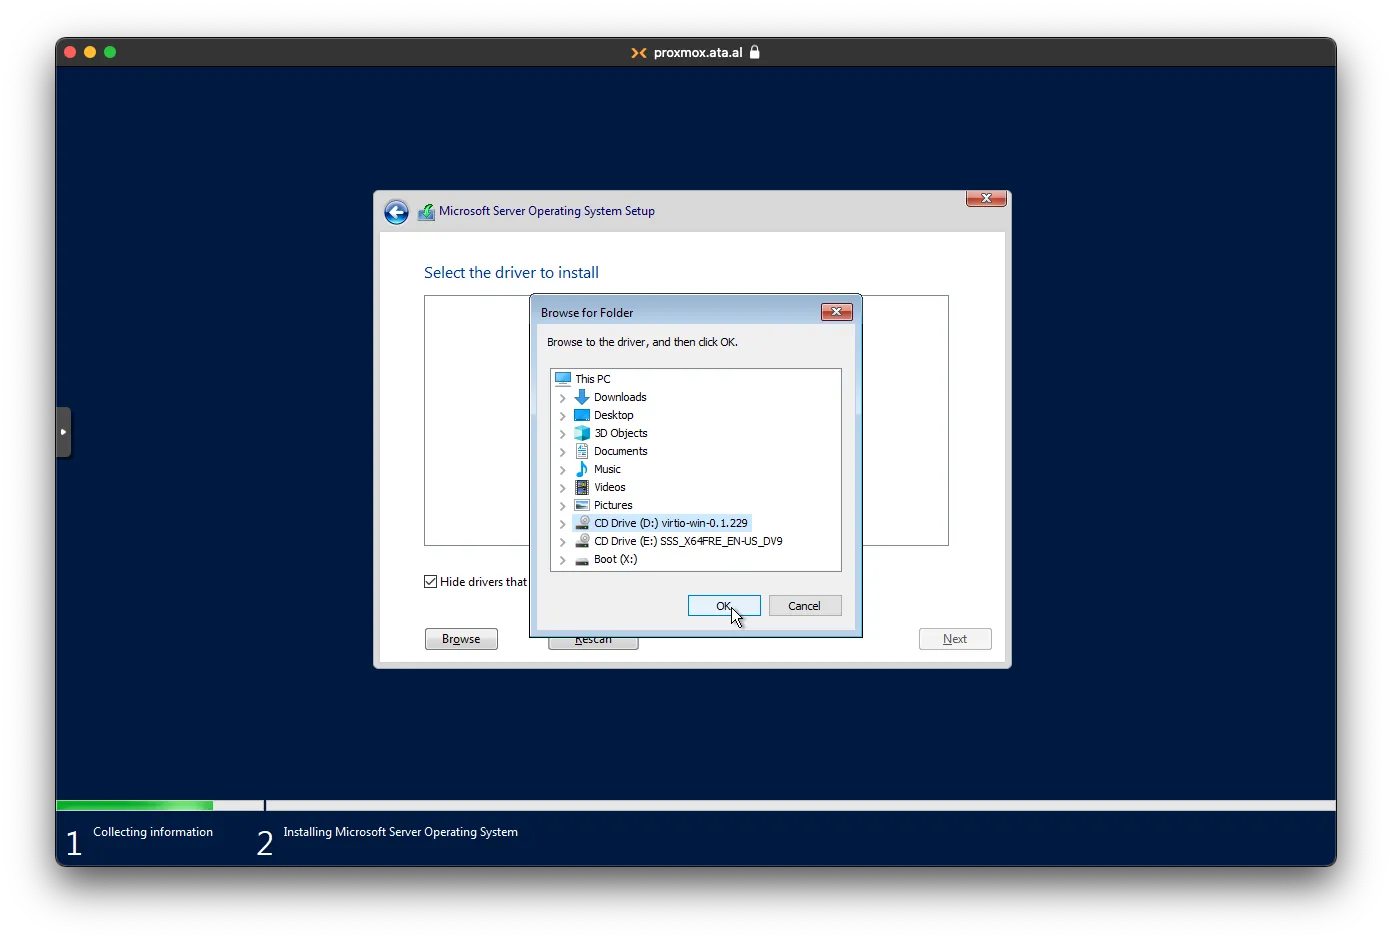
Browse to amd64 then the 2k22 folder and click on OK.

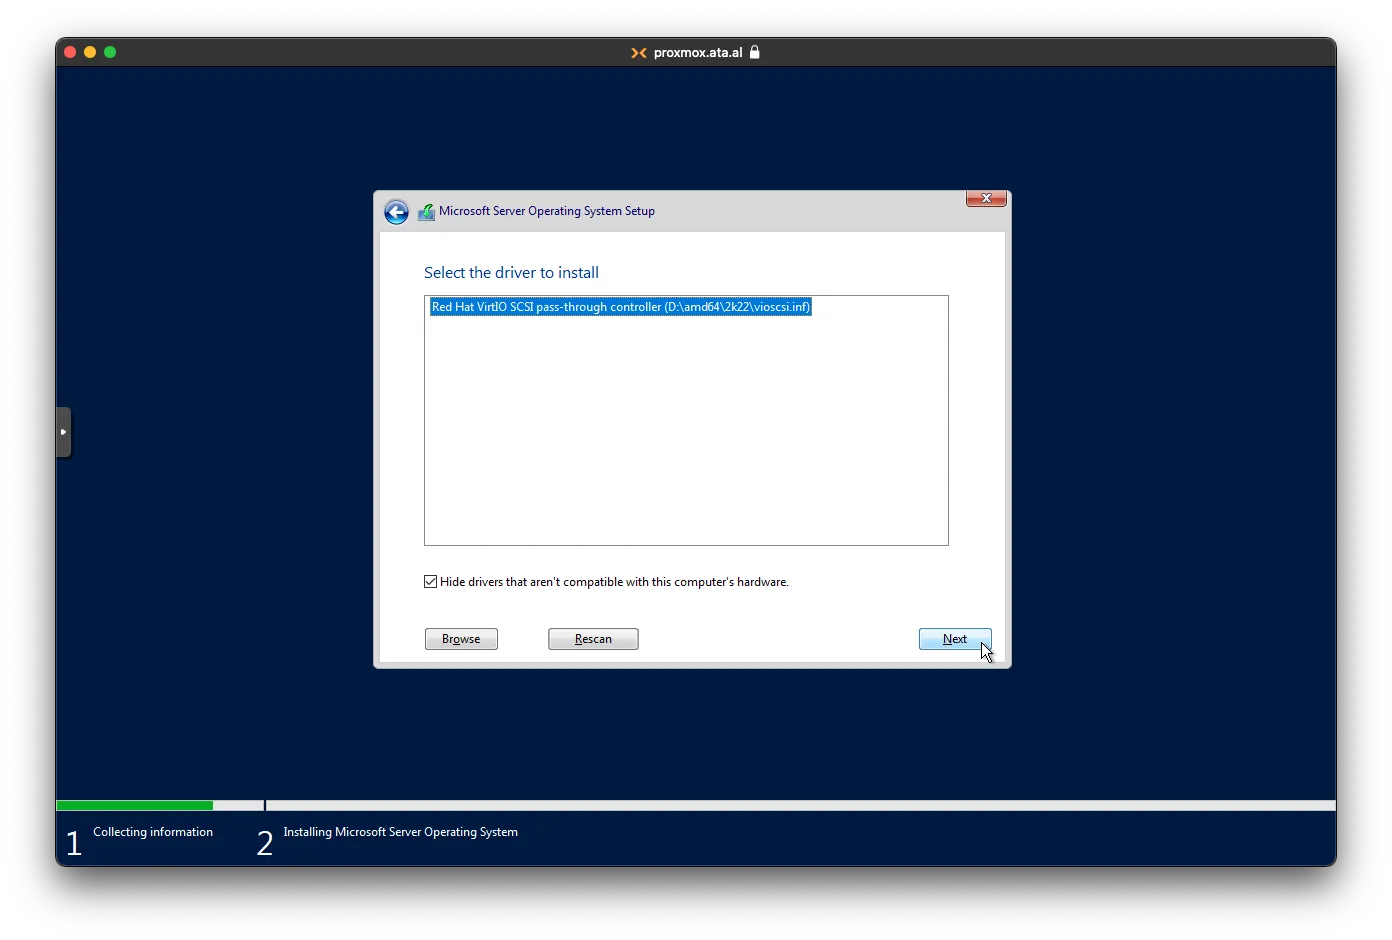
After some time, the correct driver will load. Select it and click on Next.
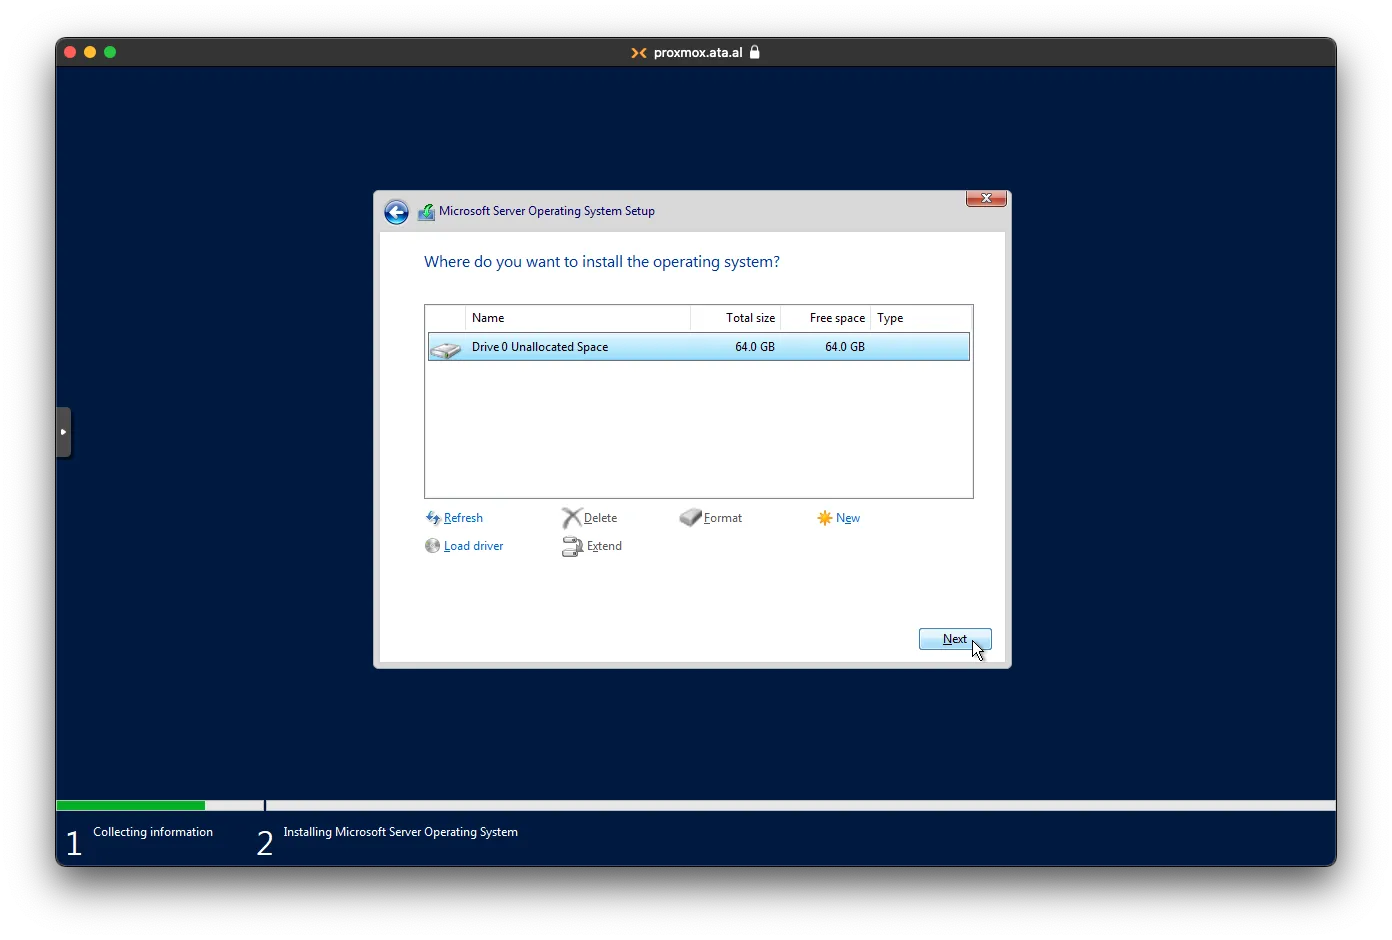
On this page, select the new Drive 0, click on Next.
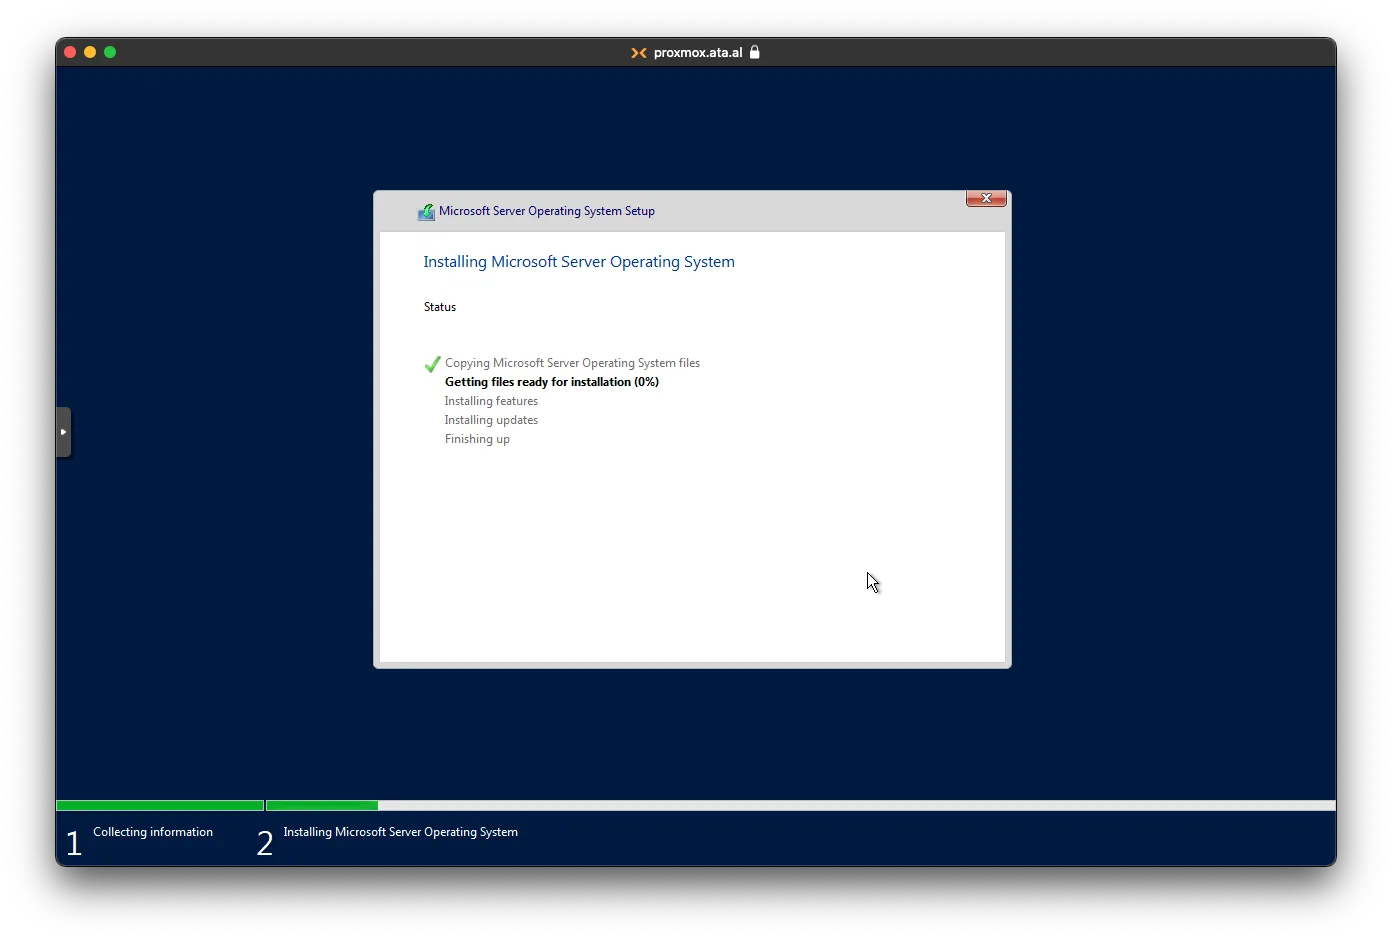
Wait until Windows is done copying the file; it will reboot a couple of times to finish the installation.
Creating an Admin Password
After it comes back online, you will need to enter an Admin password
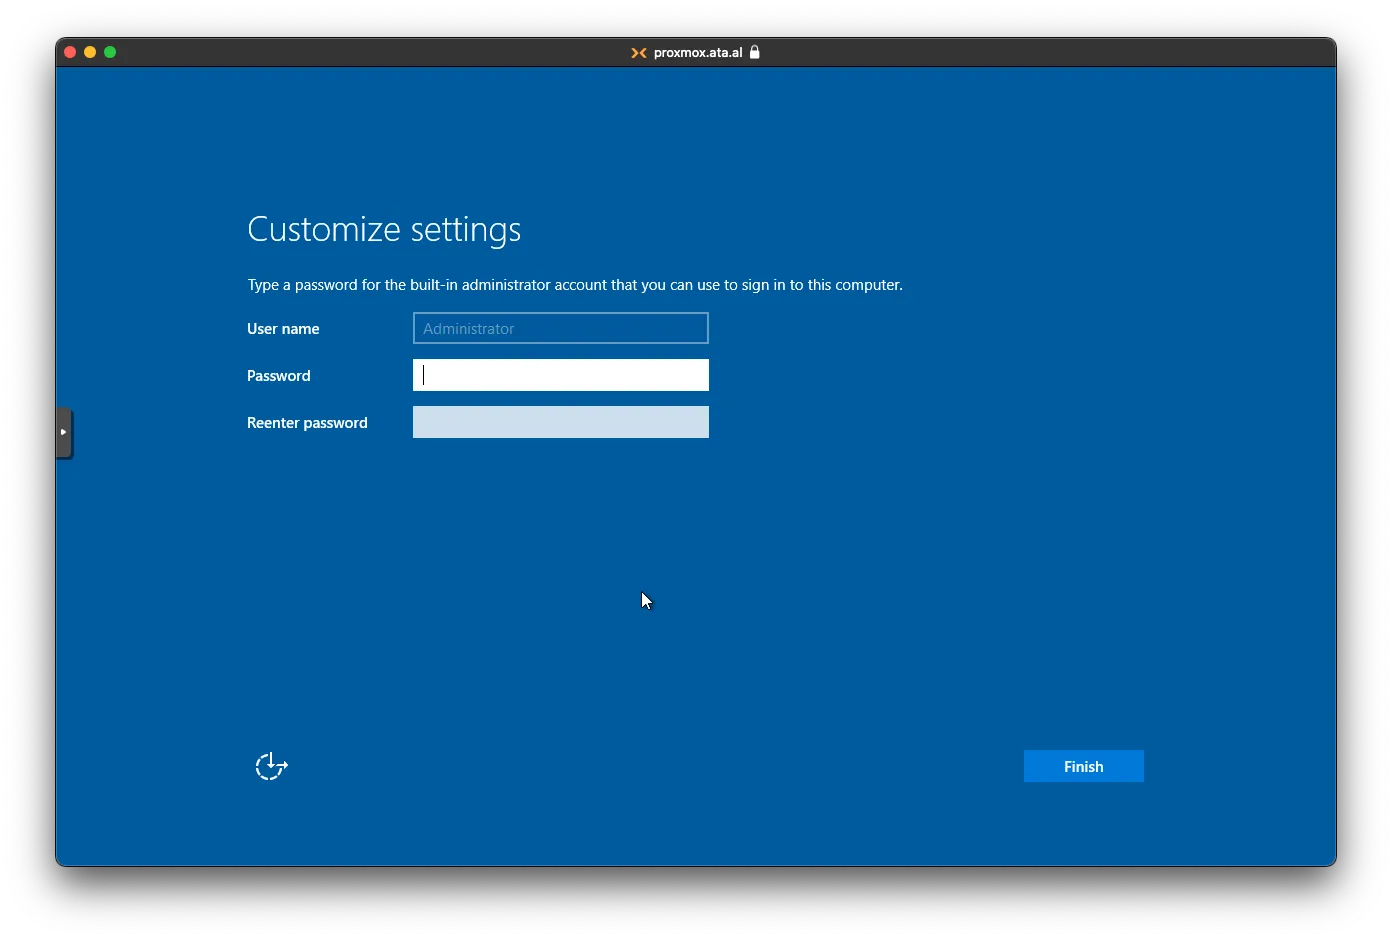
Type it in twice and click on Finish

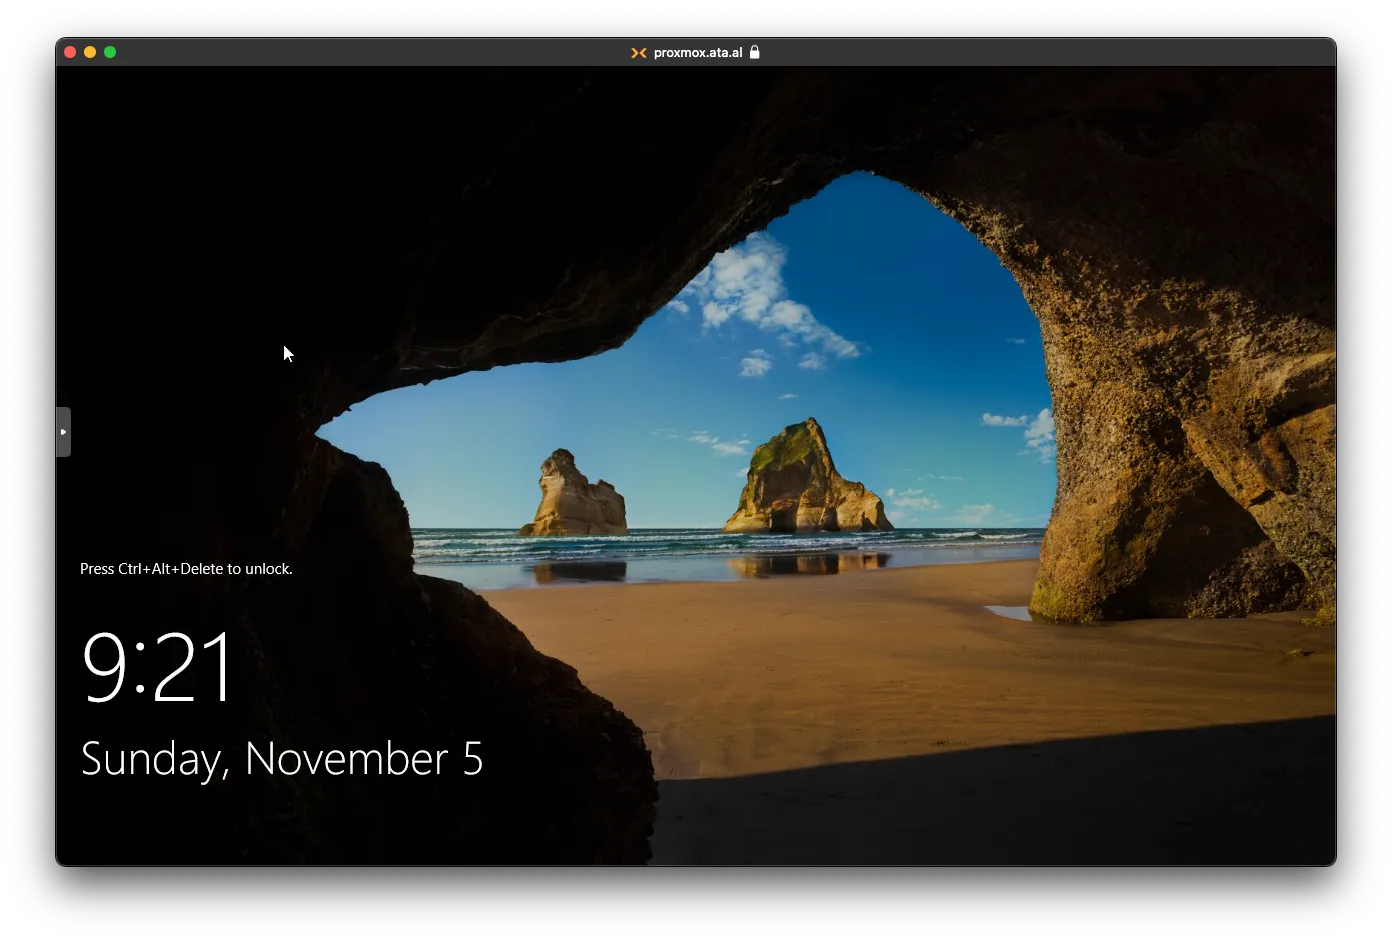
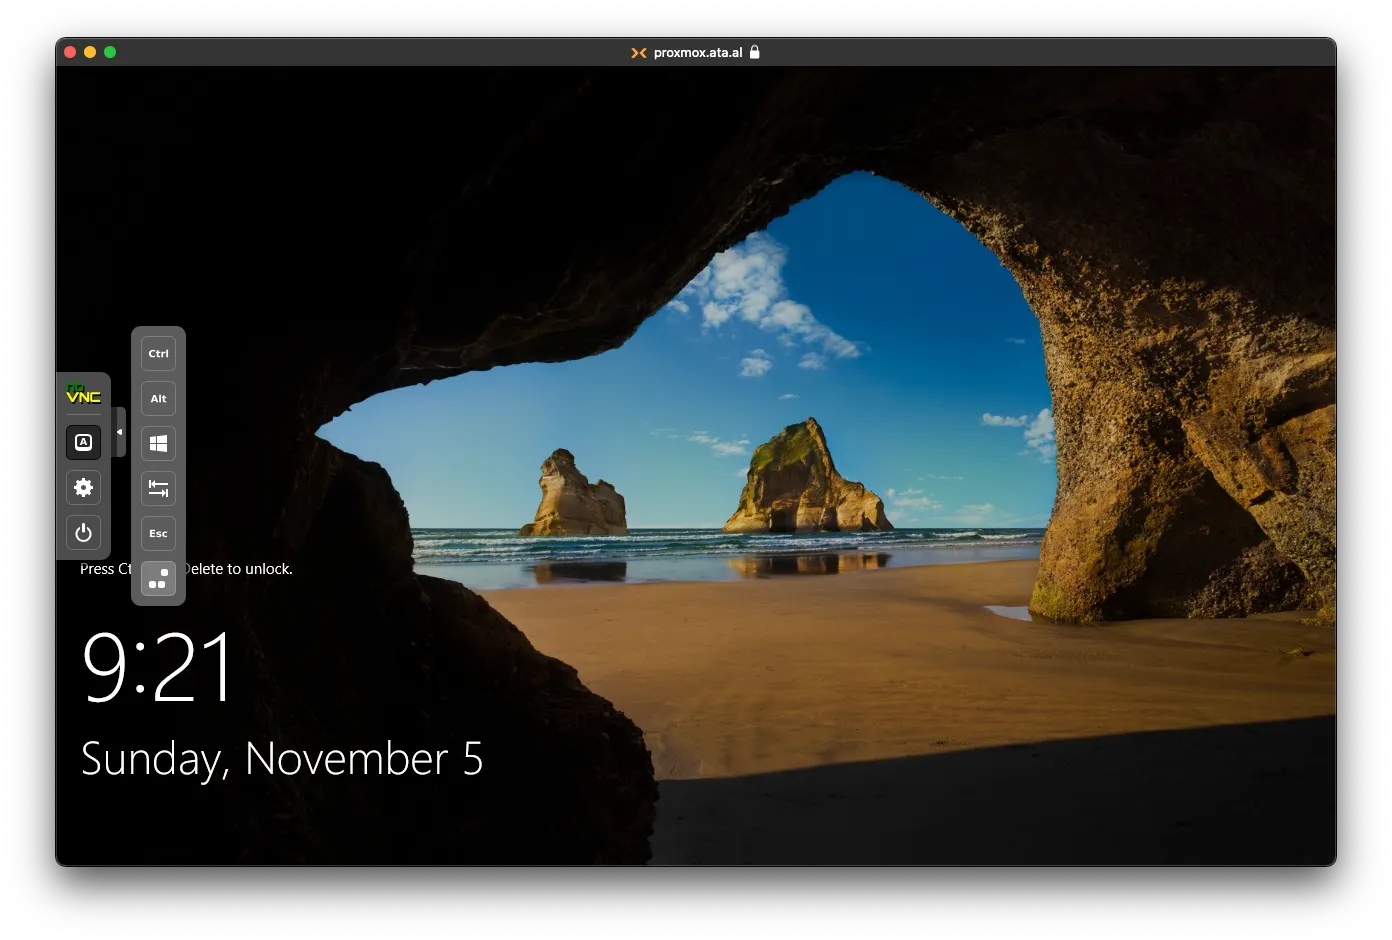
On the Login screen, you won’t able to hit Ctrl+Alt+Delete as those keys won’t pass through the console
Click the Arrow on the Left side, press on the A button, then the one that has the outline for Ctrl+Alt+Delete
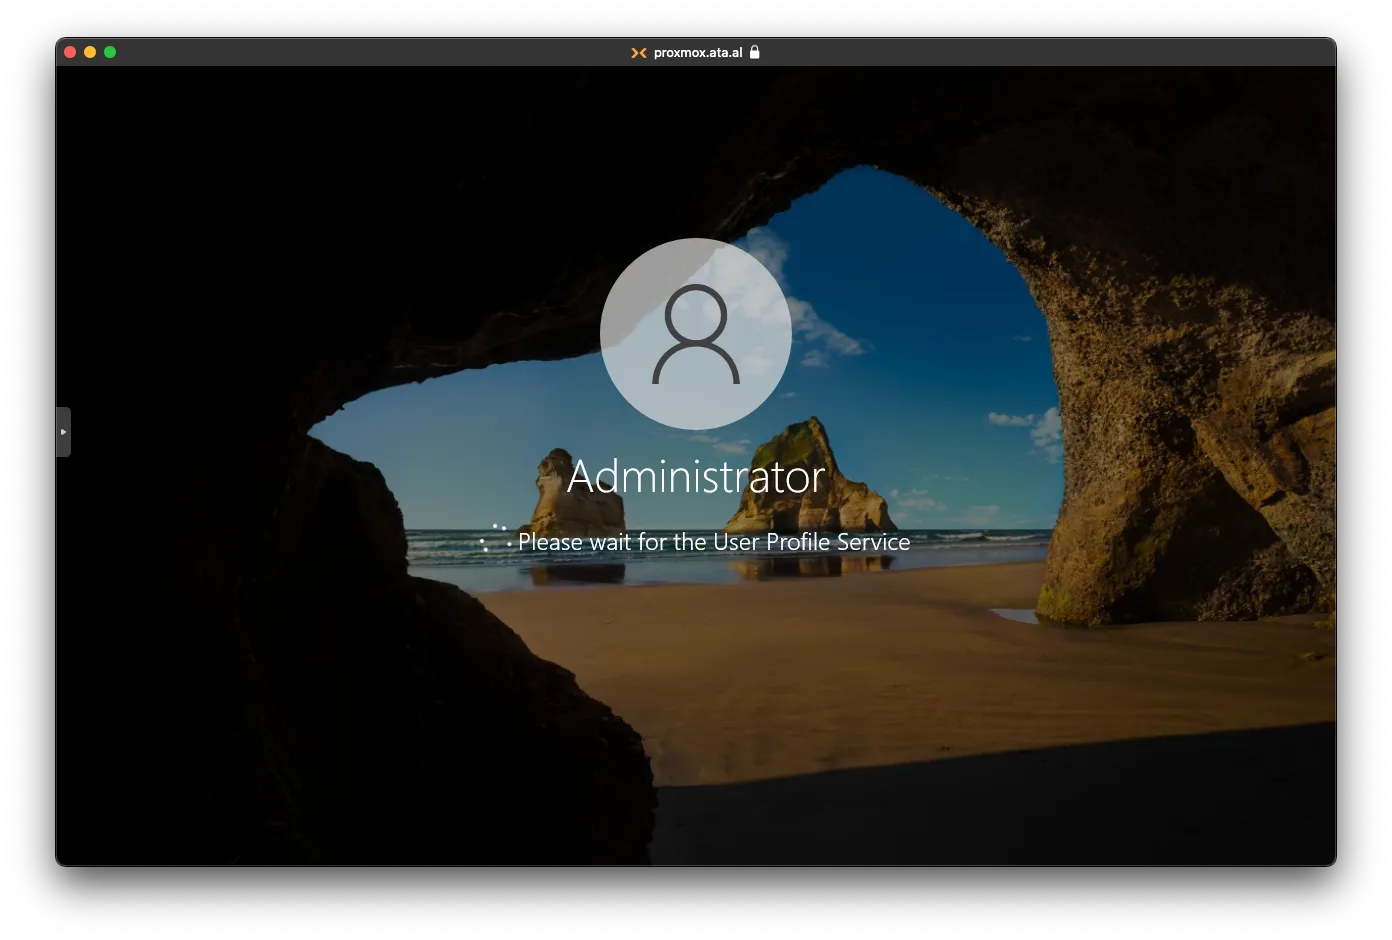
From the Login screen, enter your password and click enter
After the desktop loads, you will find Server Manager auto opens. Close that
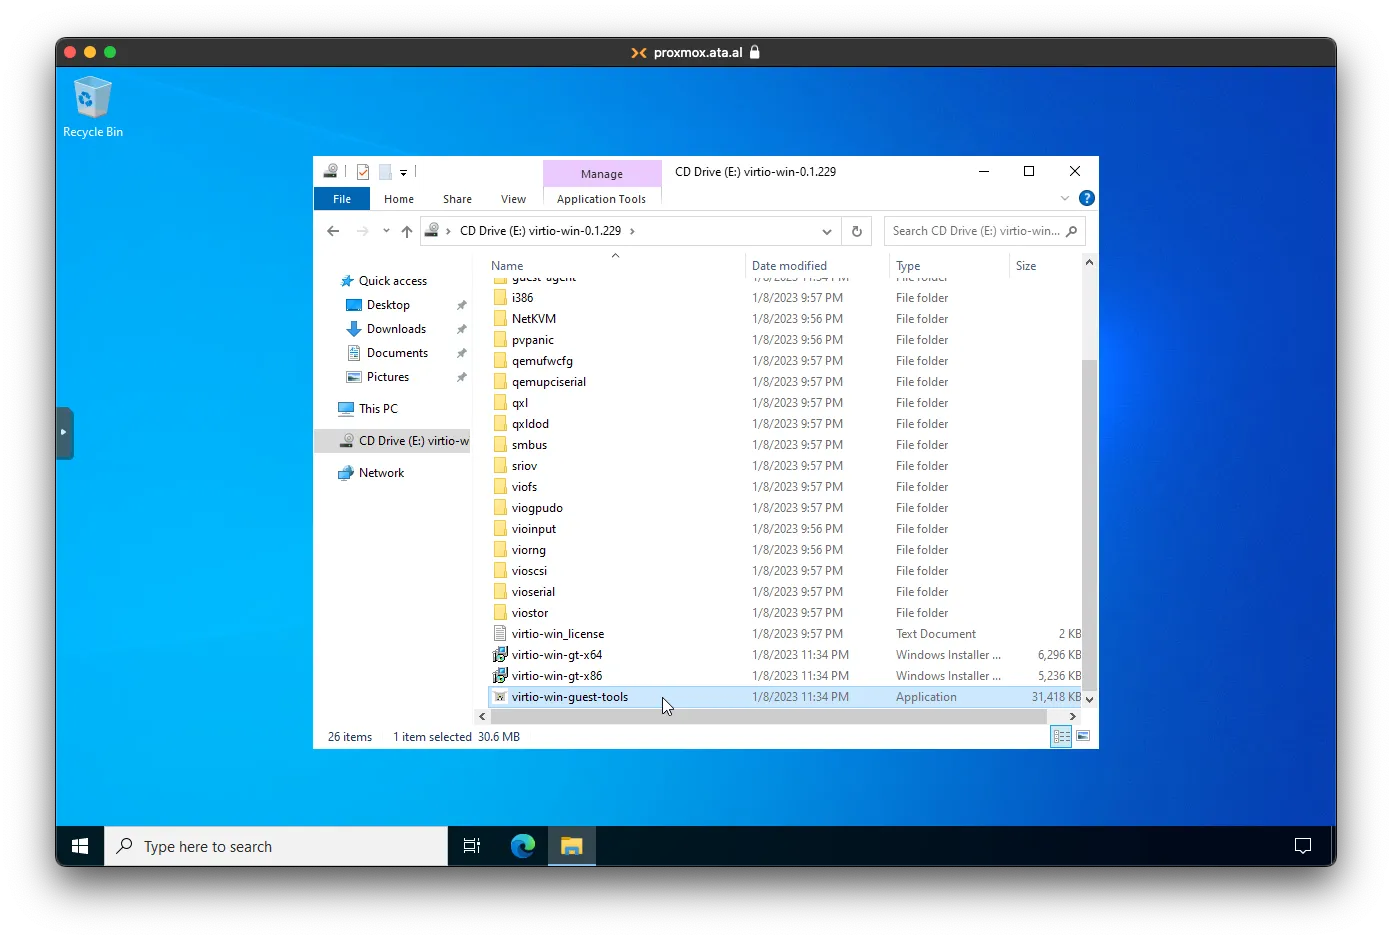
Instlling the rest of VirtIO Drivers
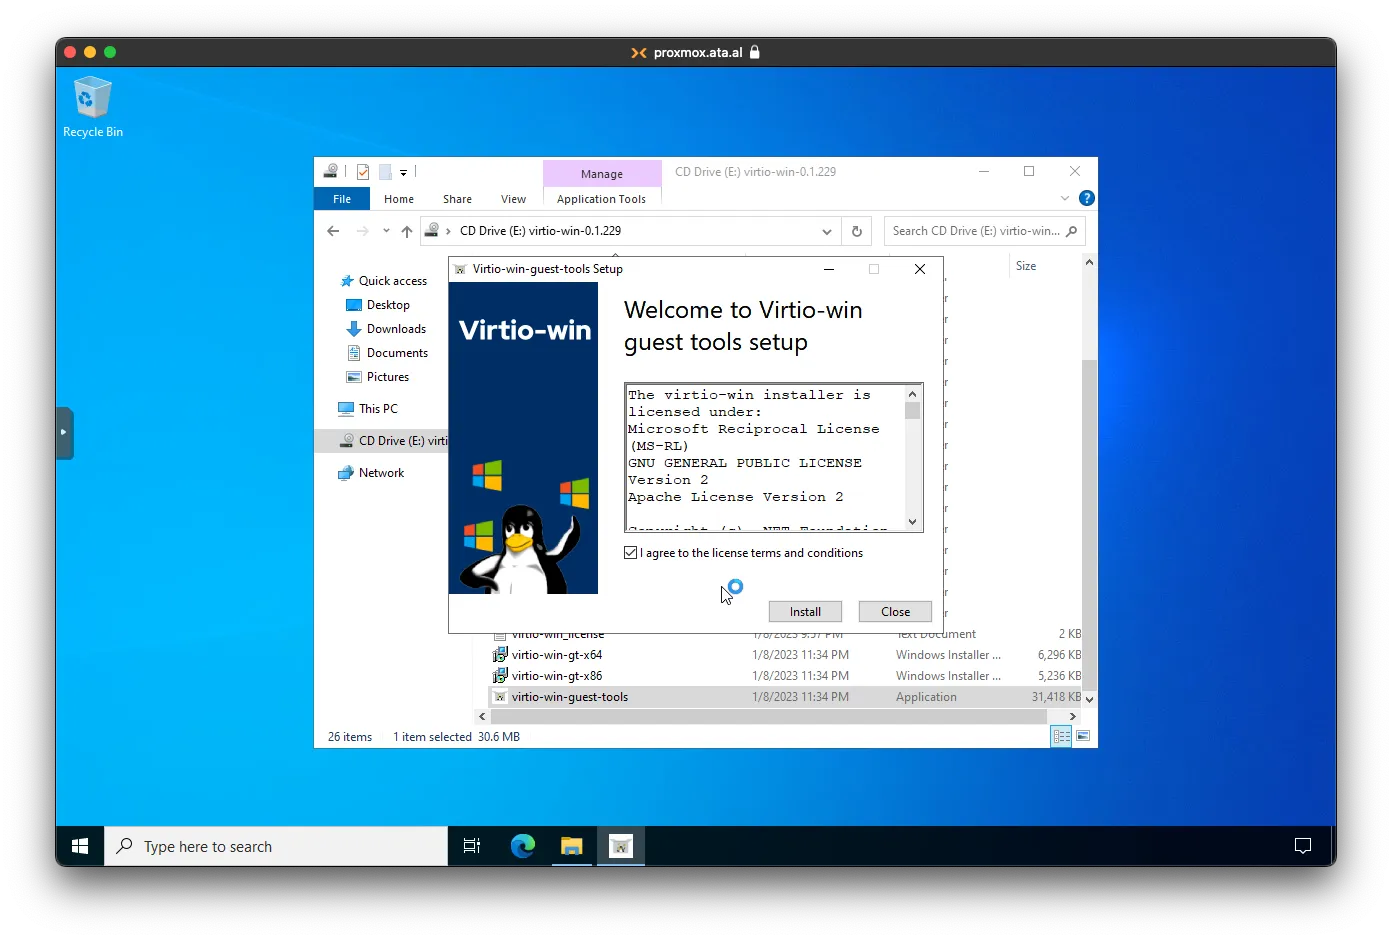
Open the Windows file explore and navigate to the Virtio-Win image, and run the virtio-win-guest-tools.exe
Agree to the terms and click on Install
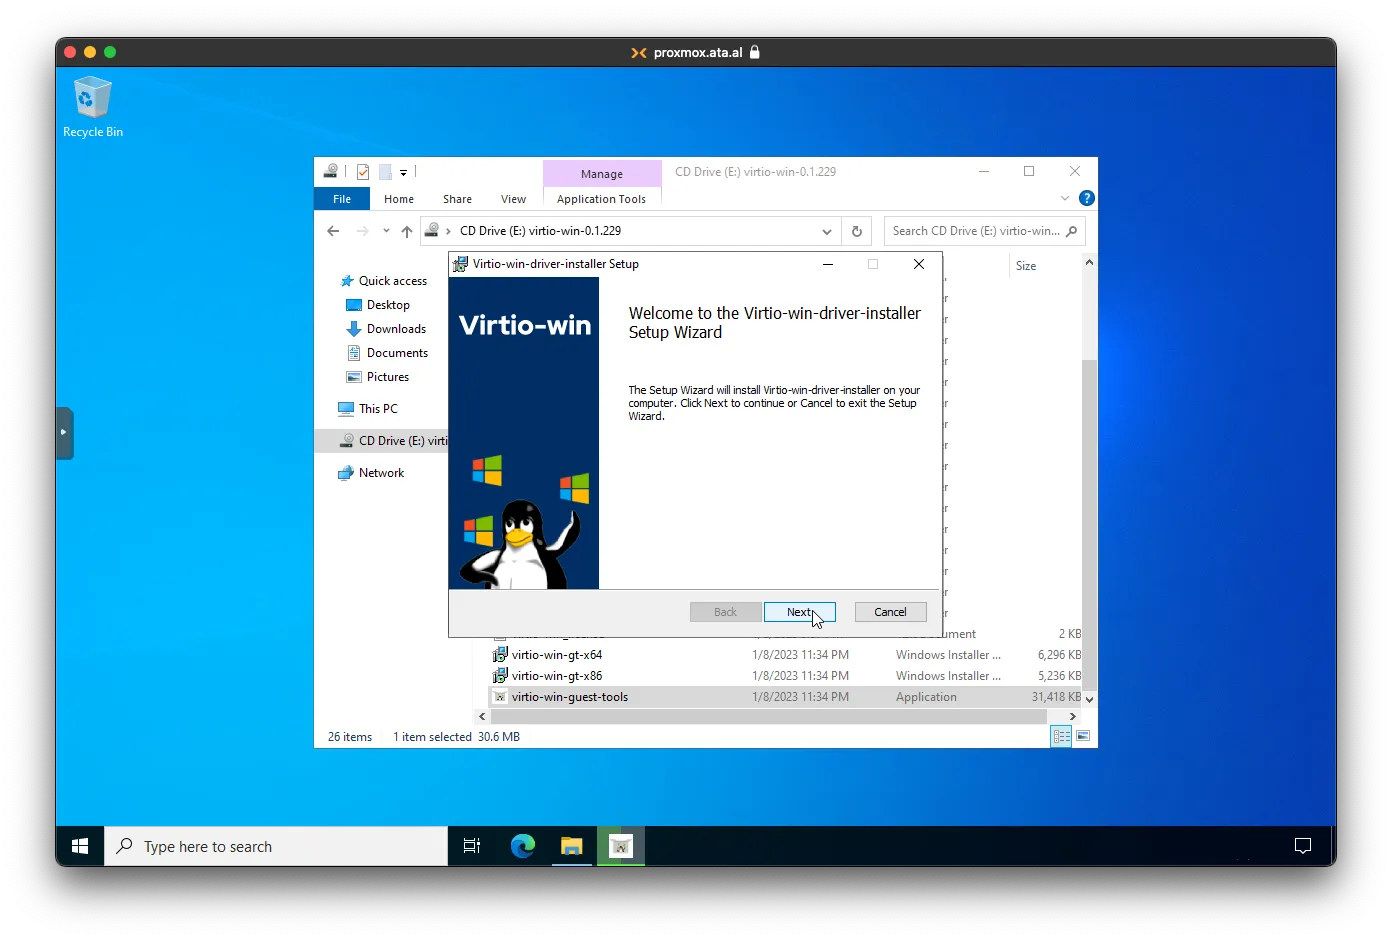
Click Next
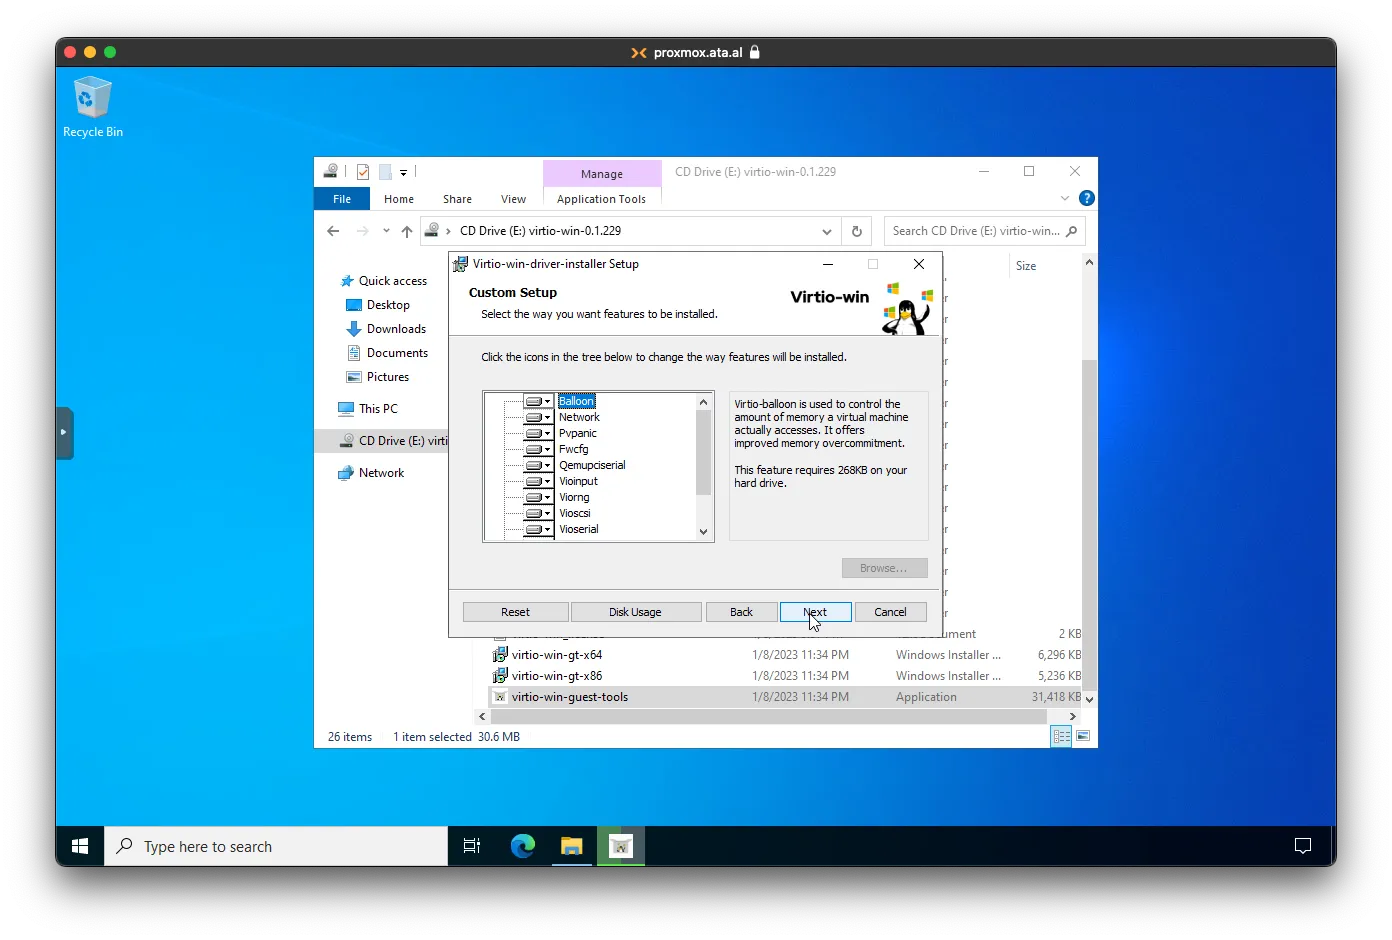
Select all the packages, then click on Next.
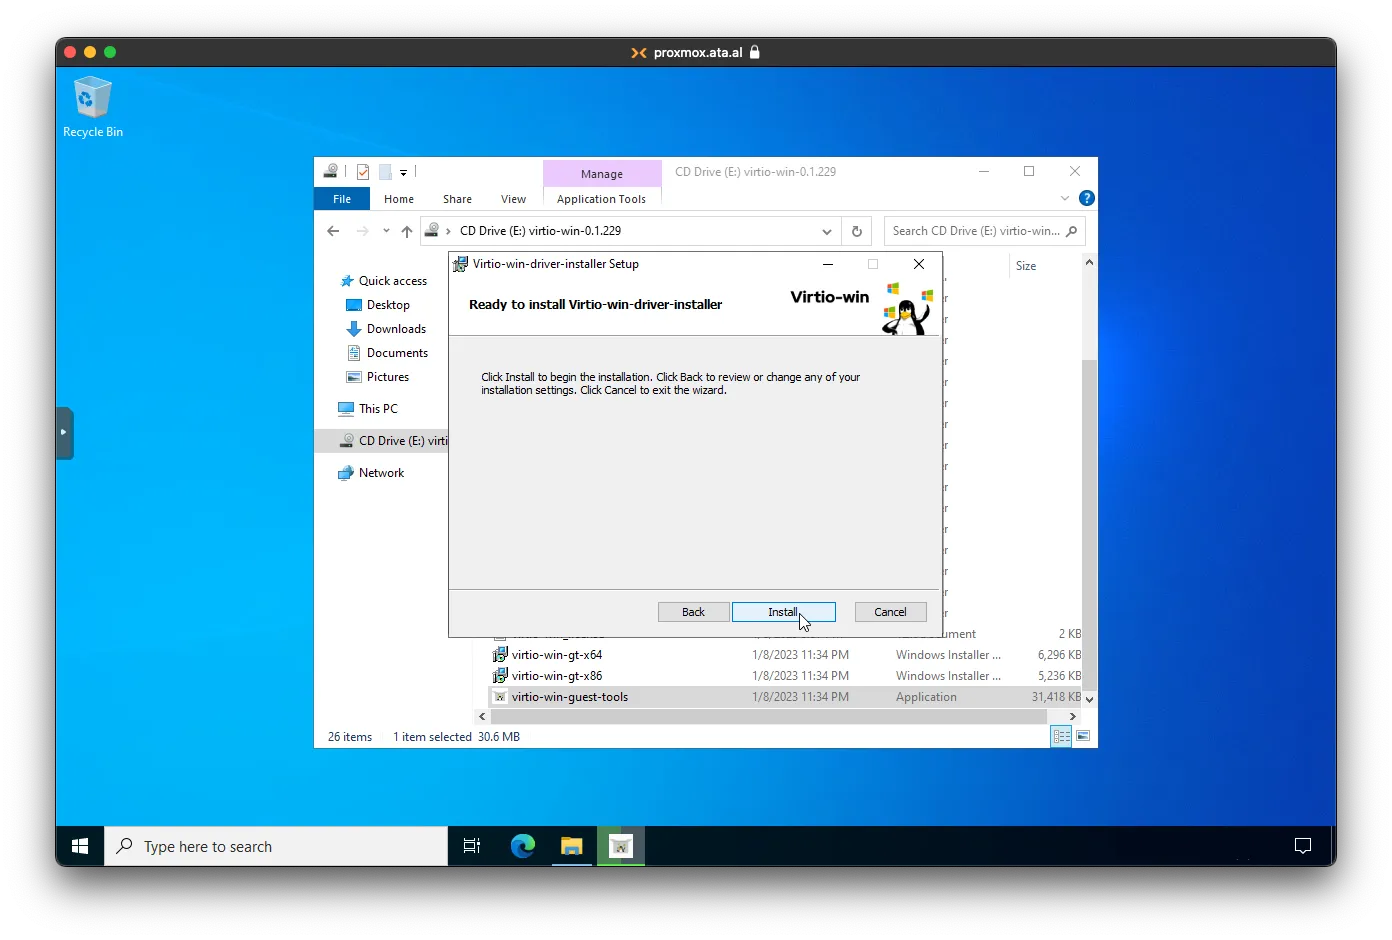
Click Install
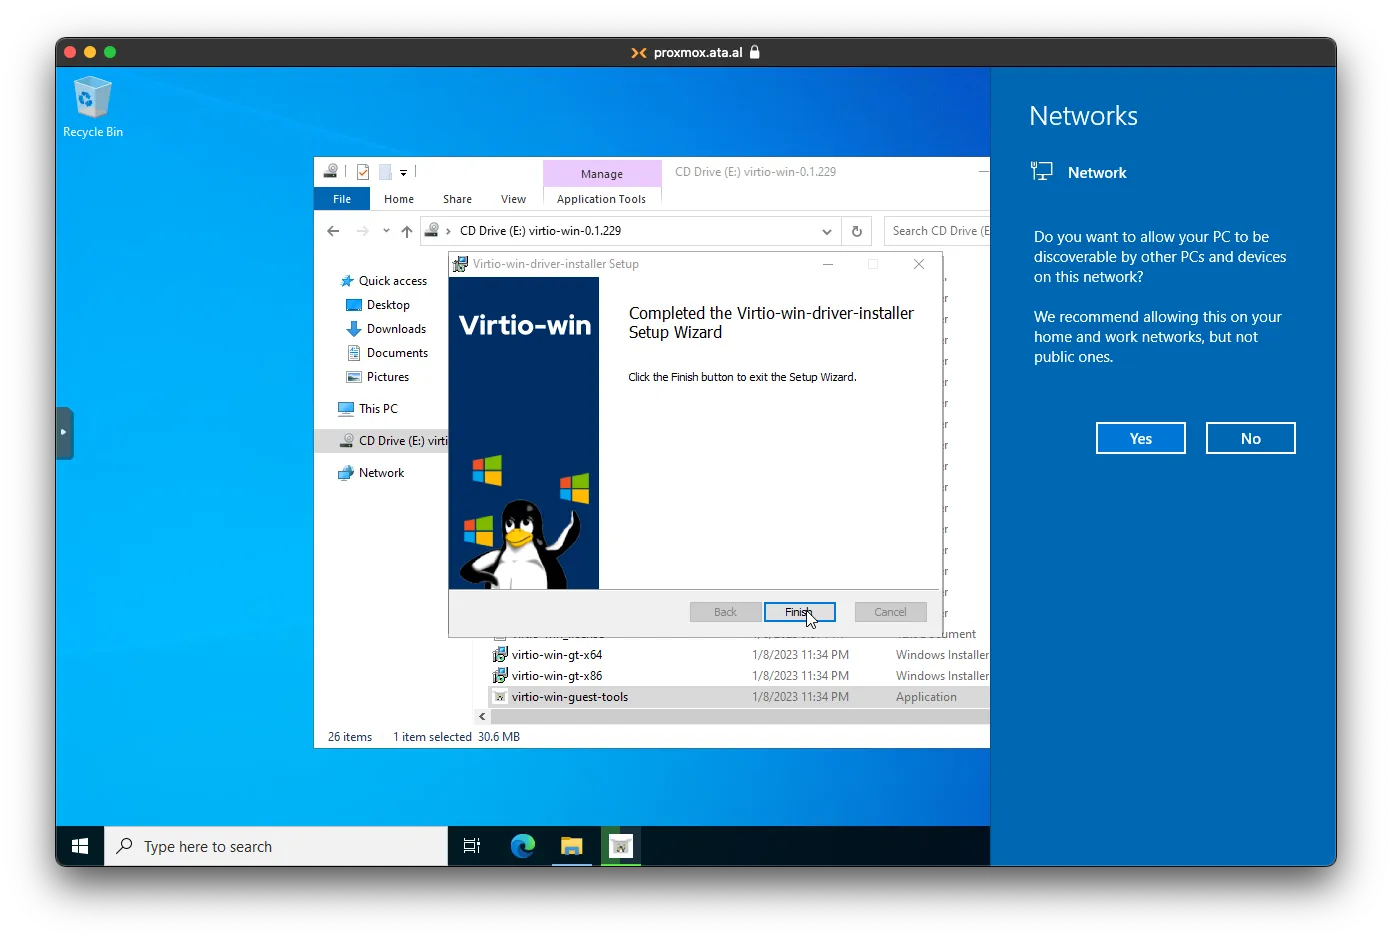
Click Finish
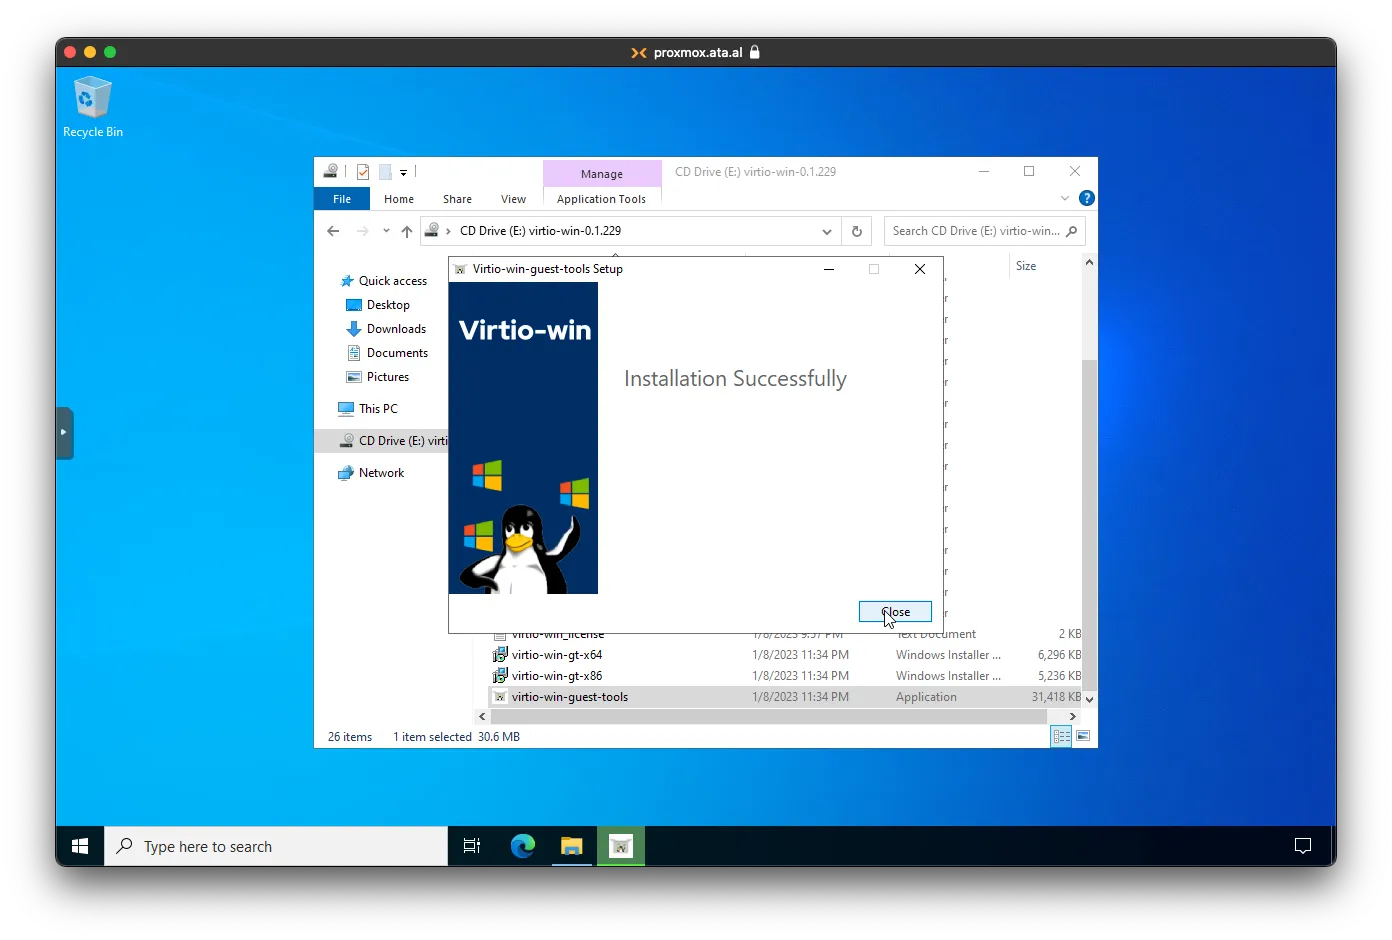
Click Close
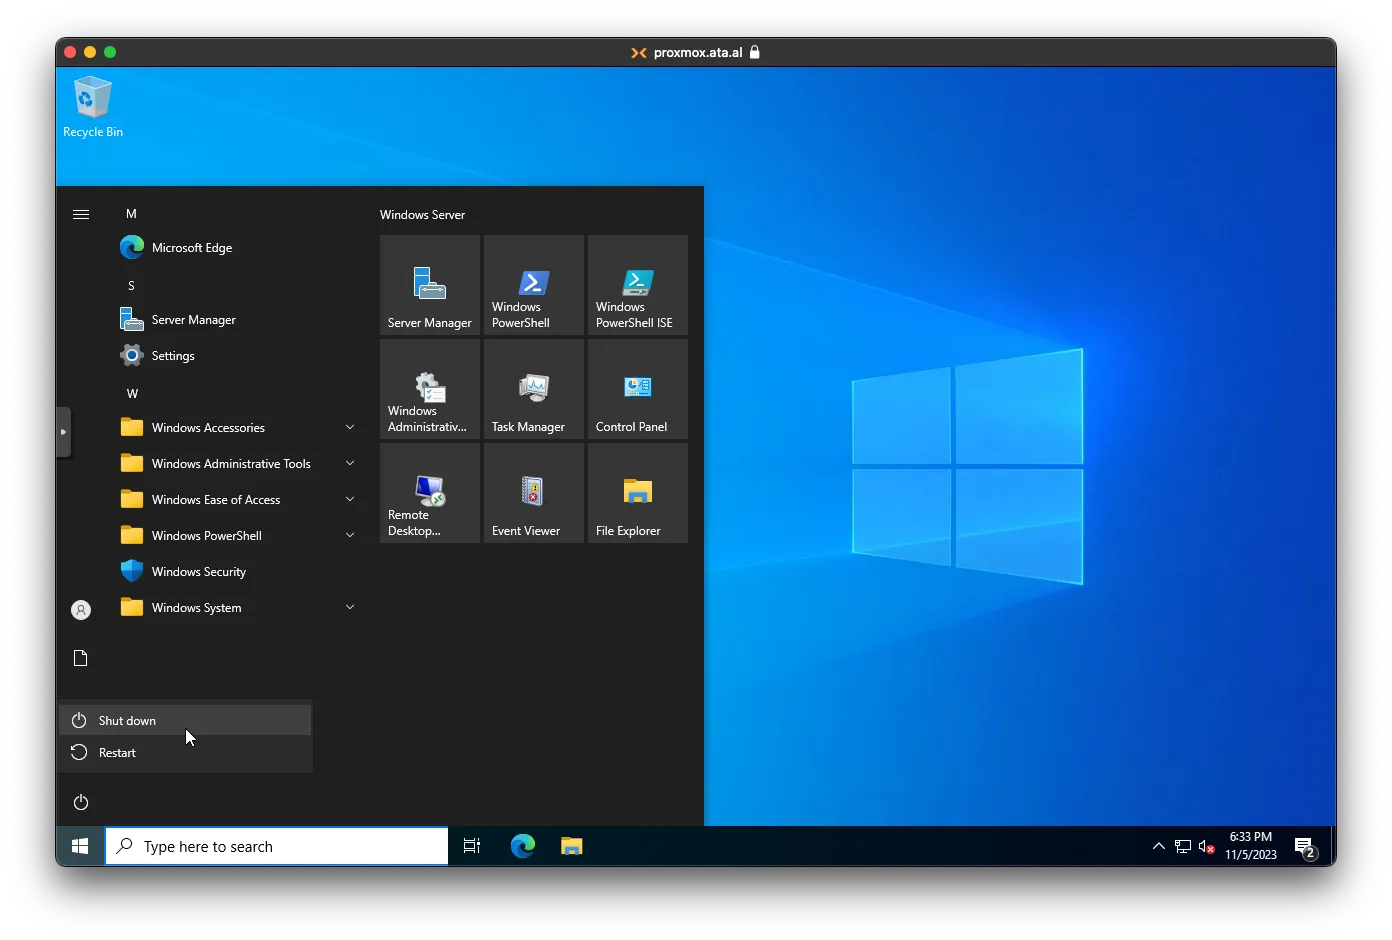
For the rest of the drivers to apply, you will need to reboot or shutdown, click on the Windows button, then Shutdown.
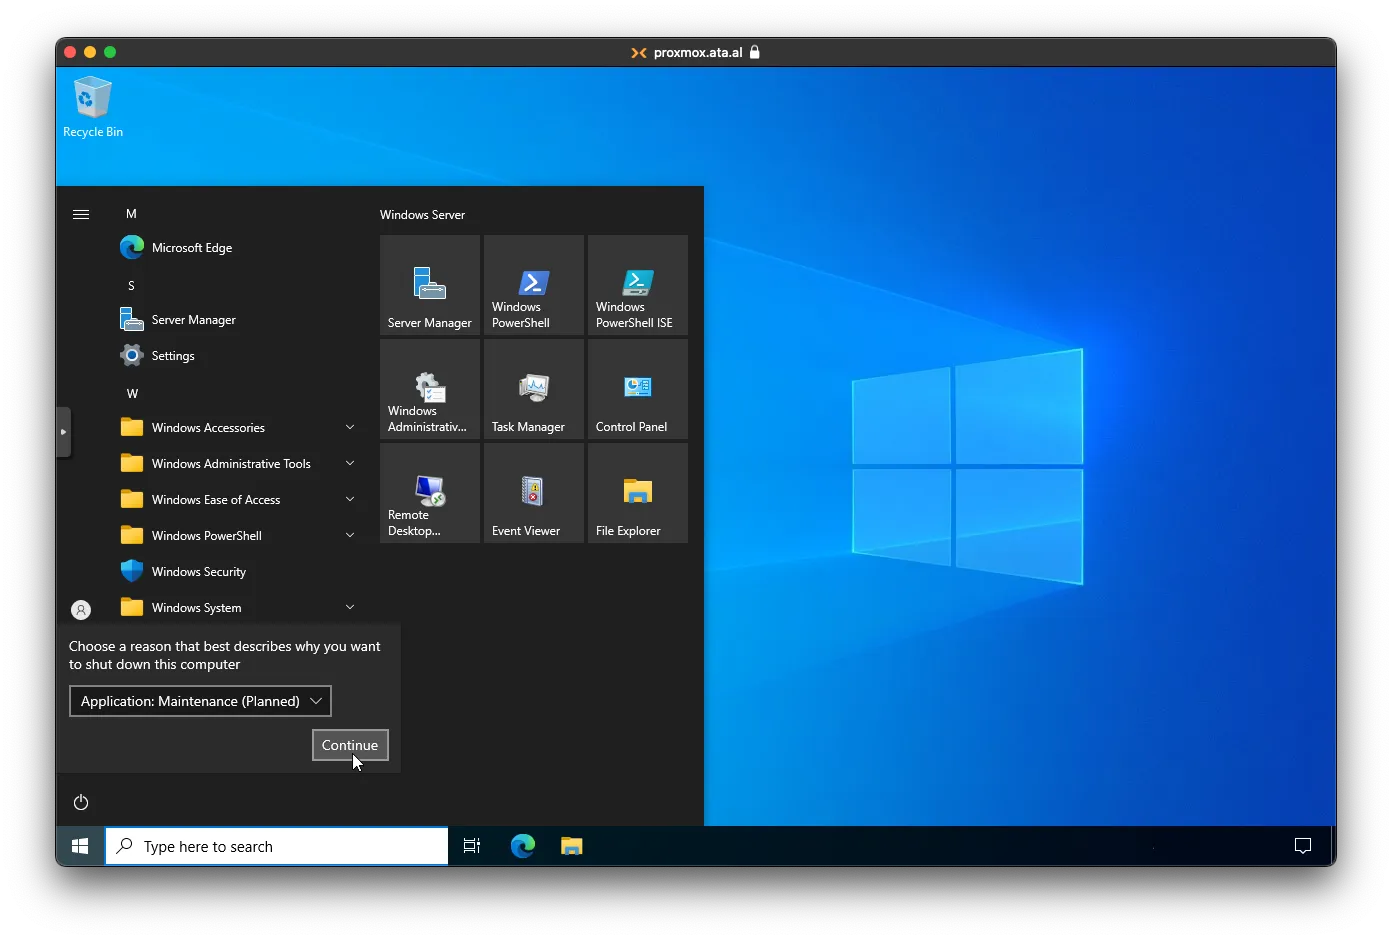
select the reason for Shutdown I choose Application: Maintenance (Planned)
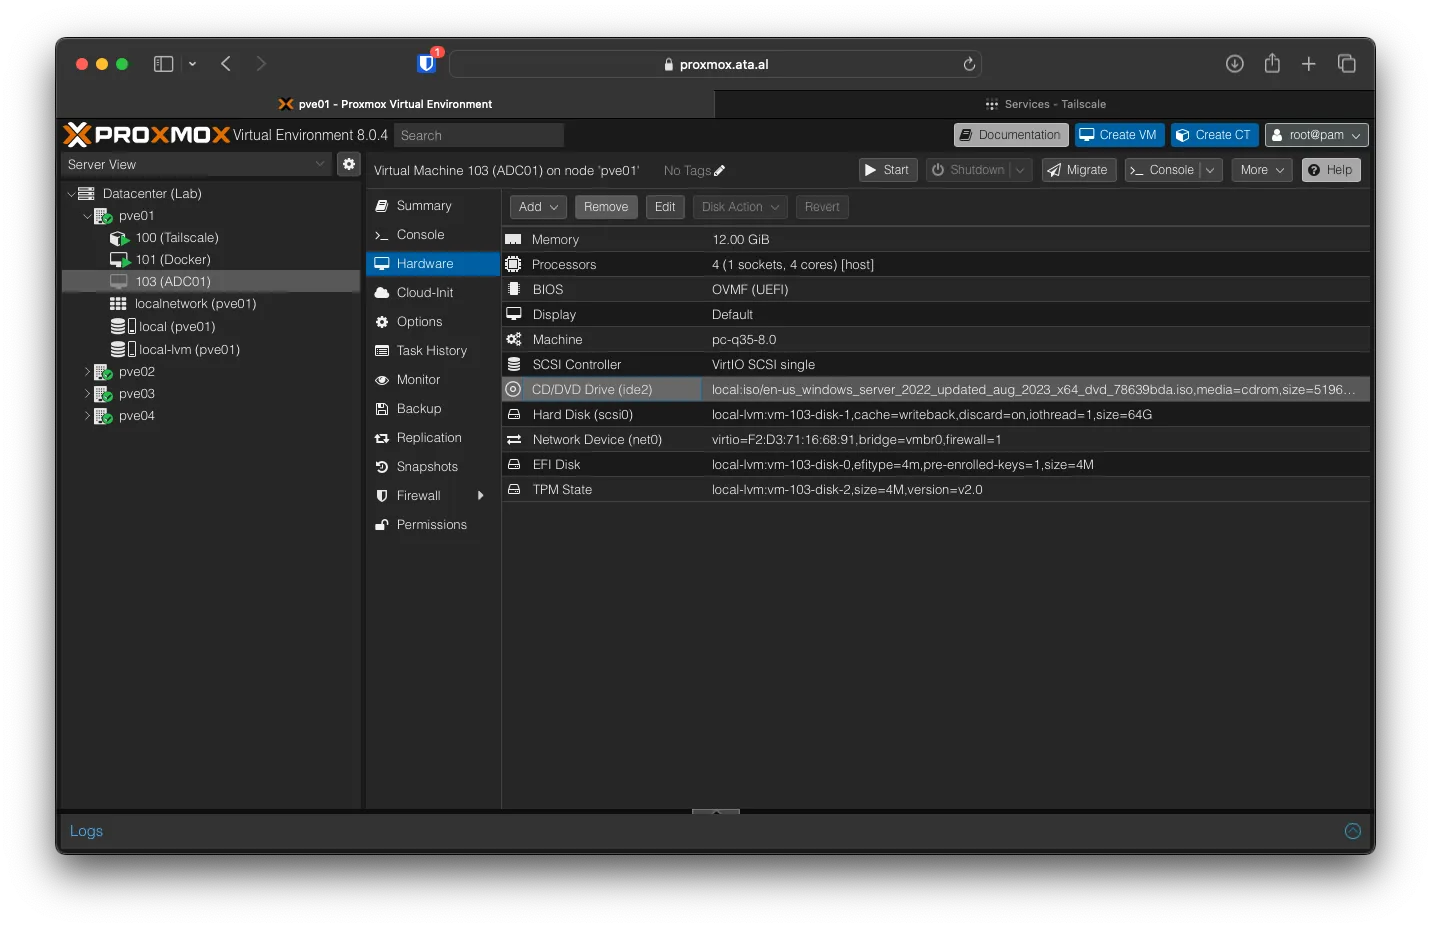
After the VM is powered down, go to Hardware, select the Windows Server iso, then click Remove.
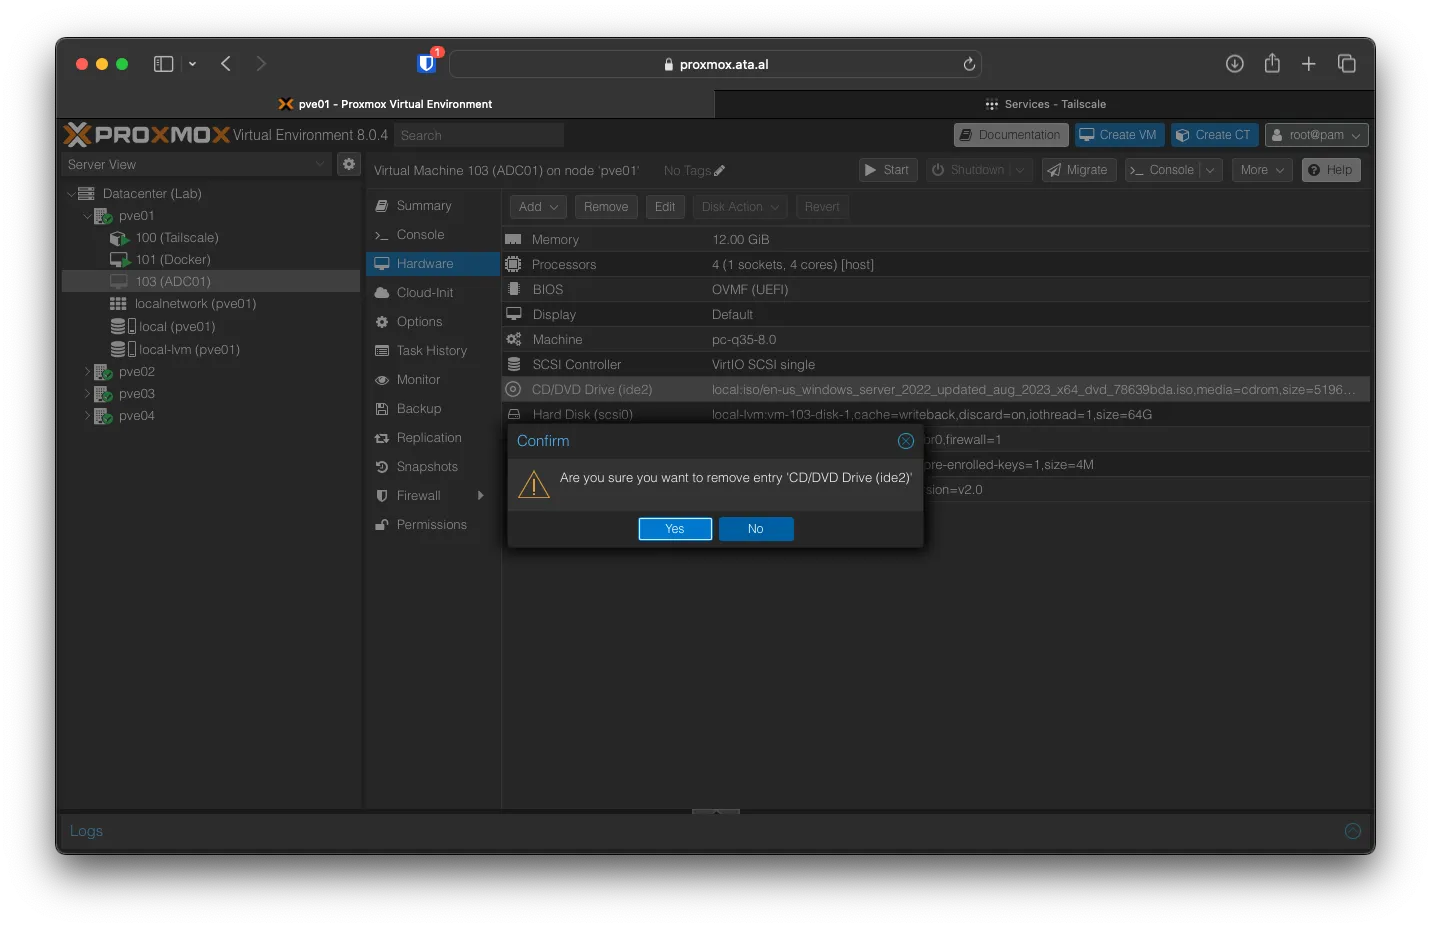
On the confirmation screen, click Yes and do the same for the VirtIO-Win iso.
Duplicate all the steps on pve02 to create another one called ADC02