
Introduction
Many mainstream applications are now built for docker deployment as it is easier to update than standard Linux binaries. On one of the Proxmox hosts, I will deploy a Docker container under Alpine Linux with Portainer on top to have a web GUI.
Installing Alpine
if this is your first time installing Alpine as an iso, follow the steps below. If not, skip until you get to the VM creation part.
Adding Aliplne Linux
For Proxmox, we will add the Alpine Virtual ISO and then boot off it to install.
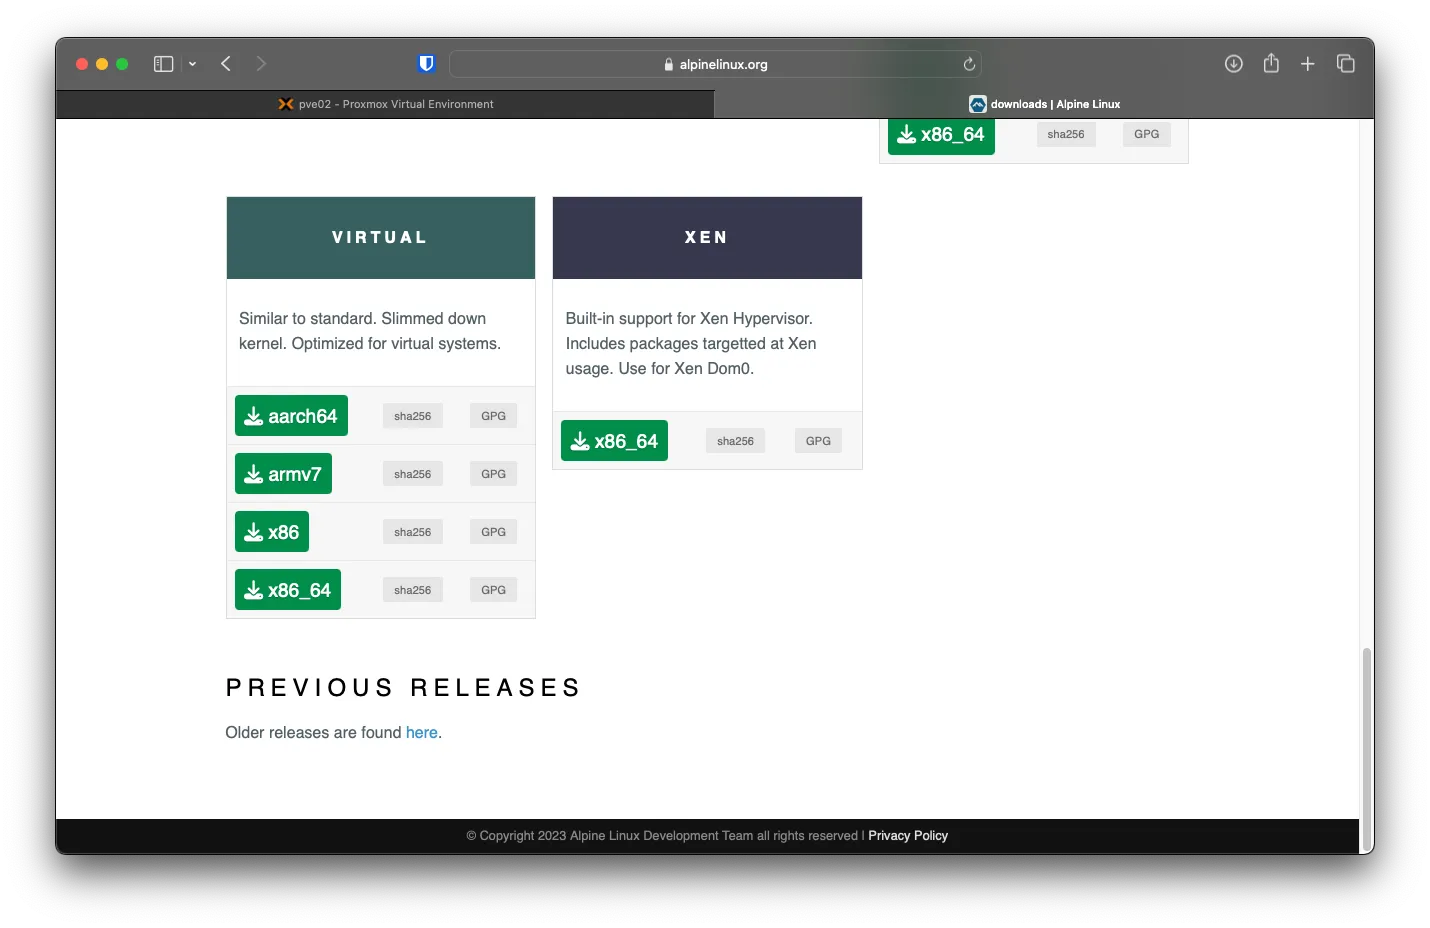
Navigate to the Alpine Download page and copy the link for Virtual -> x86_64
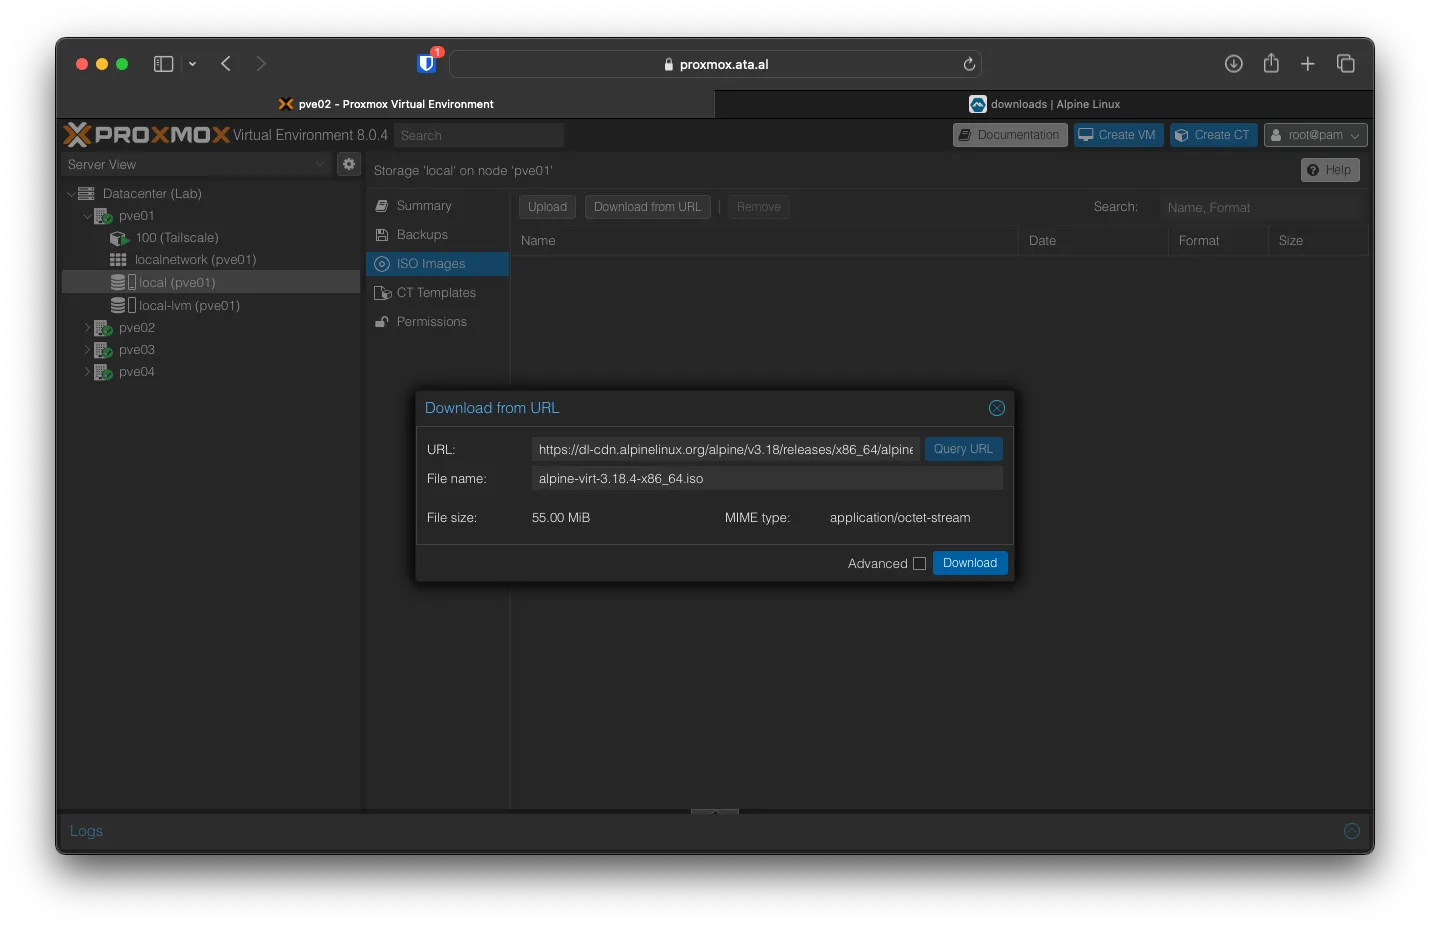
Under Datacenter (Lab) -> pve01 -> local (pve01) -> ISO Images, Click on -> Download from URL, in the URL field, paste in the link and click on Query URL, After that click Download.
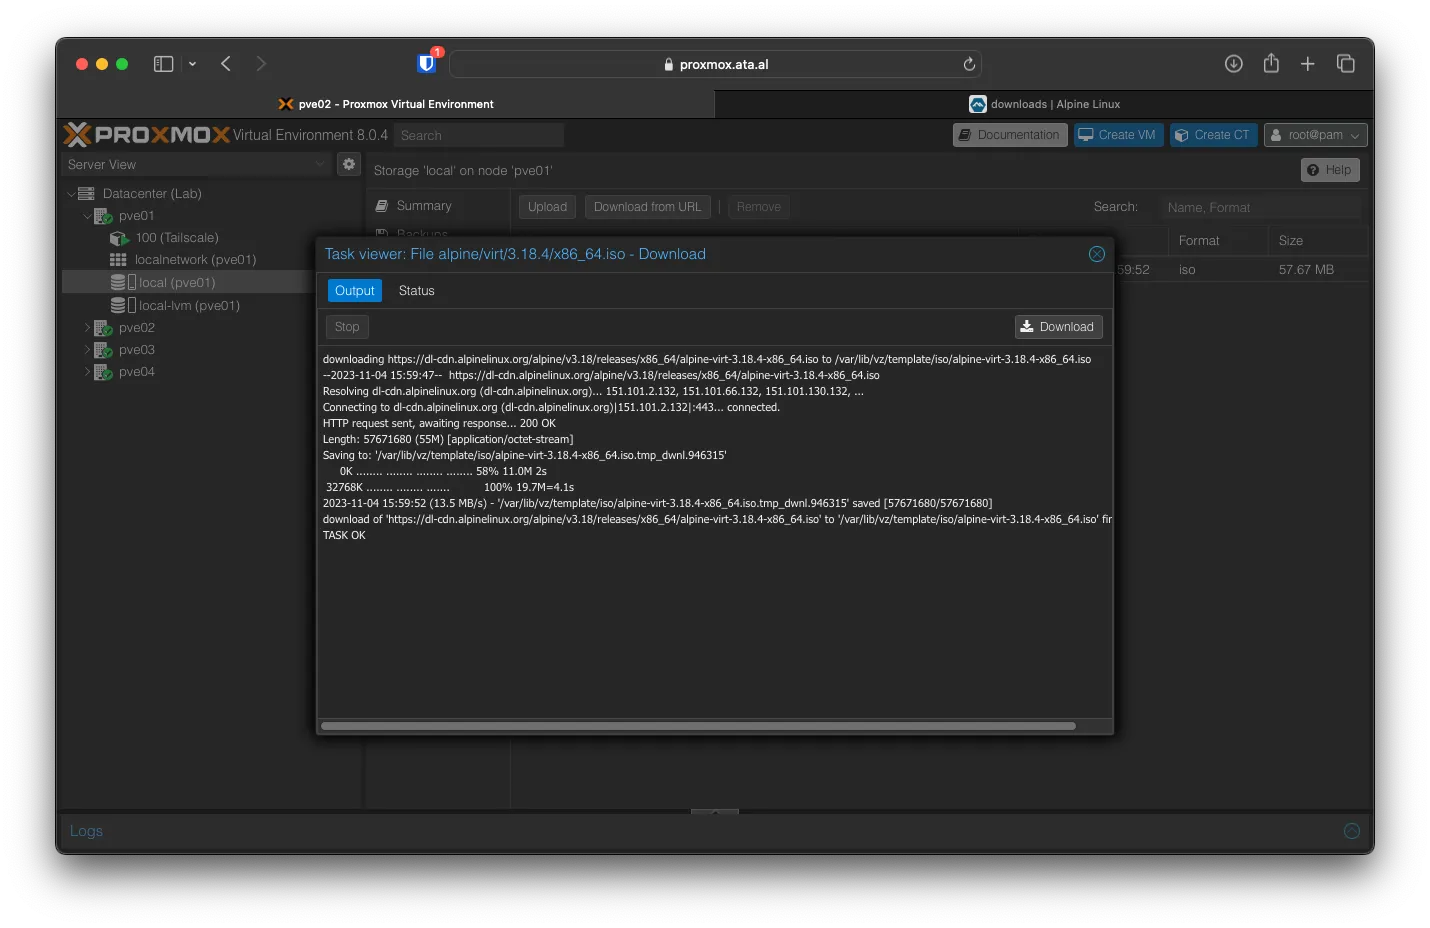
After the download is complete, you can close Task Viewer.
Creating Alpine VM
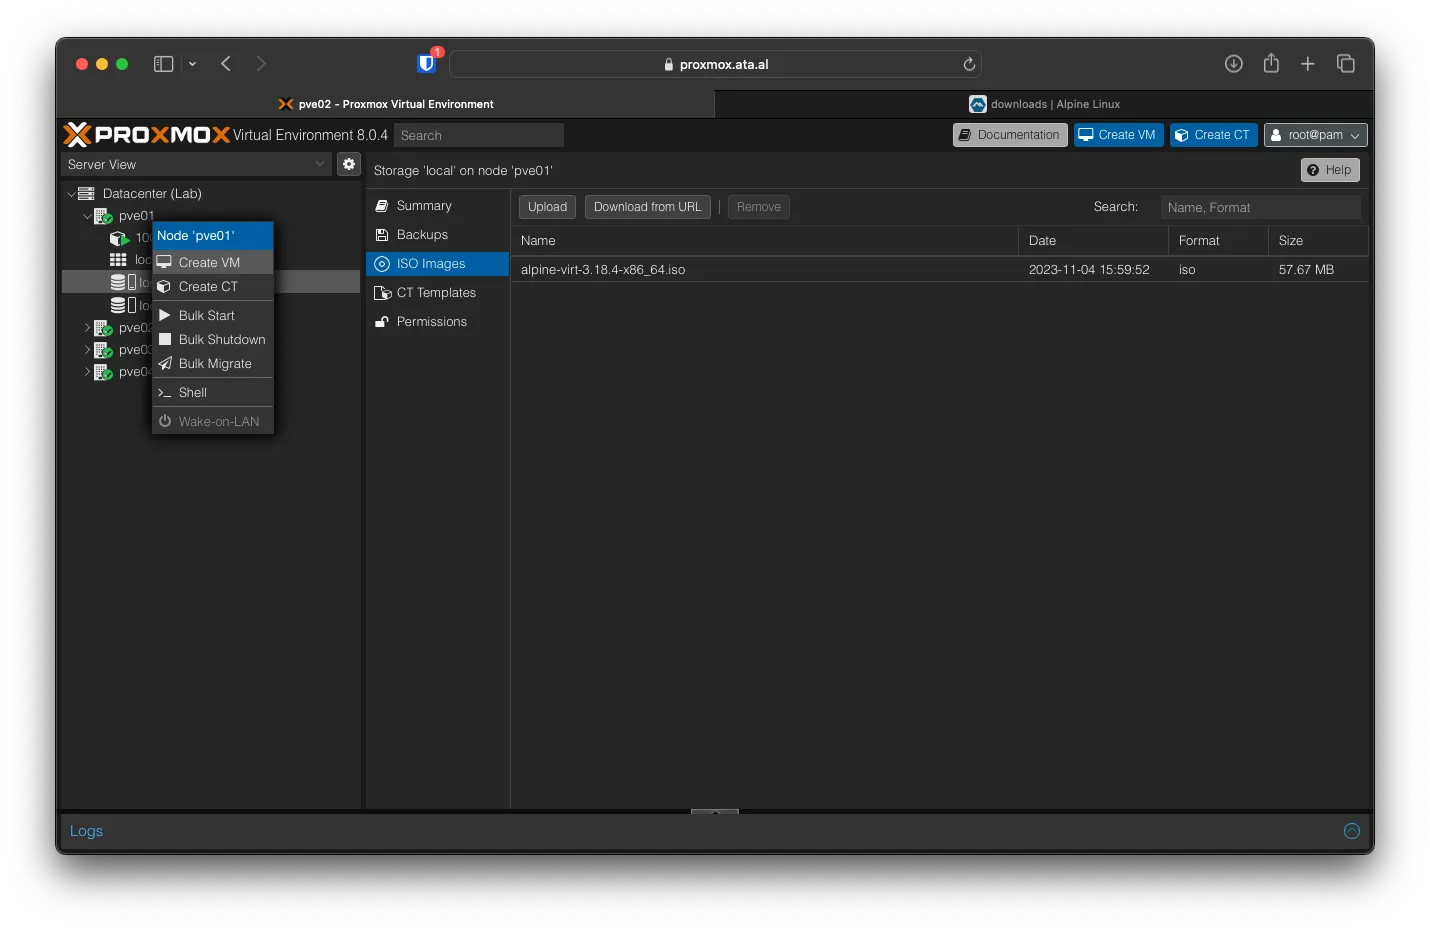
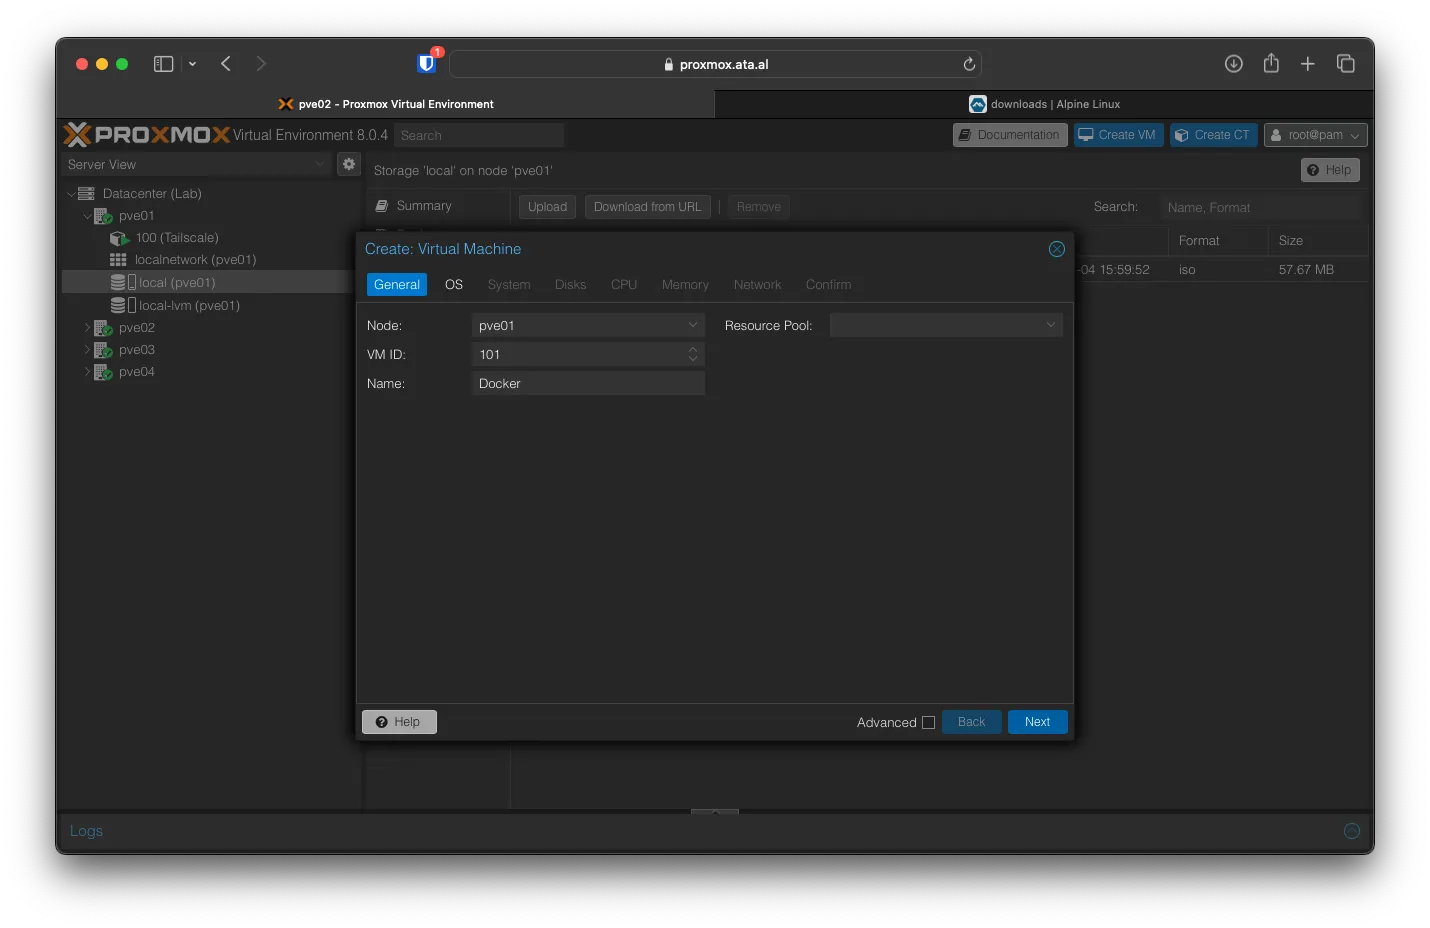
Back on pve01 right, click and Create VM.
Keep the auto-filled values the same for Node and VM ID. You can set a name I’m using, Docker. Click Next
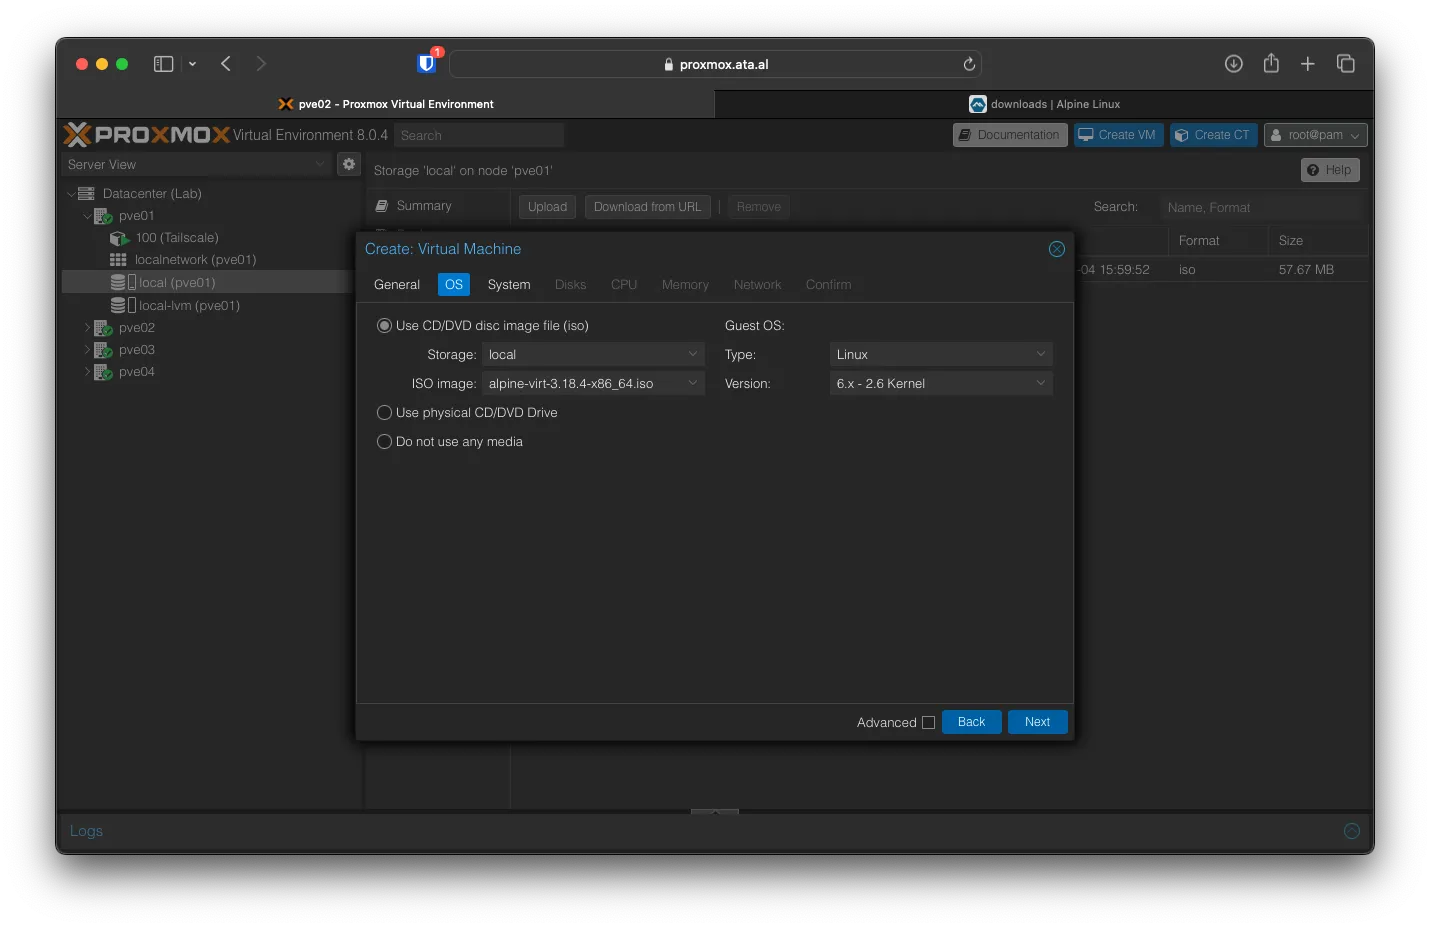
For OS select alpine-virt-3.18.4-x86_64.iso, Set Type to Linux and Version to 6.x - 2.6 Kernel, after that click on Next
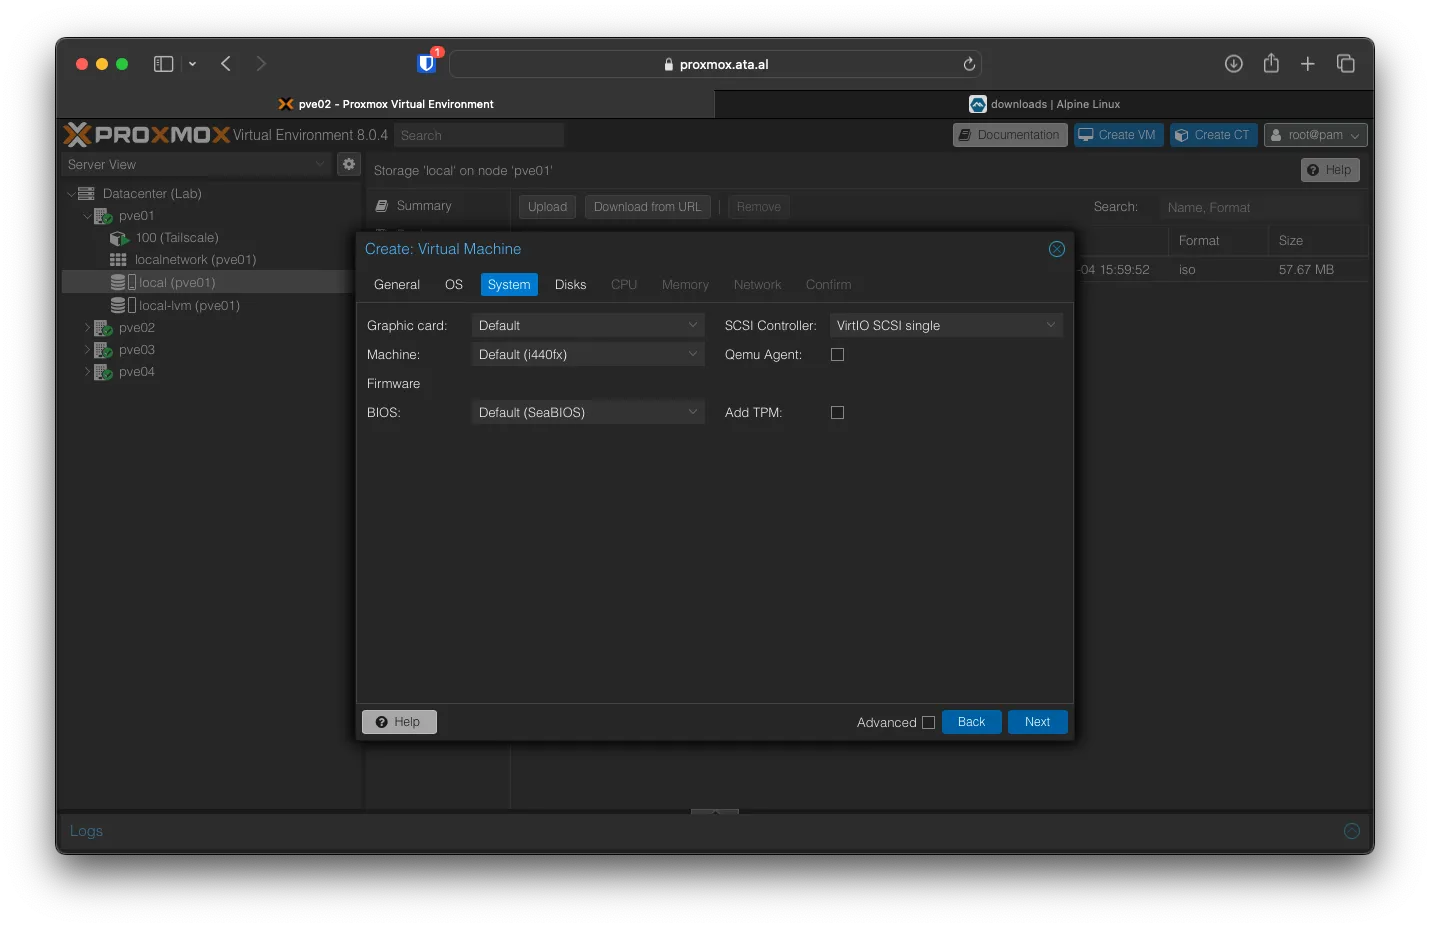
Keep everything the same for System.
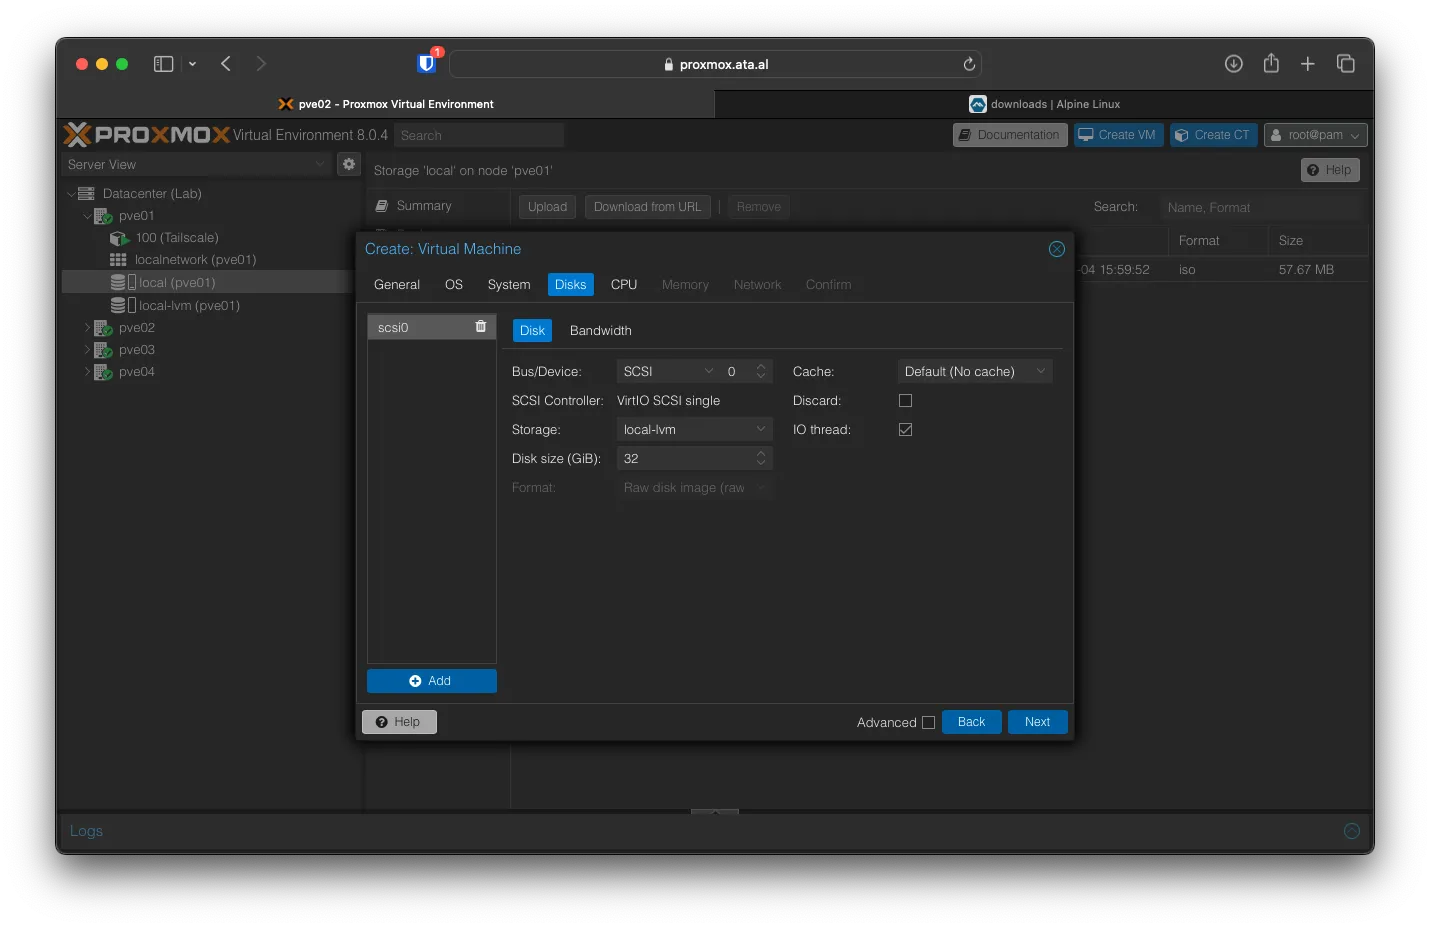
You can keep the Disk Size at 32 and the Storage volume as local-lvm. Click on Next
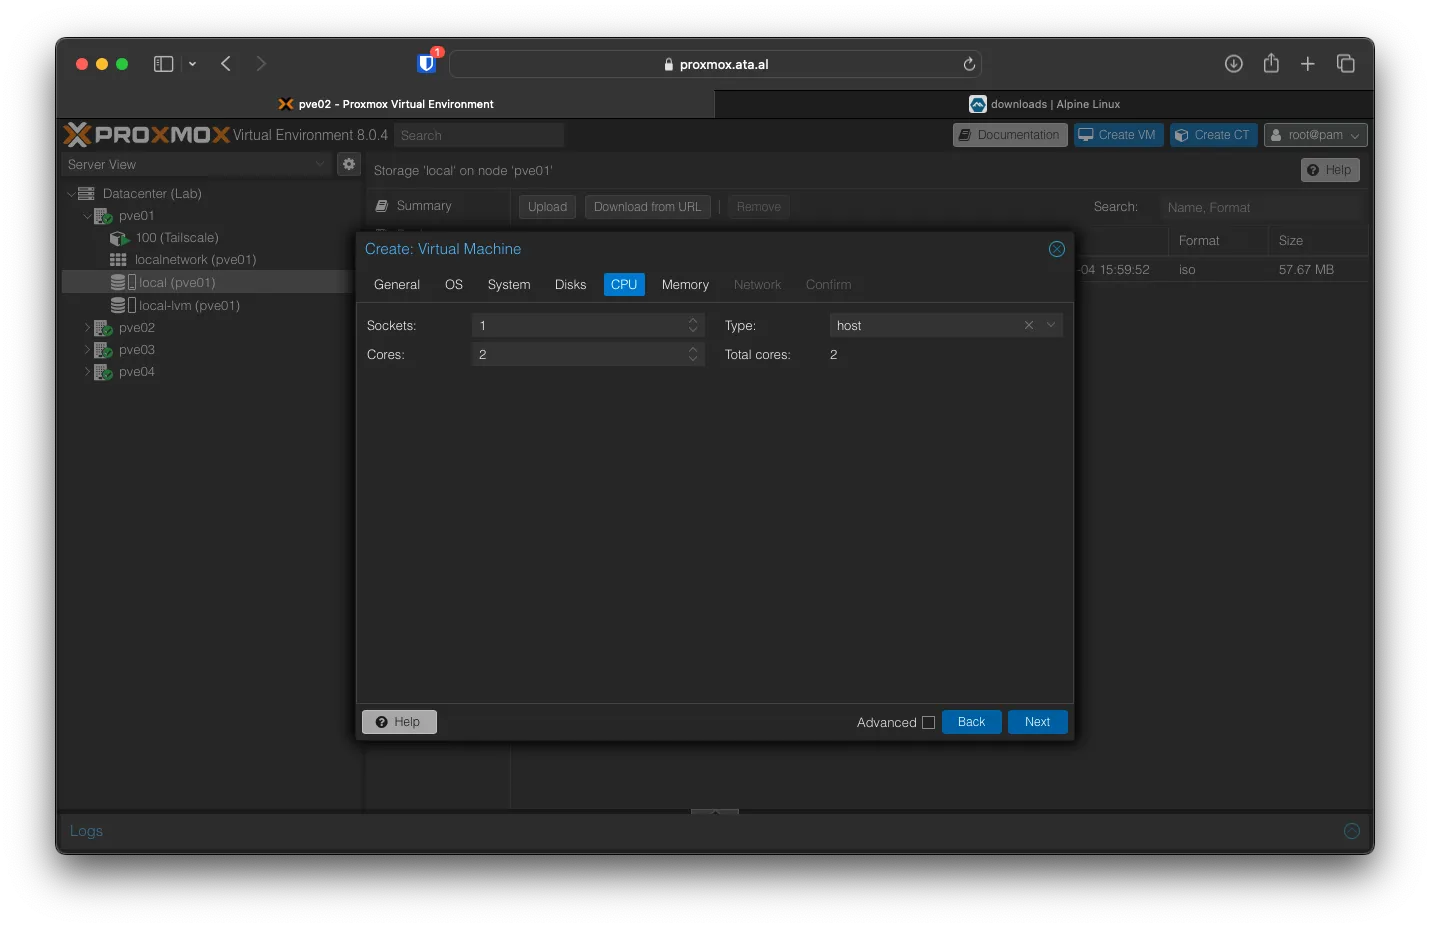
For CPU, I am keeping it at 1 socket and setting it to 2 Cores. The Type is going to be Host. Click Next
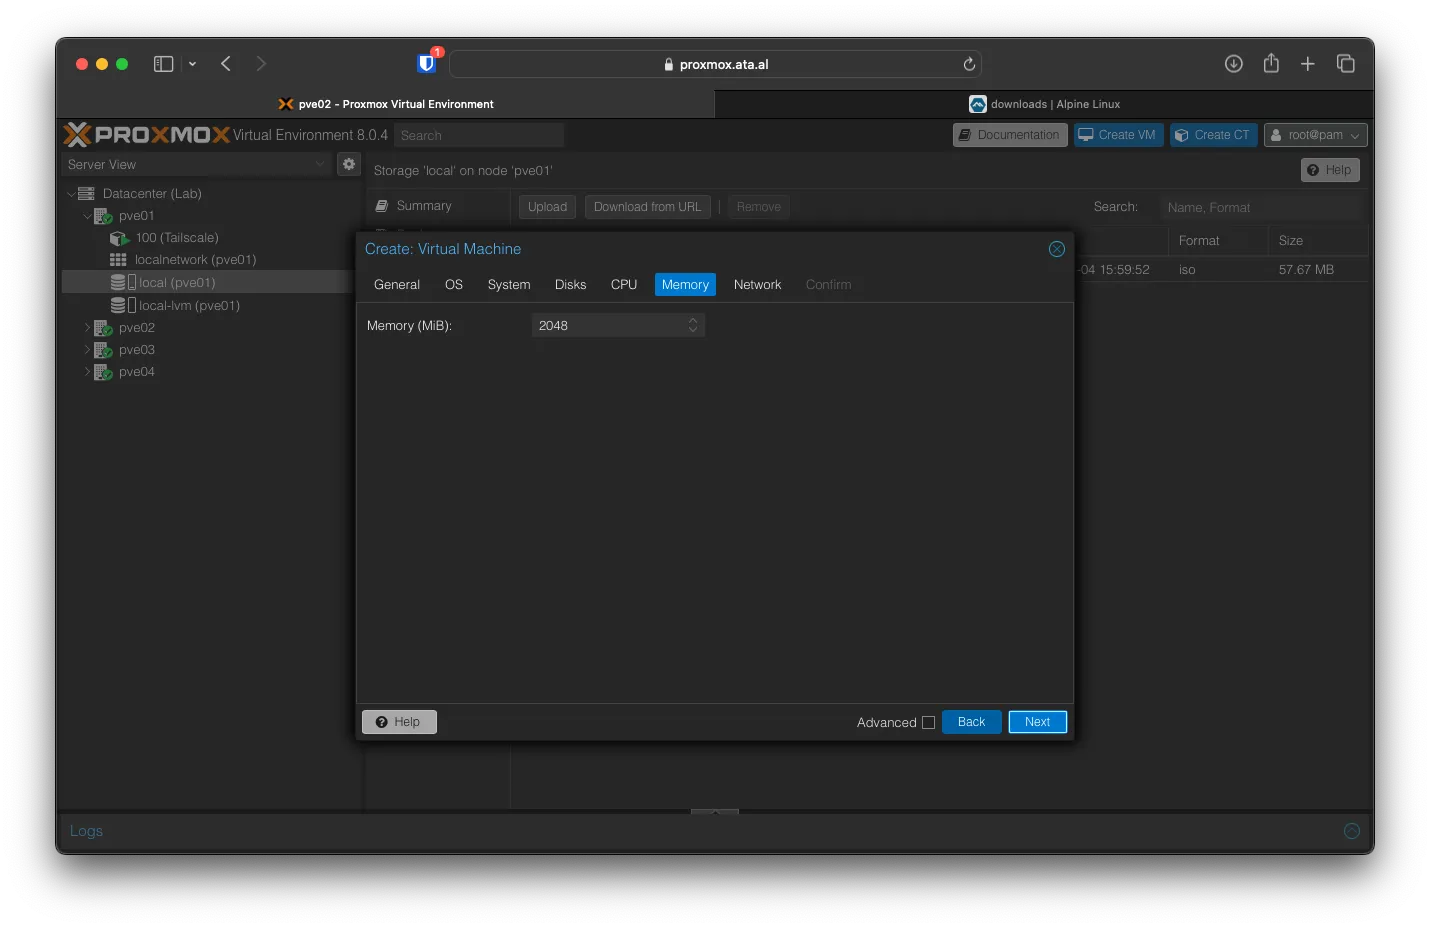
Memory is going to be set at 2048
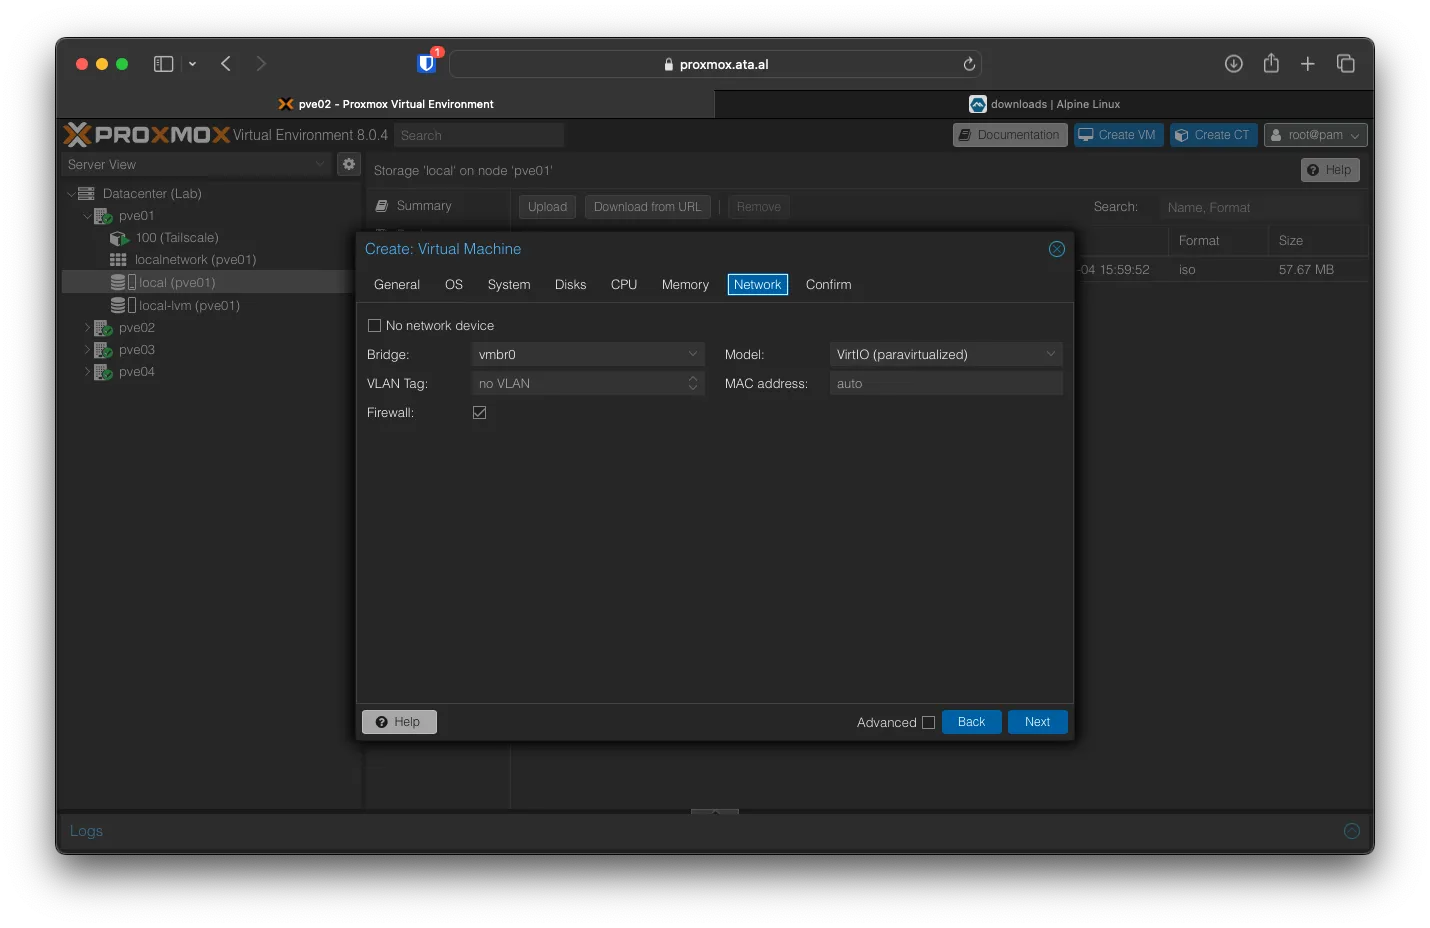
The network is going to be kept as the default values
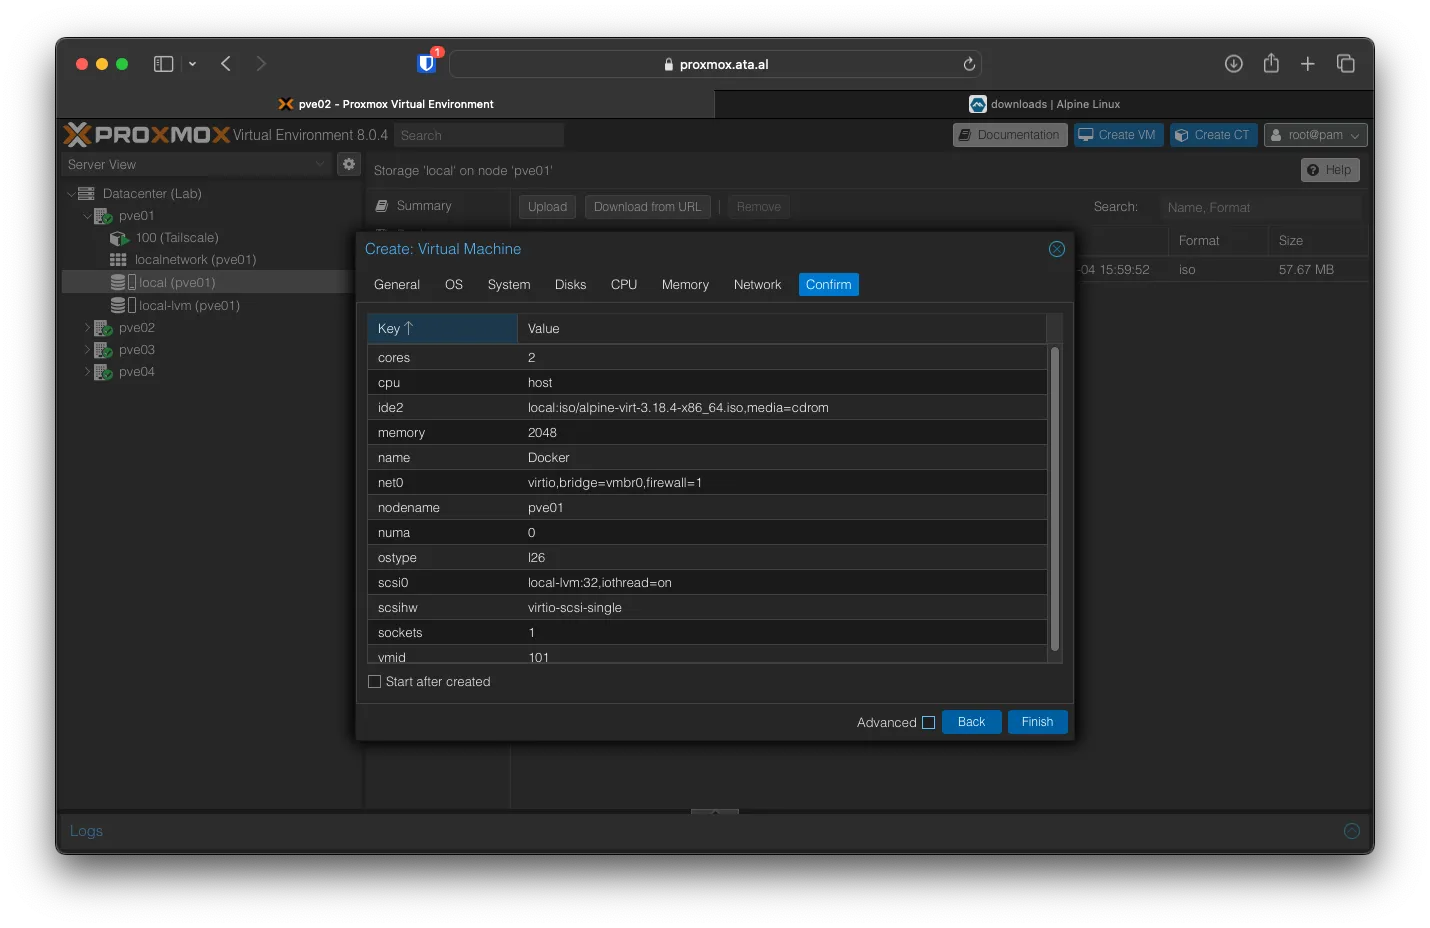
On the confirmation page, check to see if all the settings are correct, then click on Finish.
Booting Alpine VM
After creation, navigate over to the new VM, click on Console, then start the VM
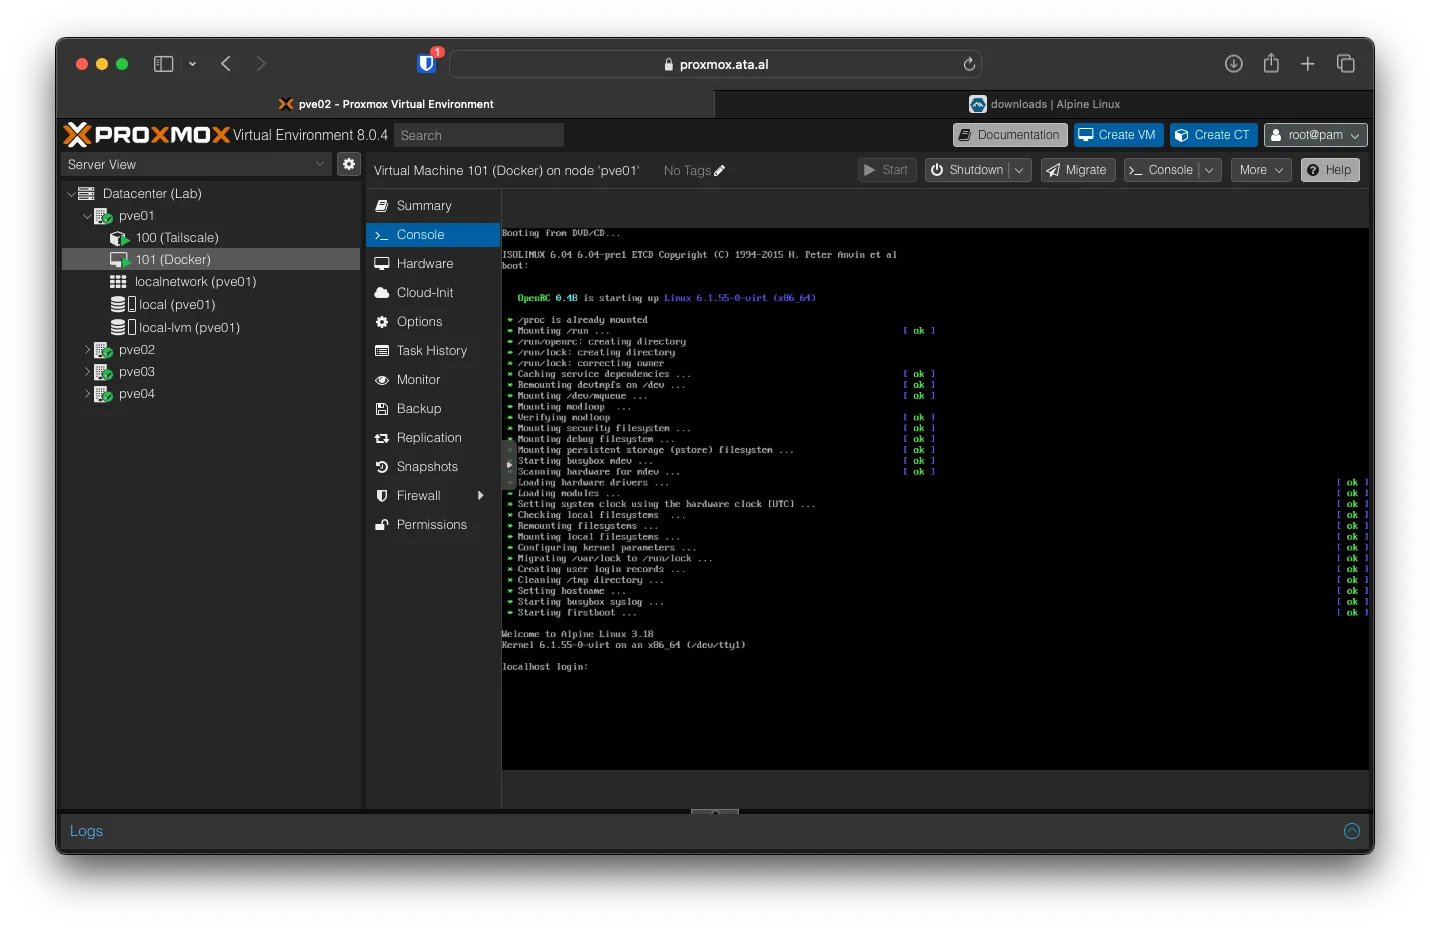
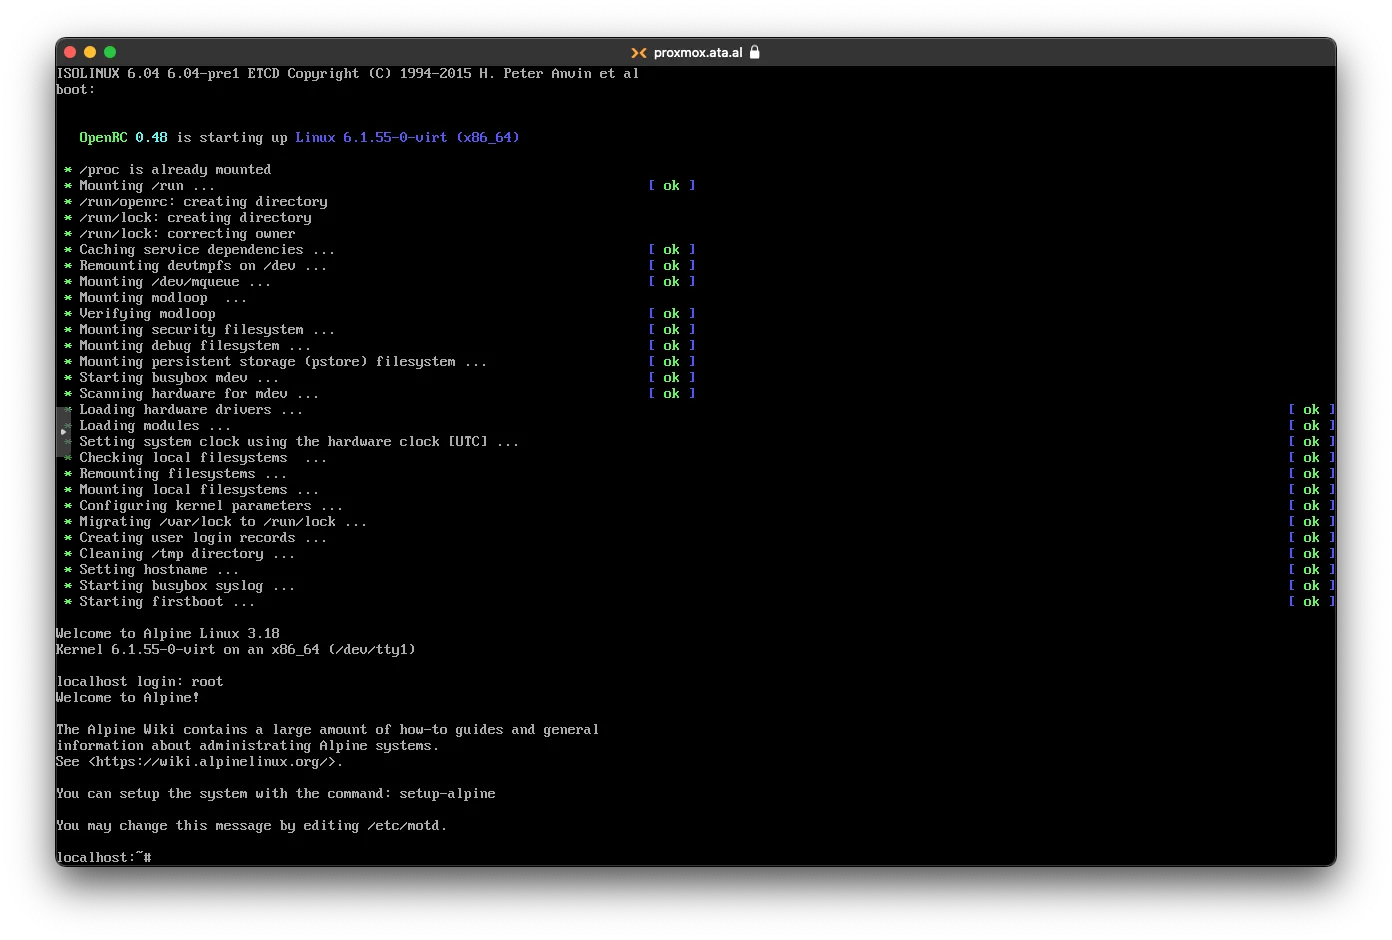
After booting to install Alpine to the Disk, login as root
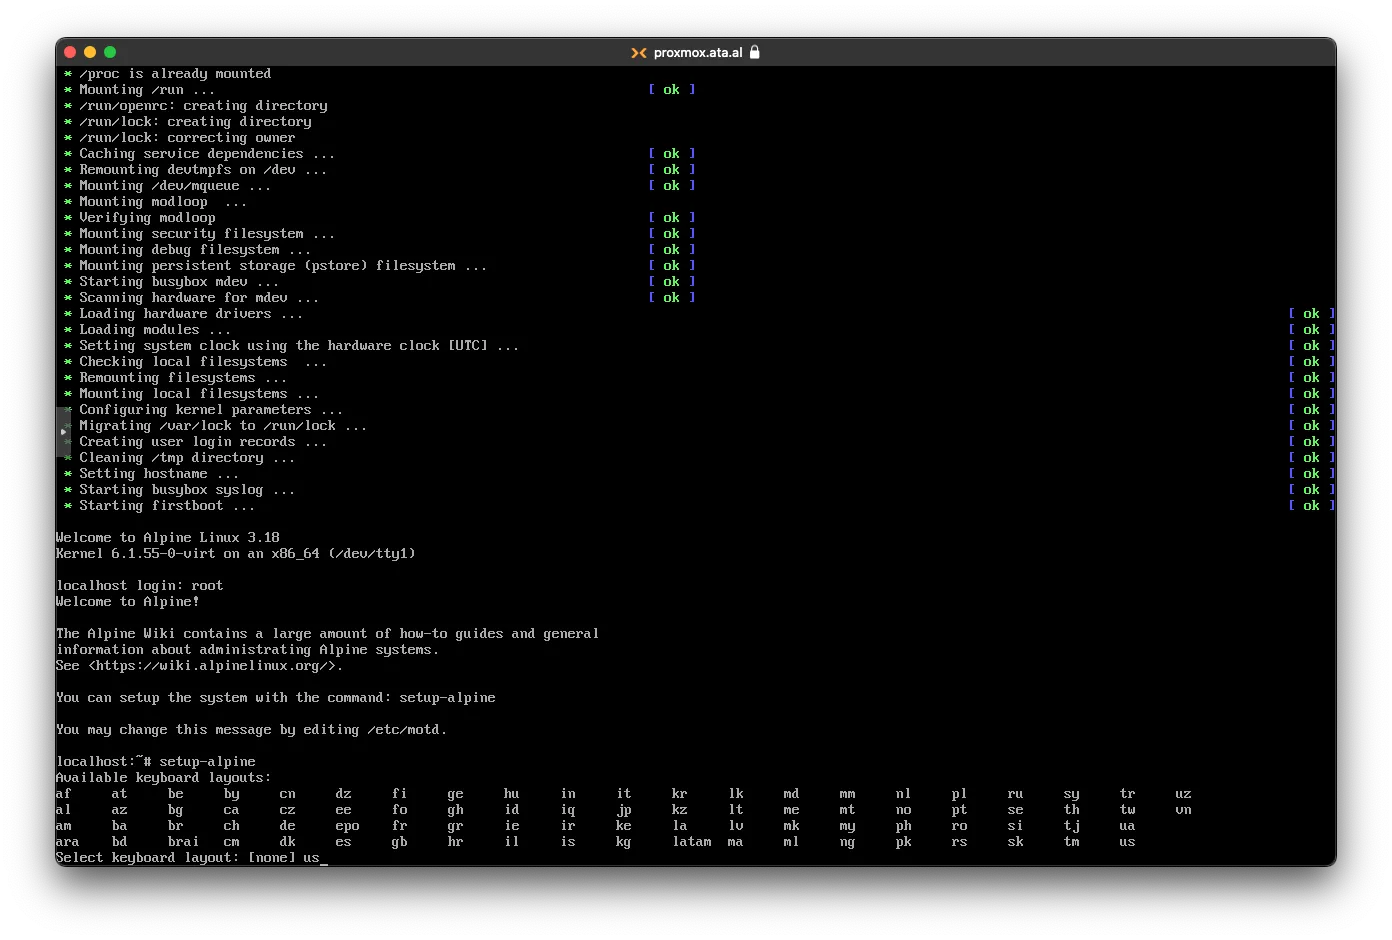
Installing Alpine VM to Disk
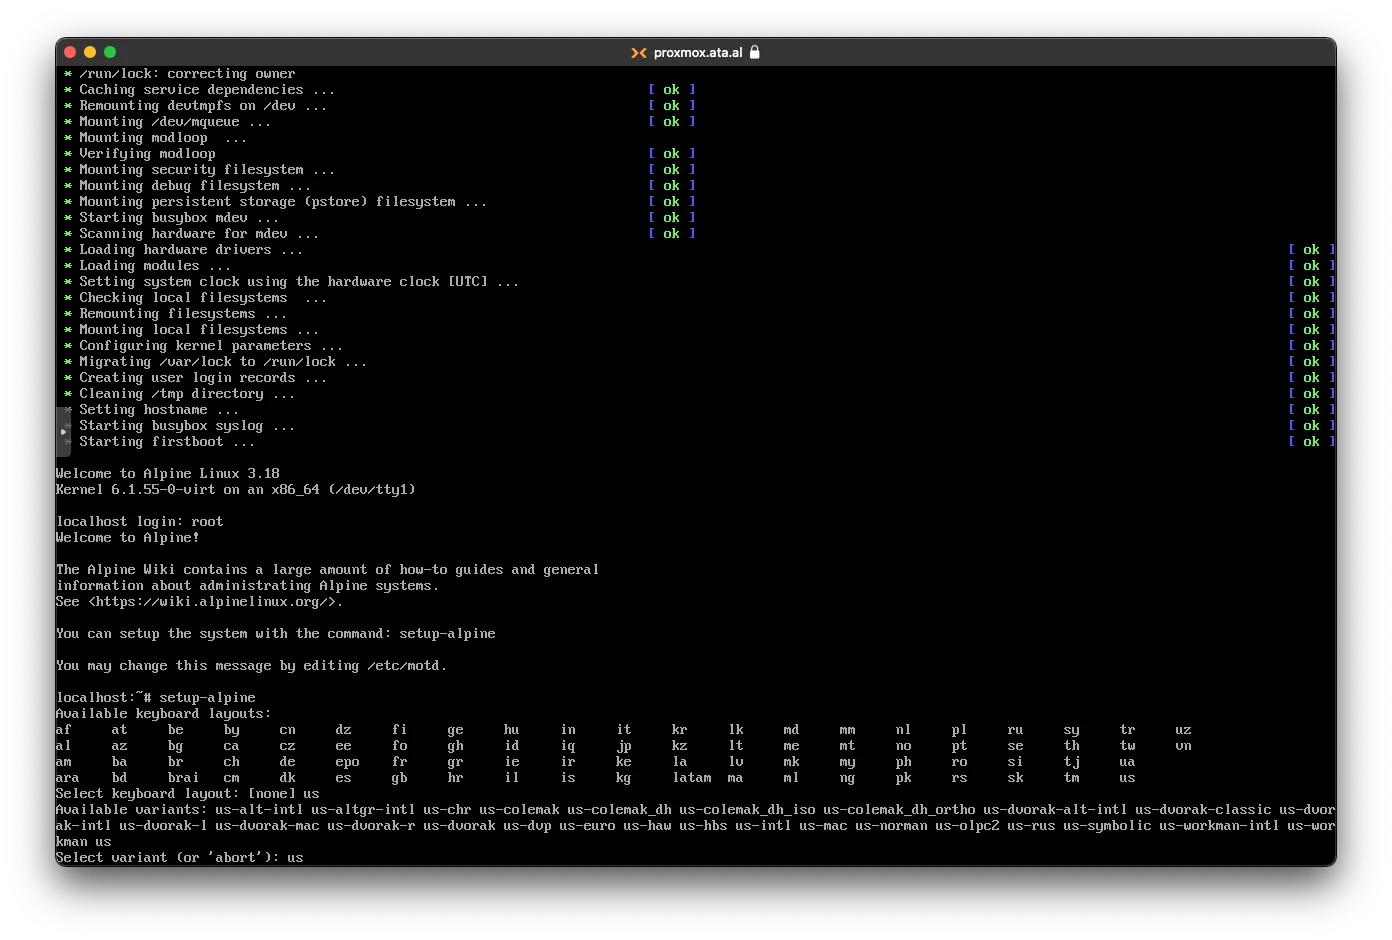
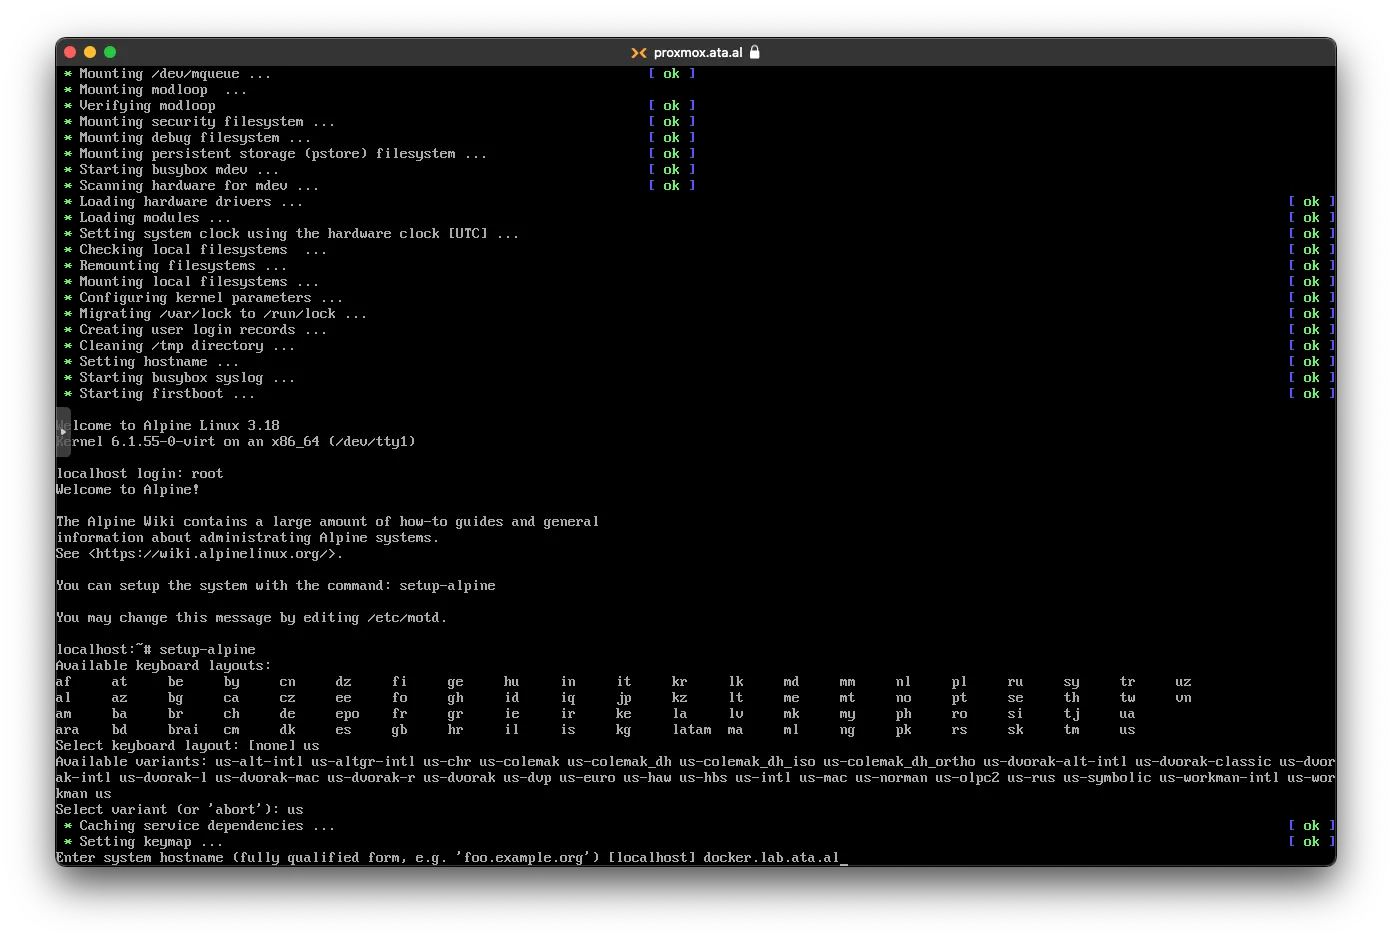
To Setup run setup-alpine, choose us as the keyboard layout
Choose us again
for the hostname, I am selecting docker.lab.ata.al
for the Network interface, I am selecting eth0

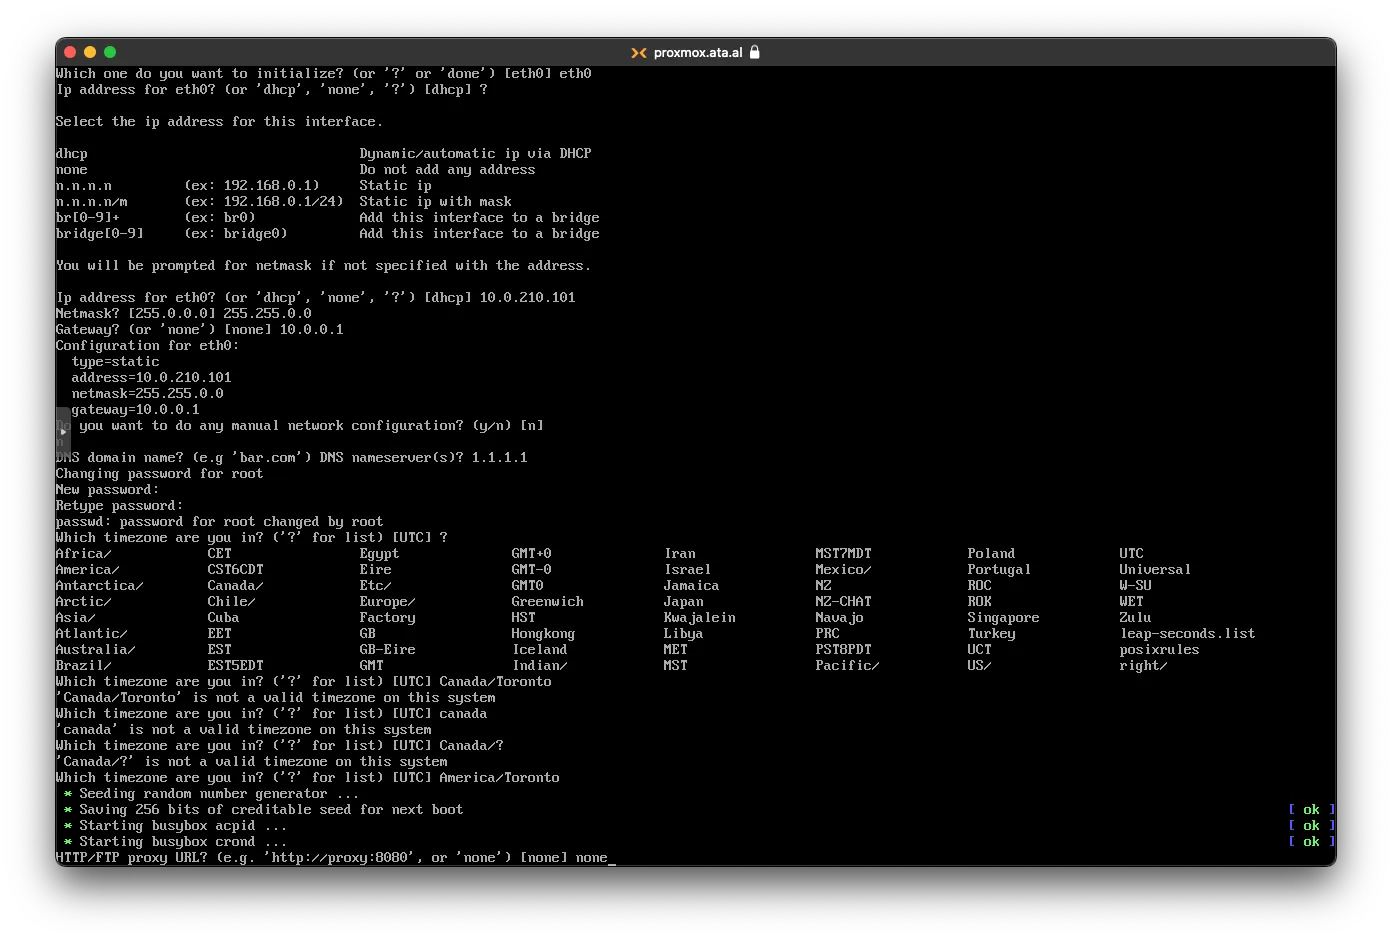
I am setting a static IP address which is 10.0.200.101

set the rest of the network to your liking and type in n for any manual configuration
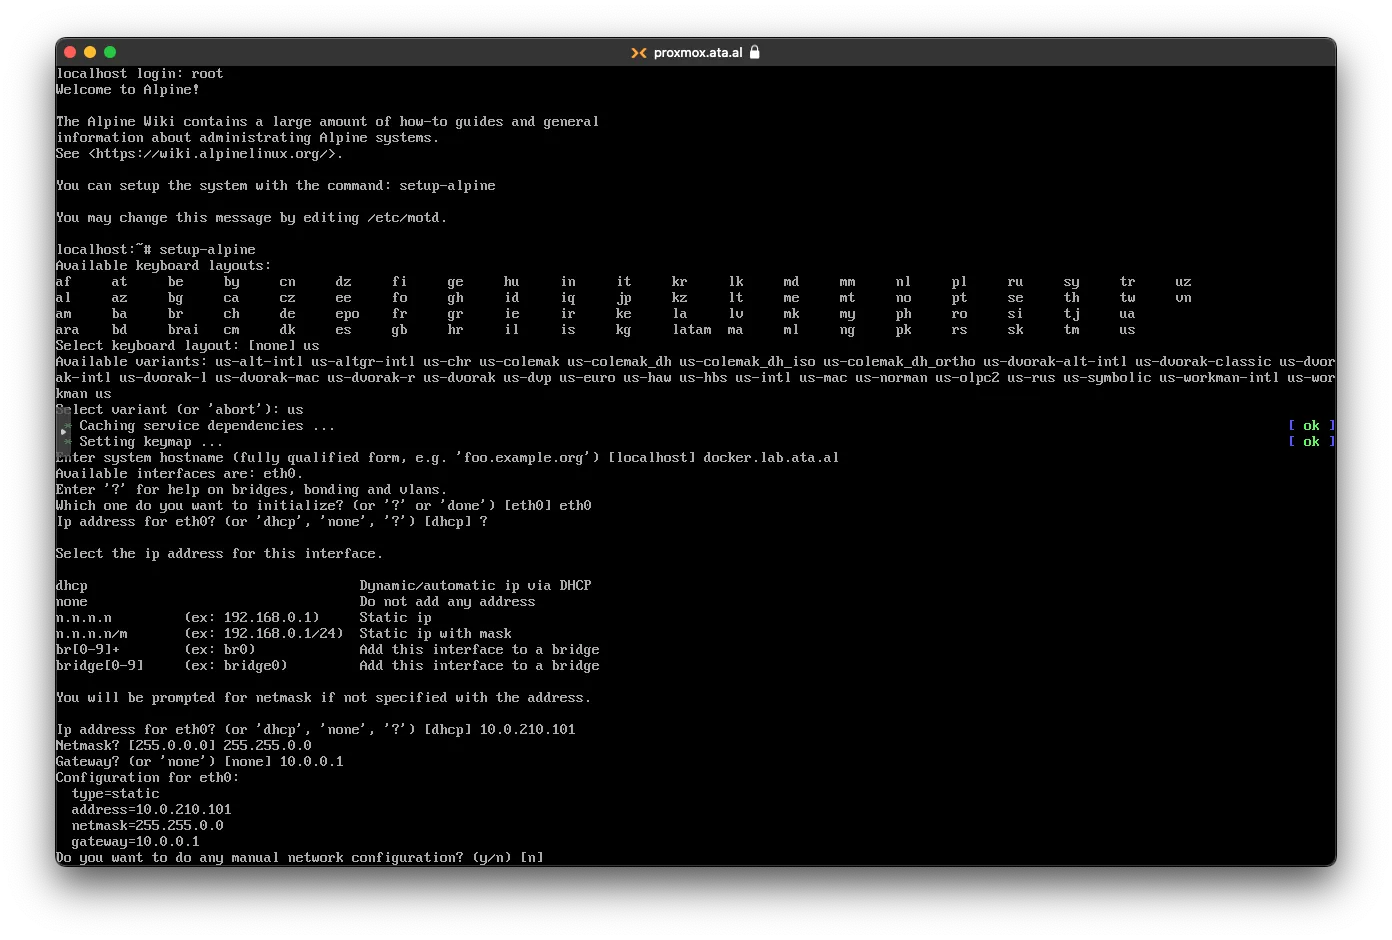
For the Name server, I used 1.1.1.1. You will be asked for a new root password and a timezone.
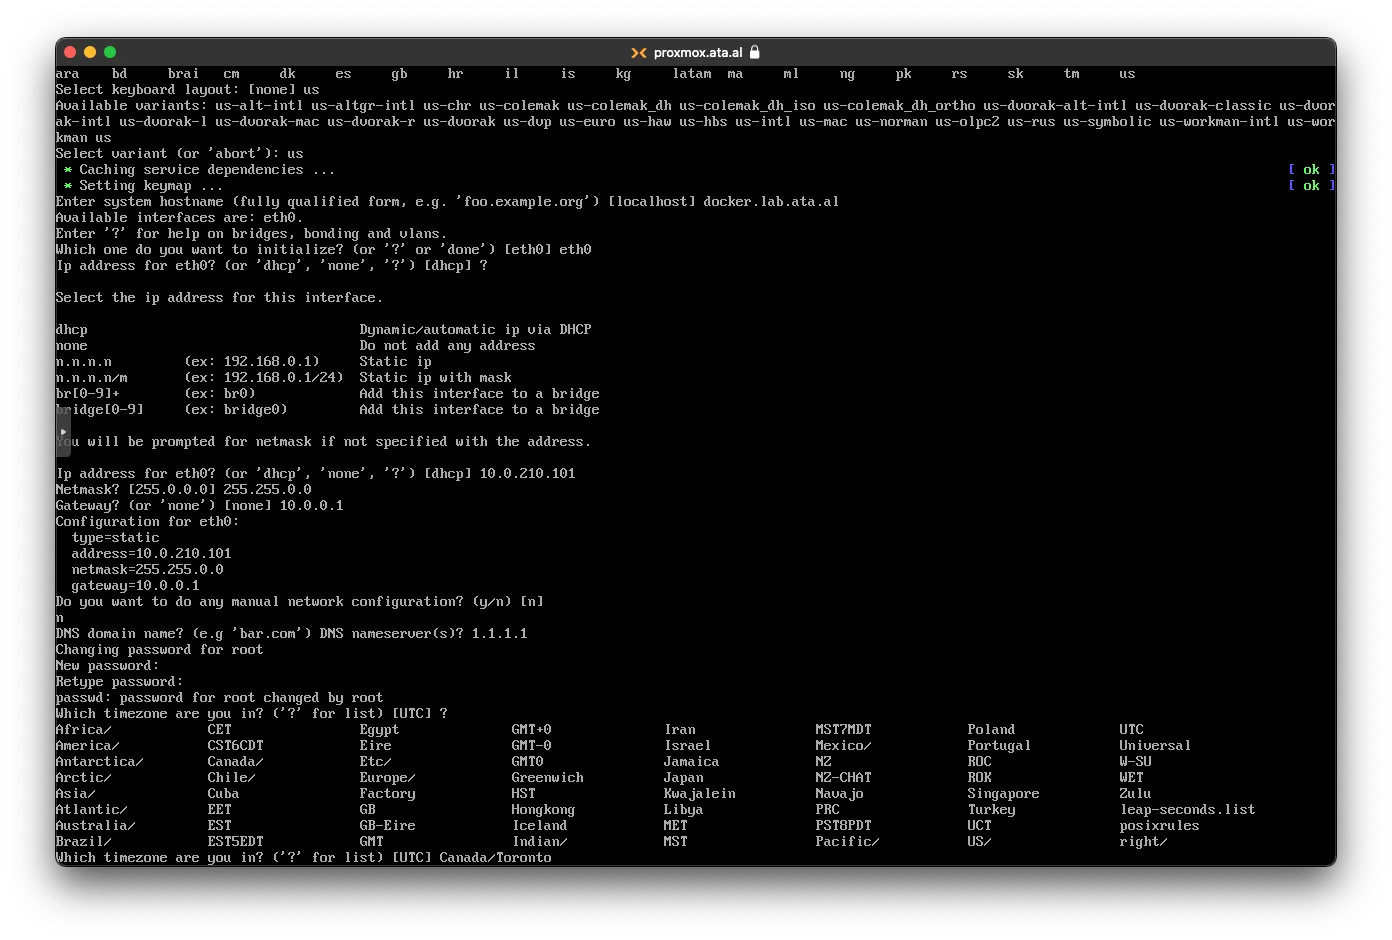
for Proxy put none
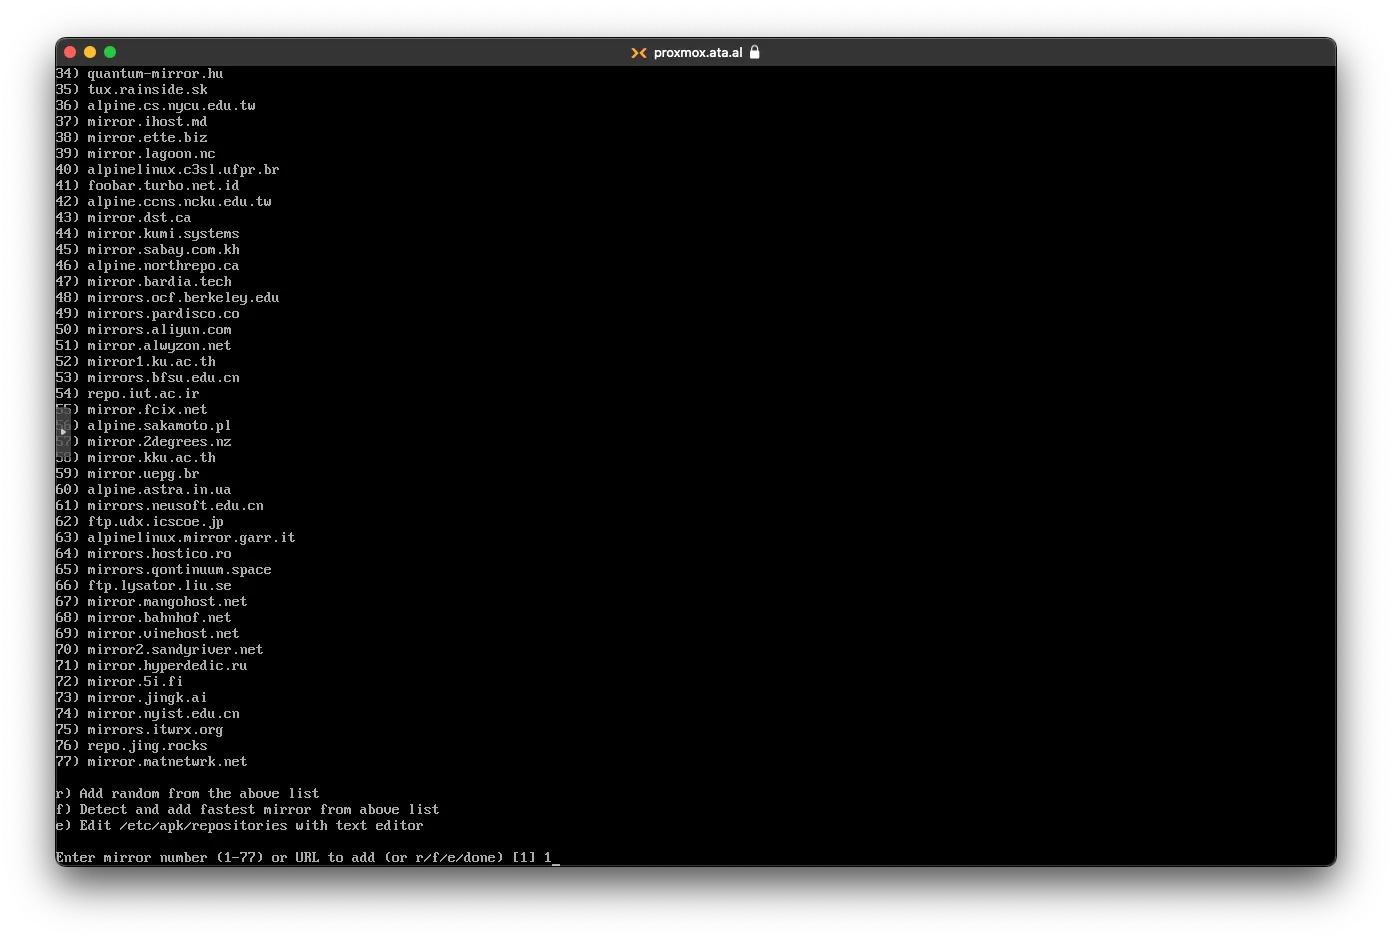
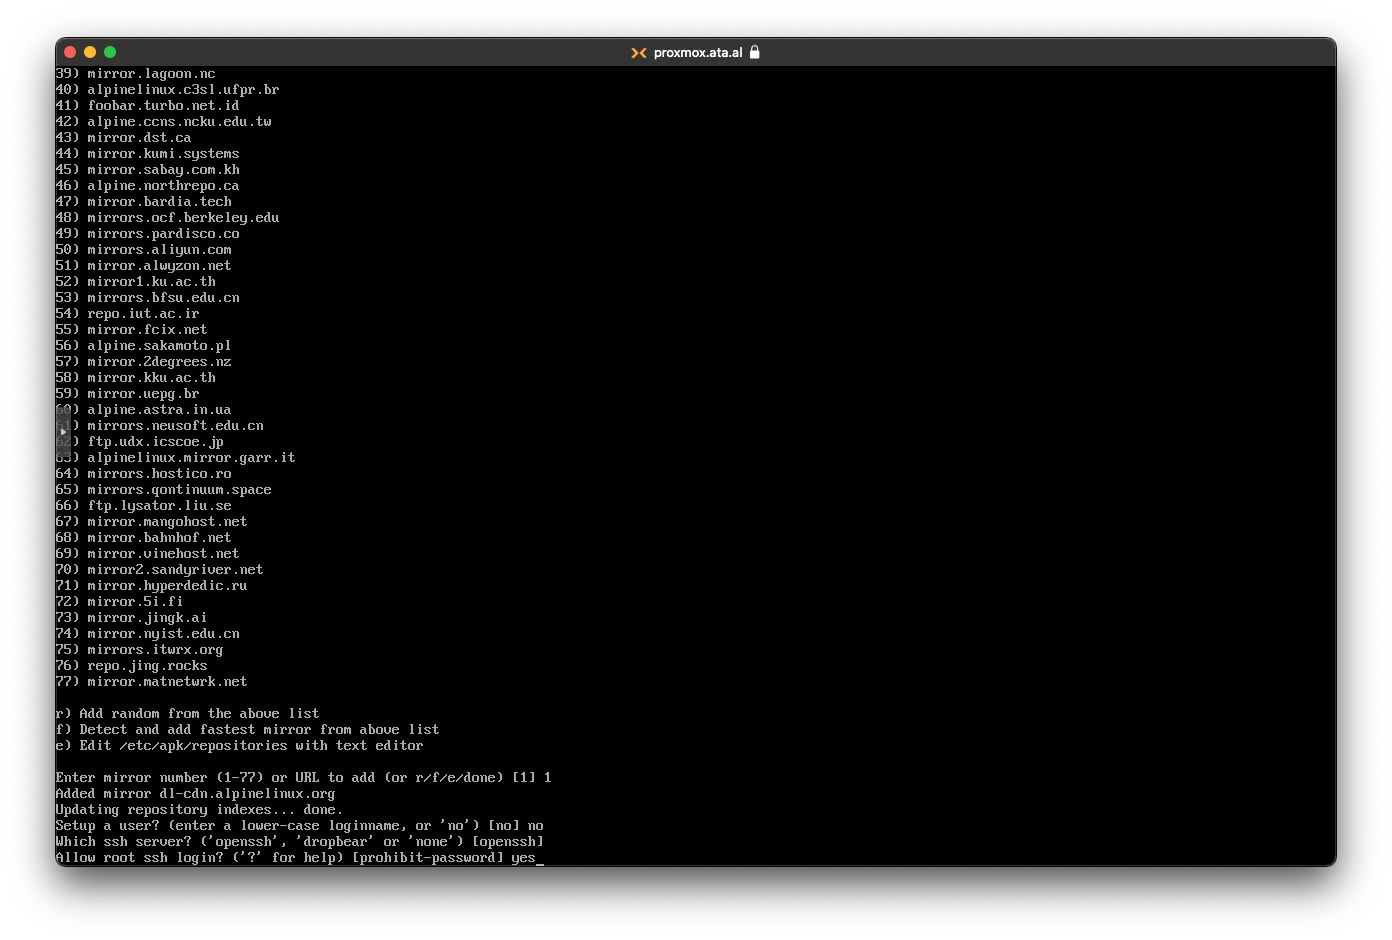
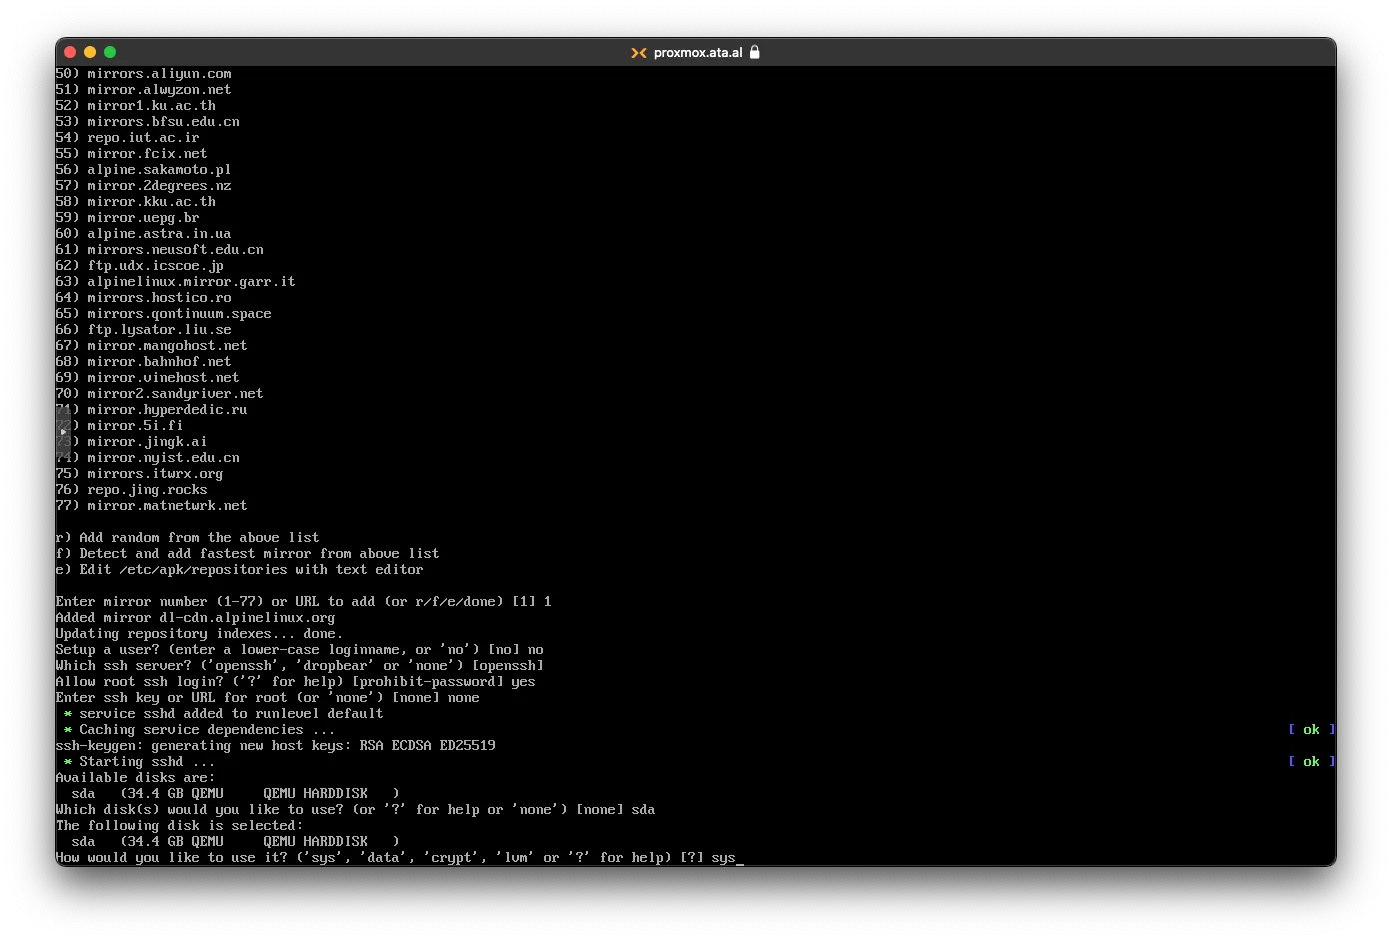
For Mirrors, you can select any number, but I choose 1.
you can skip the new user part
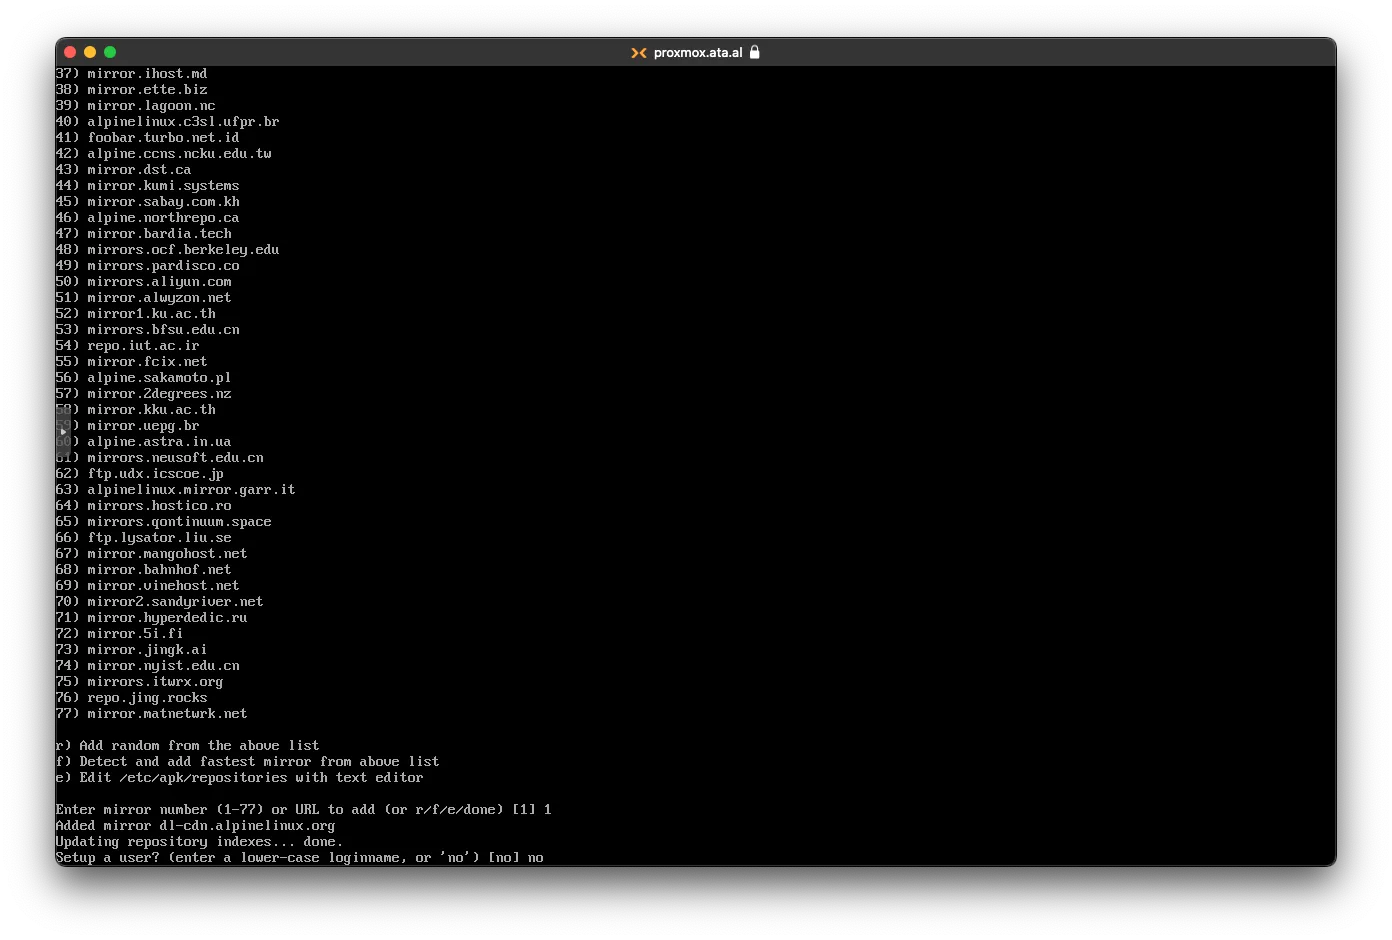
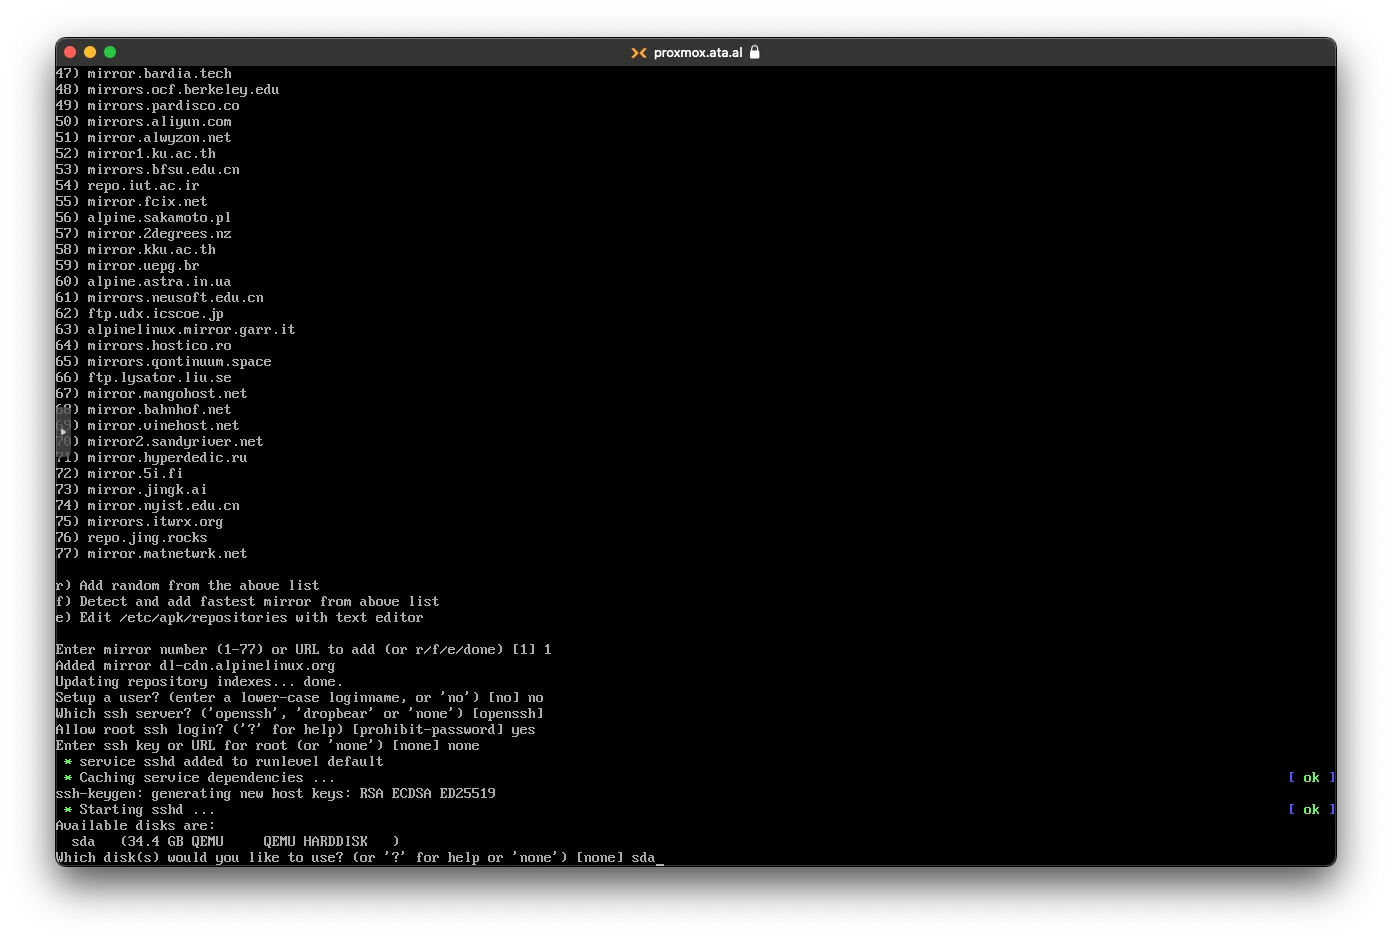
For SSH, you can keep the default SSH server and check Allow root Login to Yes.
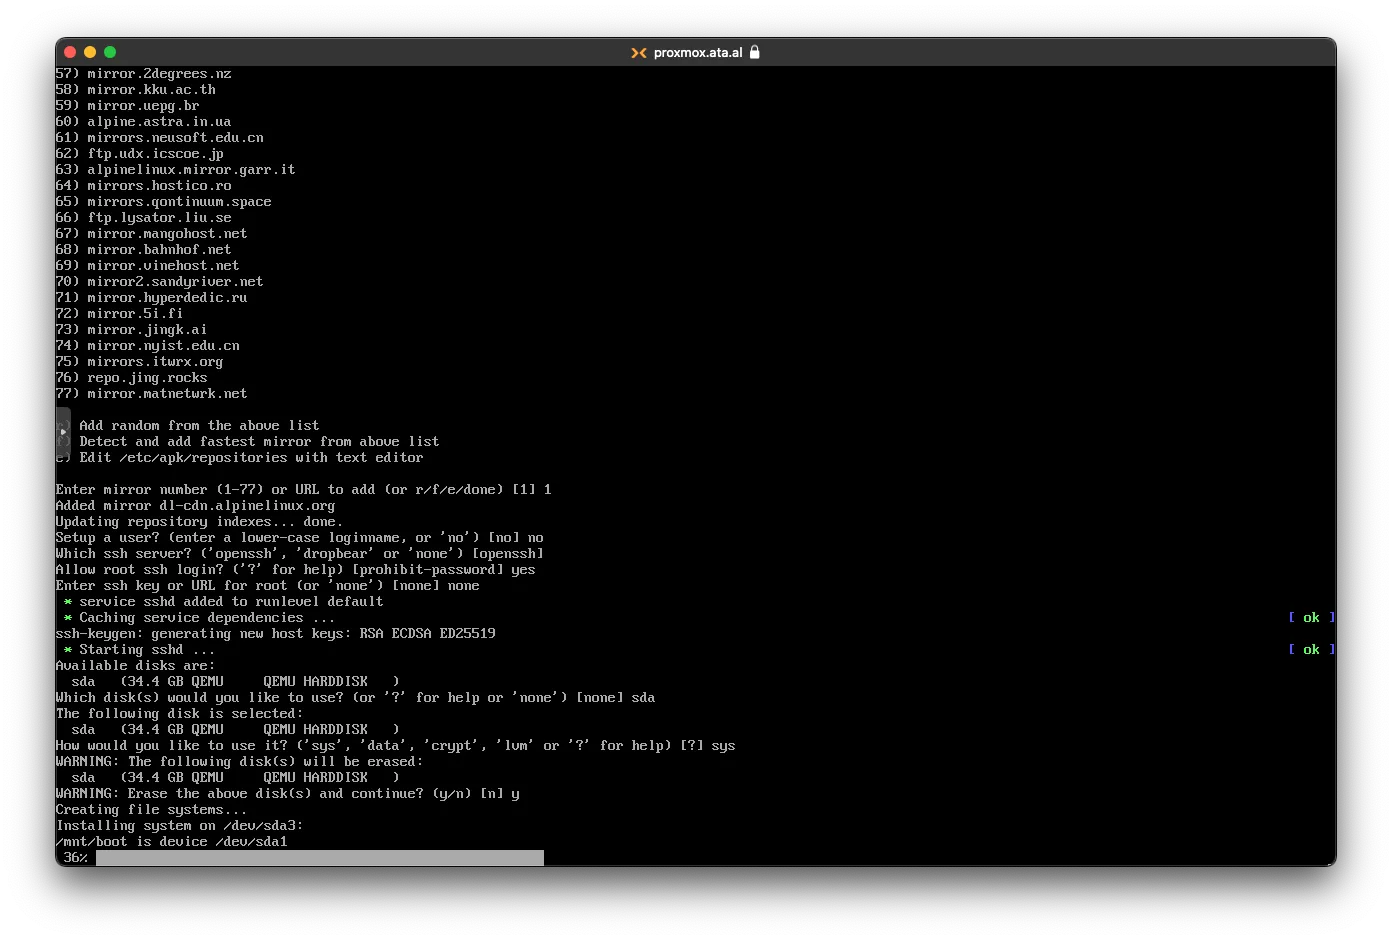
For Disk setup, select sda or whichever disk is there
On disk setup, choose sys
After agreeing to erase the disk, it will start to install
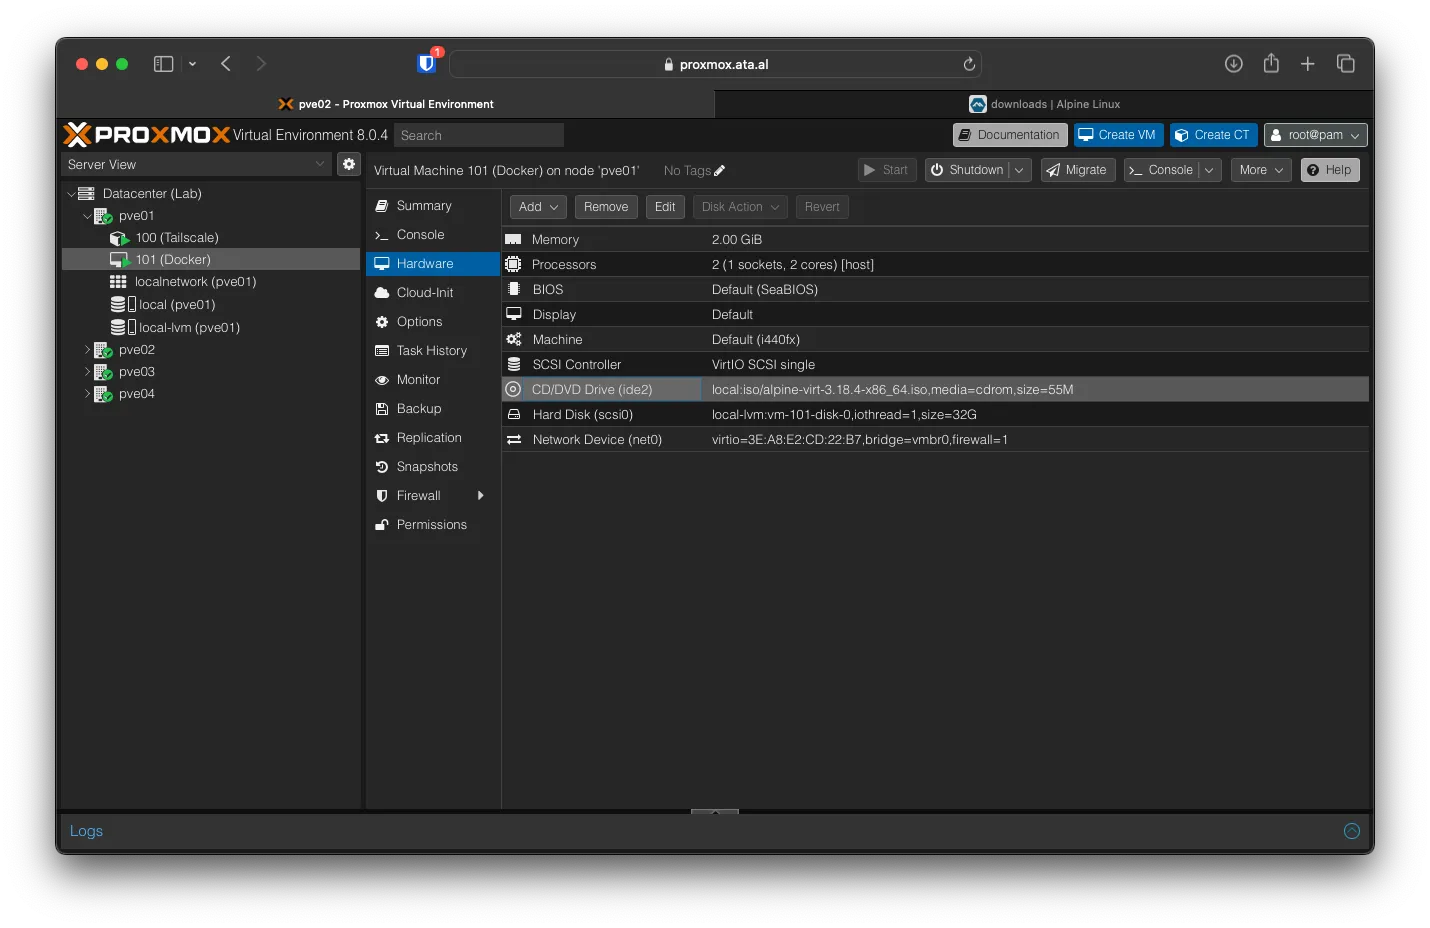
After the installation, you will need to remove the install iso in Proxmox. Under Hardware, find CD/DVD and click Remove.
Shut down and start the system again. The rest of the setup can be done over ssh
% ssh root@10.0.210.101
Welcome to Alpine!

The Alpine Wiki contains a large amount of how-to guides and general
information about administrating Alpine systems.
See <https://wiki.alpinelinux.org/>.

You can setup the system with the command: setup-alpine

You may change this message by editing /etc/motd.

docker:~#
Updating Alpine VM
Before installing any package, you will need to update the system by running this command apk update followed by apk upgrade
to add the community resource, run the following
cat > /etc/apk/repositories << EOF; $(echo)

https://dl-cdn.alpinelinux.org/alpine/v$(cut -d'.' -f1,2 /etc/alpine-release)/main/
https://dl-cdn.alpinelinux.org/alpine/v$(cut -d'.' -f1,2 /etc/alpine-release)/community/
https://dl-cdn.alpinelinux.org/alpine/edge/testing/

EOF
then
apk updateAdding Docker to Alpine VM
To install Docker, run the following commands
apk add docker
addgroup username docker
rc-update add docker default
service docker start
if it works, you will see the following
(15/17) Installing docker-cli (23.0.6-r6)
(16/17) Installing docker-cli-buildx (0.10.4-r9)
(17/17) Installing docker (23.0.6-r6)
Executing docker-23.0.6-r6.pre-install
Executing busybox-1.36.1-r4.trigger
Executing ca-certificates-20230506-r0.trigger
OK: 312 MiB in 76 packages
docker:~# addgroup username docker
addgroup: unknown user username
docker:~# rc-update add docker default
 * service docker added to runlevel default
docker:~# service docker start
 * Caching service dependencies ...                                                              [ ok ]
 * Mounting cgroup filesystem ...                                                                [ ok ]
 * /var/log/docker.log: creating file
 * /var/log/docker.log: correcting owner
 * Starting Docker Daemon ...                                                                    [ ok ]
docker:~#
Adding Portainer to Docker
To add portainer, you will need to create a database first
docker volume create portainer_datathen add the portainer image
docker run -d -p 8000:8000 -p 9443:9443 --name portainer --restart=always -v /var/run/docker.sock:/var/run/docker.sock -v portainer_data:/data portainer/portainer-ce:latestif both commands are successful, you will see the following
docker:~# docker volume create portainer_data
portainer_data
docker:~# docker run -d -p 8000:8000 -p 9443:9443 --name portainer --restart=always -v /var/run/docker.
sock:/var/run/docker.sock -v portainer_data:/data portainer/portainer-ce:latest
Unable to find image 'portainer/portainer-ce:latest' locally
latest: Pulling from portainer/portainer-ce
795a208431d7: Pull complete
4f272ca3dde3: Pull complete
5171176db7f2: Pull complete
52e9438966a5: Pull complete
43d4775415ac: Pull complete
c1cad9f5200f: Pull complete
27d6dca9cab4: Pull complete
231d7e50ef35: Pull complete
589f2af34593: Pull complete
5fc2ddaa6f07: Pull complete
4f4fb700ef54: Pull complete
Digest: sha256:f29cbc7b26ebd701b1fe92b4df42edea350e871372a6296a1fa16ba999481fb2
Status: Downloaded newer image for portainer/portainer-ce:latest
07463a06079d678536414271b35b411f20f23bc4ebebd11de9ce81b365c06480
docker:~#
and with docker ps you will see the running image
docker:~# docker ps
CONTAINER ID IMAGE COMMAND CREATED STATUS PORTS NAMES
07463a06079d portainer/portainer-ce:latest "/portainer" 46 seconds ago Up 44 seconds 0.0.0.0:8000->8000/tcp, :::8000->8000/tcp, 0.0.0.0:9443->9443/tcp, :::9443->9443/tcp, 9000/tcp portainer
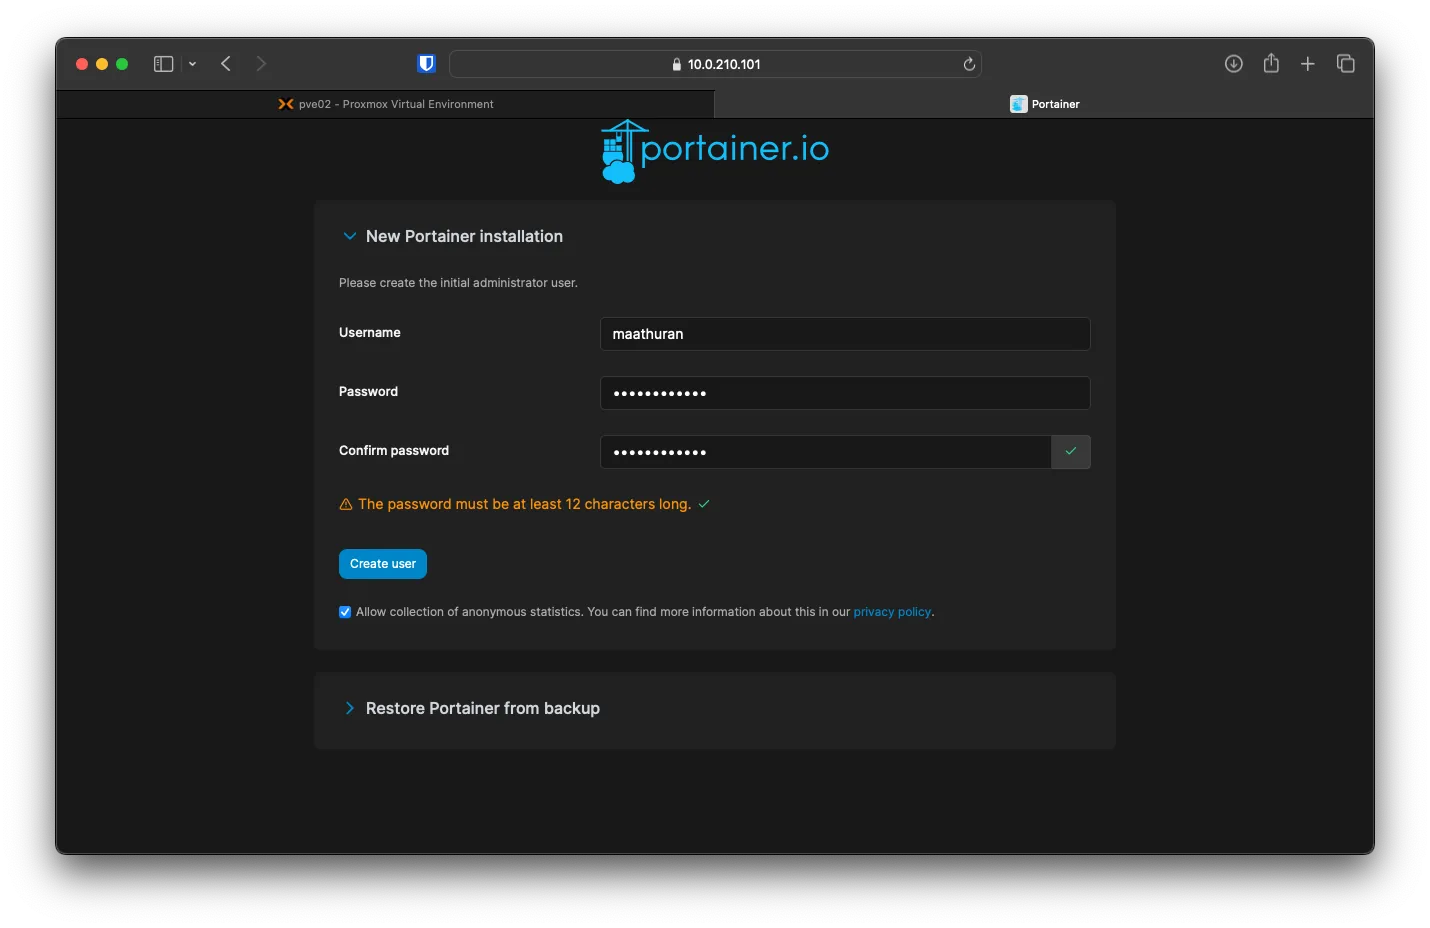
docker:~# To access Portainer, you can visit the VM’s URL with HTTPS and Port 9443. After the page loads, you will be asked to make a new admin user.
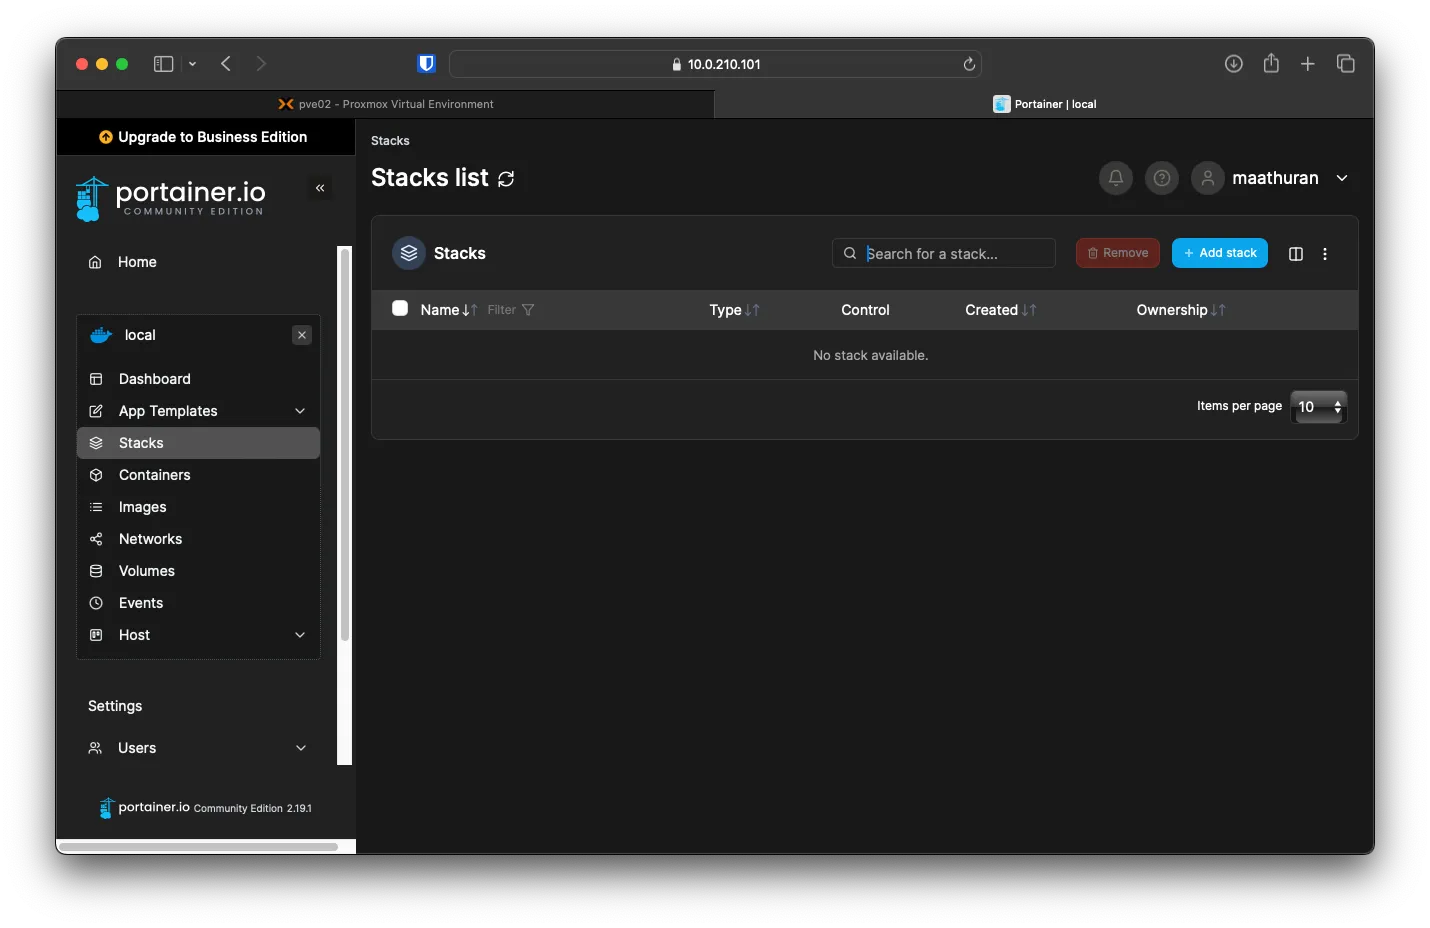
Adding Watchguard to Portainer
to keep all your Docker images up to date, you can add Watchguard to check Docker and pull the latest images automatically.
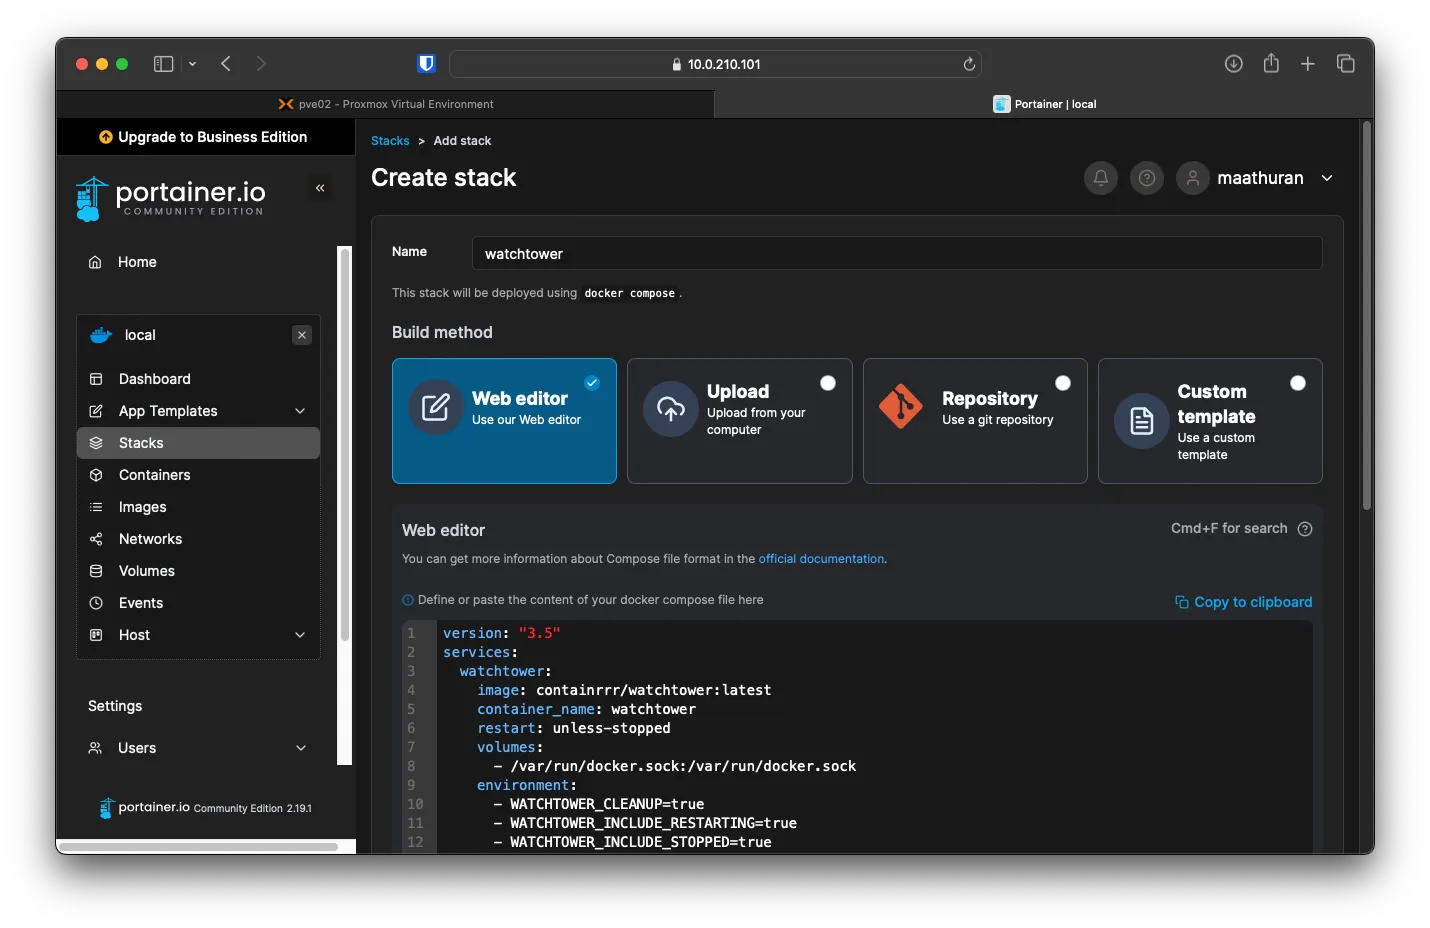
Under Stack click on Add stack
Call it watchtower and select Web Editor, past in the following
version: "3.5"
services:
watchtower:
image: containrrr/watchtower:latest
container_name: watchtower
restart: unless-stopped
volumes:
- /var/run/docker.sock:/var/run/docker.sock
environment:
- WATCHTOWER_CLEANUP=true
- WATCHTOWER_INCLUDE_RESTARTING=true
- WATCHTOWER_INCLUDE_STOPPED=true
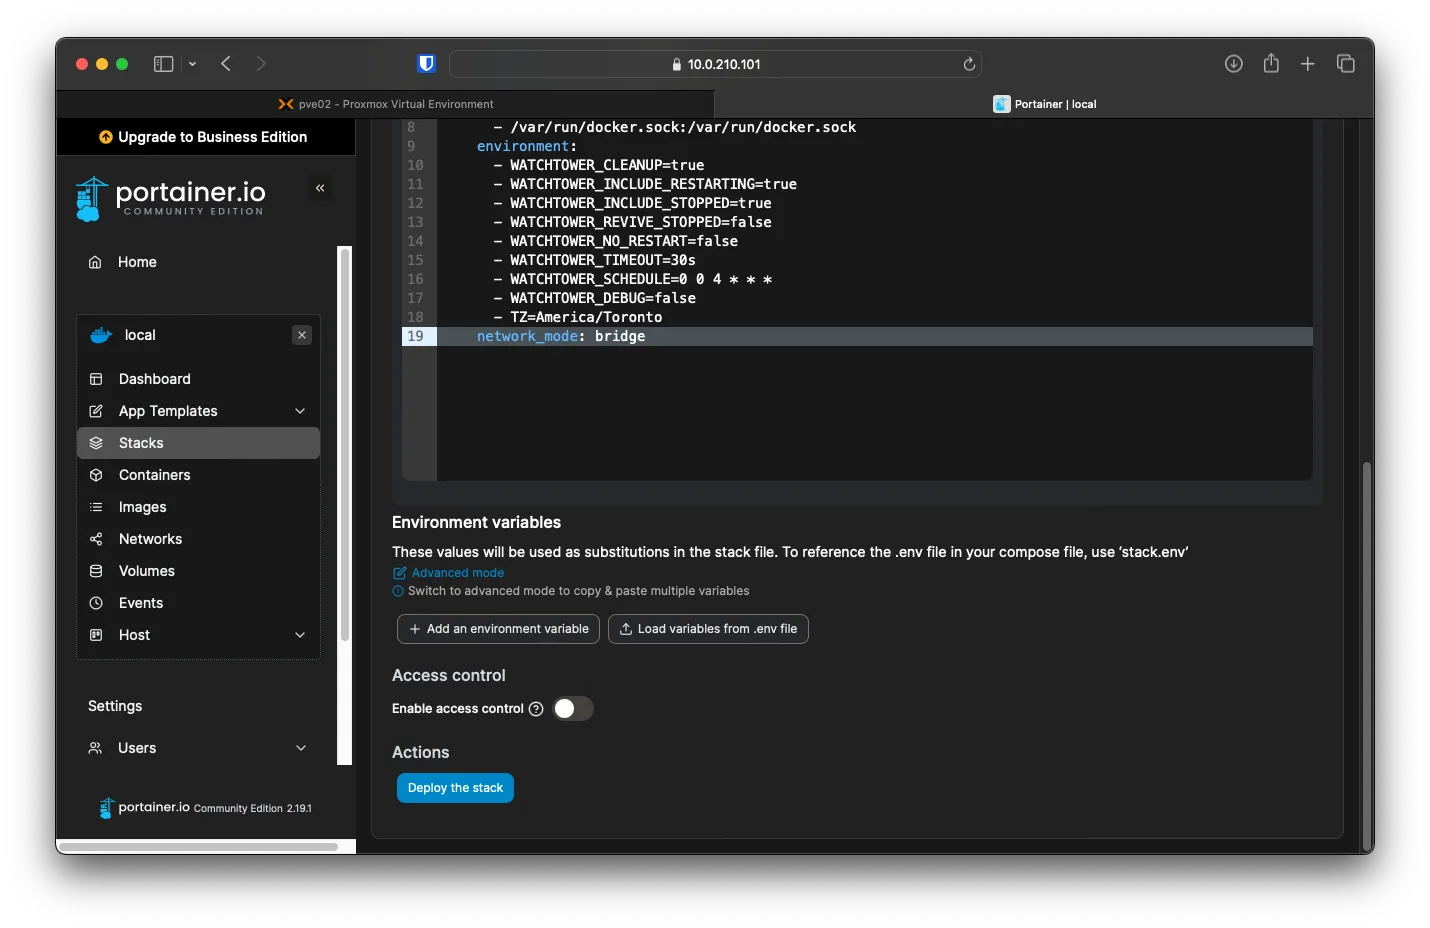
- WATCHTOWER_REVIVE_STOPPED=false
- WATCHTOWER_NO_RESTART=false
- WATCHTOWER_TIMEOUT=30s
- WATCHTOWER_SCHEDULE=0 0 4 * * *
- WATCHTOWER_DEBUG=false
- TZ=America/Toronto
network_mode: bridgeDisable Access Control, as we are not using roles with portainer
for help with enviroment variable visit this link as it conaintes info on each one of them
After that, click on Deploy the Stack
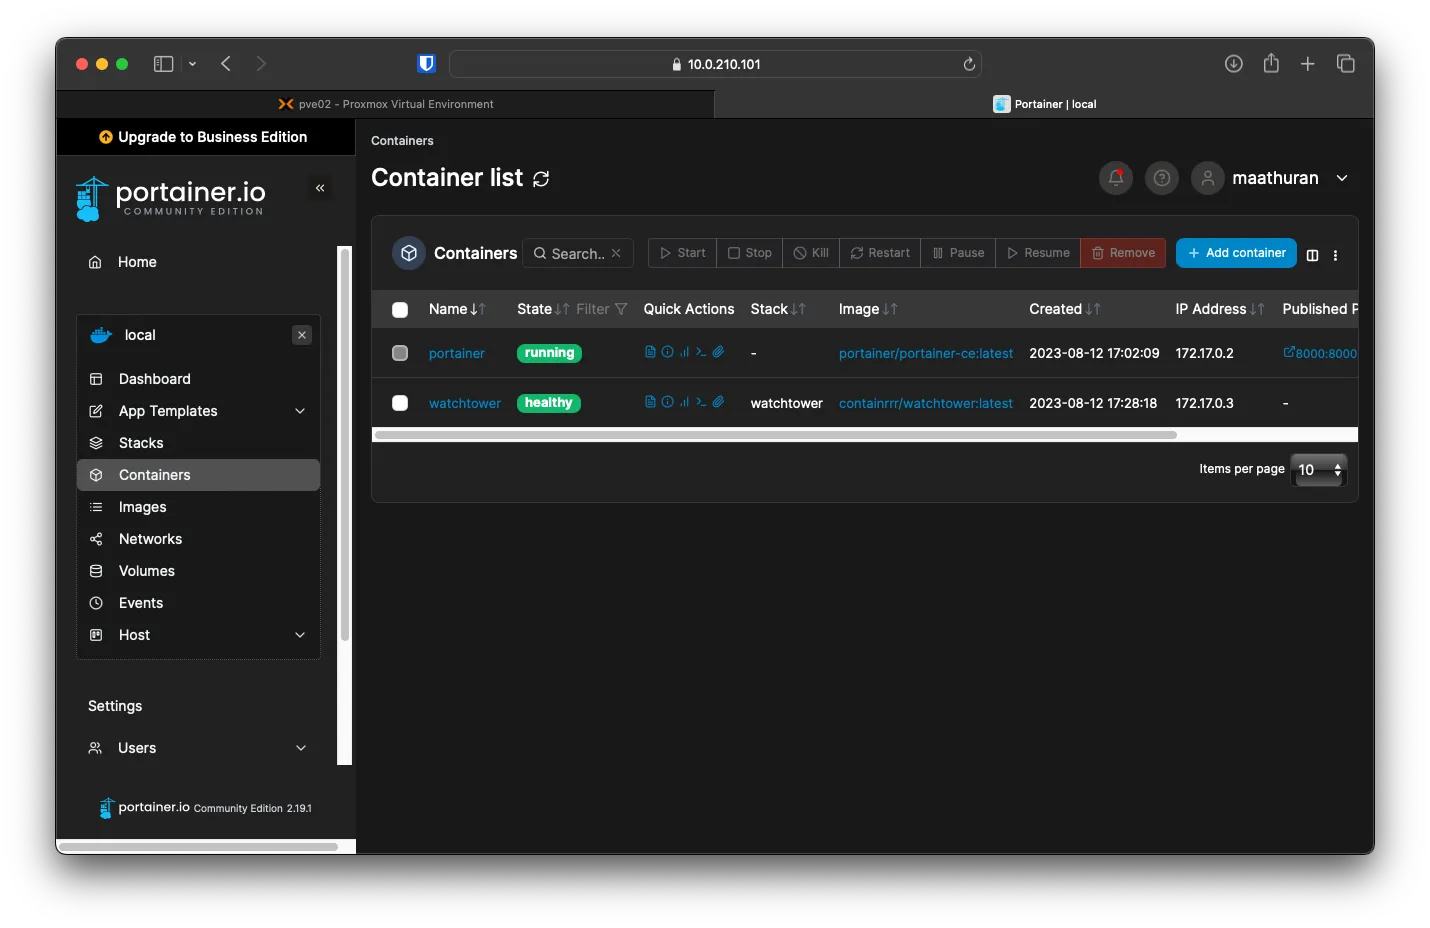
You can check the logs under Container -> watchtower -> Logs to see when it will next check for any updates
Under Container, you should see two running containers now
Bonus
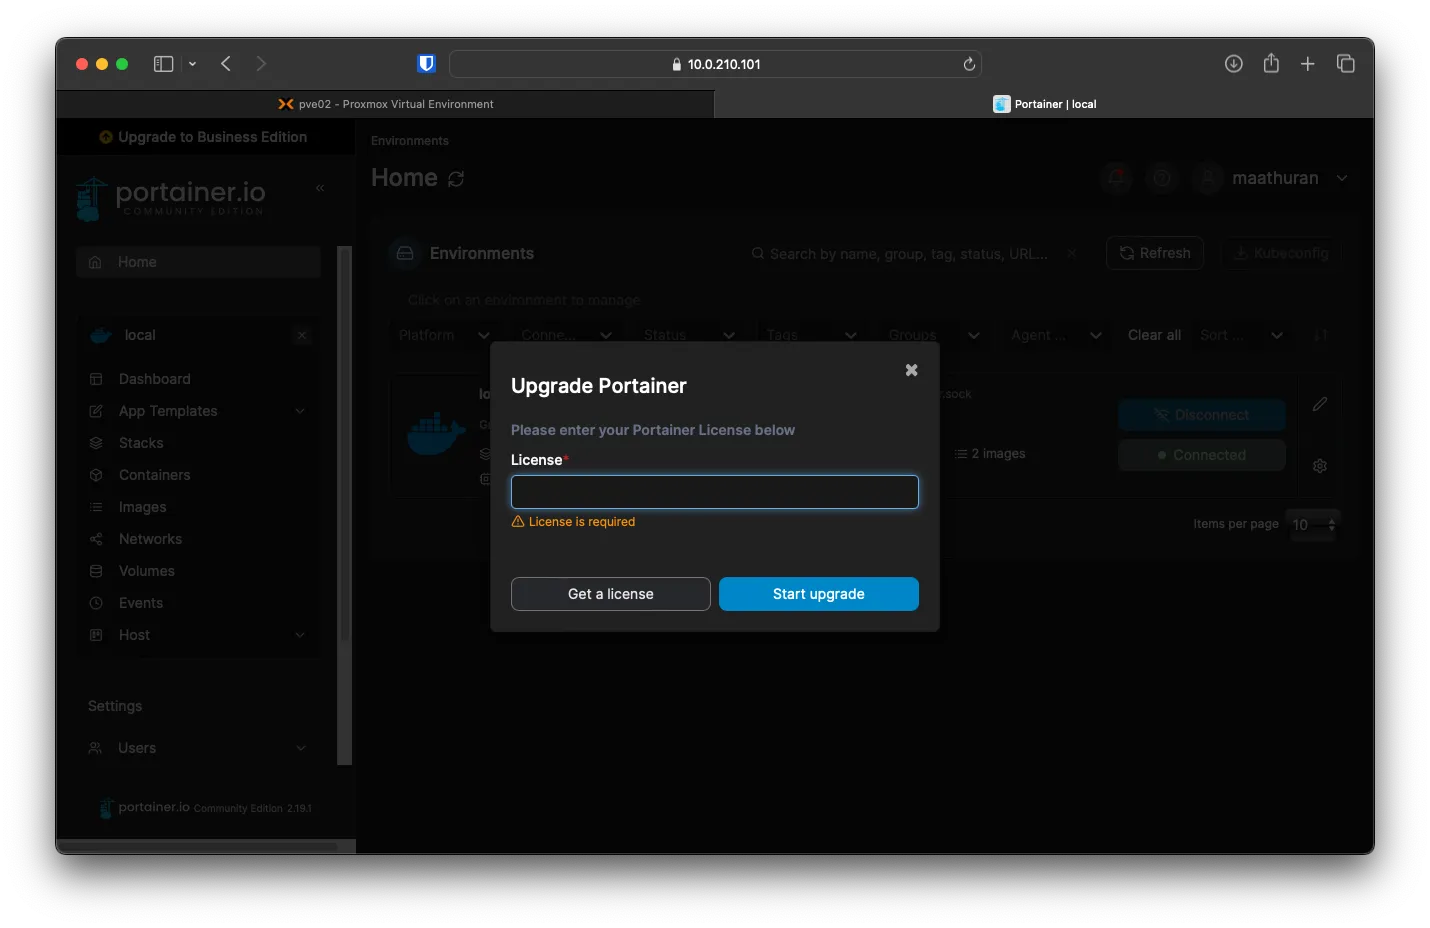
While writing this, Portainer ran a free upgrade for three nodes to Portianer Business edition https://www.portainer.io/take-3. You can sign up with your custom email and get three free keys.
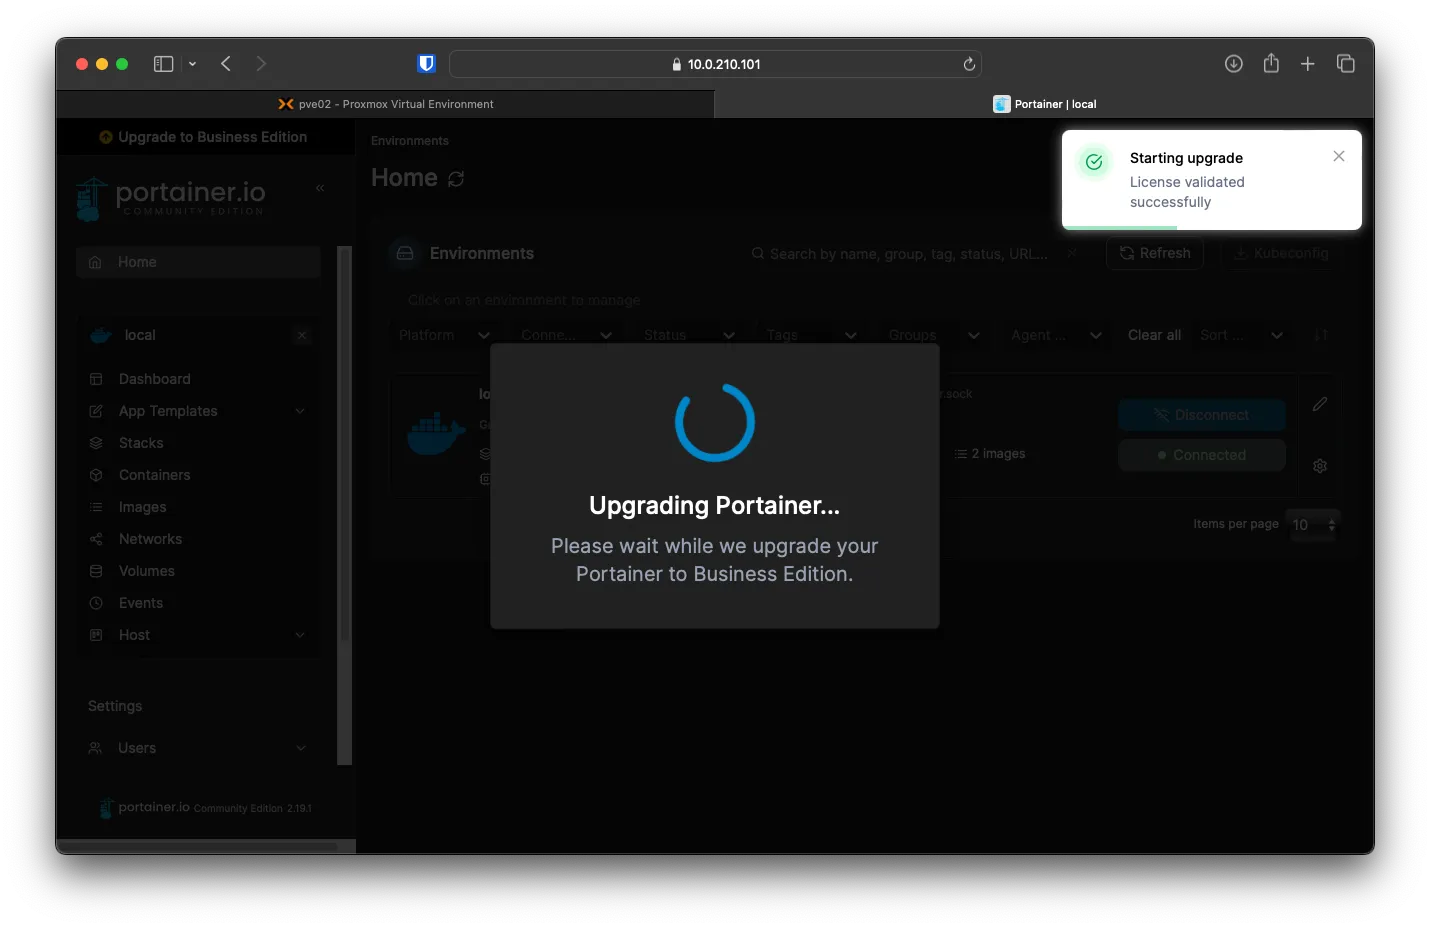
To start the upgrade, click Upgrade to Business Edition on the home page of the portainer and enter your key.
After validating your key, you will see this message below. Then it will ask you to resign in
HTTPS Reverse Proxy with Caddy
With Caddy, add the following to enable auto SSL cert generation and HTTP to HTTPS redirect for portainer
{
    "apps": {
        "http": {
            "servers": {
                "srv0": {
                    "listen": [
                        ":443"
                    ],
                    "routes": [
                        {
                            "match": [
                                {
                                    "host": [
                                        "portainer.ata.al"
                                    ]
                                }
                            ],
                            "handle": [
                                {
                                    "handler": "subroute",
                                    "routes": [
                                        {
                                            "handle": [
                                                {
                                                    "handler": "reverse_proxy",
                                                    "transport": {
                                                        "protocol": "http",
                                                        "tls": {
                                                            "insecure_skip_verify": true
                                                        }
                                                    },
                                                    "upstreams": [
                                                        {
                                                            "dial": "10.0.210.101:9443"
                                                        }
                                                    ]
                                                }
                                            ]
                                        }
                                    ]
                                }
                            ],
                            "terminal": true
                        }
                    ]
                }
            }
        }
    }
}