
Introduction
To port forward without really port forwarding, we will be using Tailscale to create a Wireguard tunnel between our home lab and the BuyVM.
Installing PreReq (Go)
After SSHing into our VM, you must install Go to use xCaddy to compile Caddy. Find the latest Go build for Linux Intel 64-bit
cd ~
curl -OL https://go.dev/dl/go1.20.7.linux-amd64.tar.gz
sha256sum go1.20.7.linux-amd64.tar.gz
Make sure the sha265sum matches the one on the website.
sha256sum go1.20.7.linux-amd64.tar.gz
1241381b2843fae5a9707eec1f8fb2ef94d827990582c7c7c32f5bdfbfd420c8  go1.20.7.linux-amd64.tar.gz
After it matches, extract the file into the /usr/local directory
sudo tar -C /usr/local -xvf go1.20.7.linux-amd64.tar.gzAdding Go Path variables
To add Go to your path type, you must edit the following file.
sudo nano ~/.profileand add this line to the end
export PATH=$PATH:/usr/local/go/binAfter adding the file save it with CTRL + X or Command + X(on Mac) then Y, followed by Enter
Refresh the path variable by using this and check the Go Version
source ~/.profile
go version
If everything is installed correctly, you will see this go version go1.20.7 linux/amd64
Building Caddy from Scratch
To start things off, navigate to the tmp folder
cd /tmpPlease get the latest xCaddy release from here, extract the file, then move it to the usr/bin (making it system-wide)
wget https://github.com/caddyserver/xcaddy/releases/download/v0.3.4/xcaddy_0.3.4_linux_amd64.tar.gz
tar xvf xcaddy_0.3.4_linux_amd64.tar.gz xcaddy
sudo mv xcaddy /usr/bin
Please make a new folder to hold the caddy files and CD it, then start the build process with L4 model addon
mkdir ~/caddy
cd ~/caddy
xcaddy build --with github.com/mholt/caddy-l4/layer4
It might take a bit to build the model, but it will look like this if it starts.
root@localhost:~/caddy# xcaddy build --with github.com/mholt/caddy-l4/layer4
2023/08/05 23:22:55 [INFO] Temporary folder: /tmp/buildenv_2023-08-05-2322.3473448885
2023/08/05 23:22:55 [INFO] Writing main module: /tmp/buildenv_2023-08-05-2322.3473448885/main.go
package main

import (
    caddycmd "github.com/caddyserver/caddy/v2/cmd"

    // plug in Caddy modules here
    _ "github.com/caddyserver/caddy/v2/modules/standard"
    _ "github.com/mholt/caddy-l4/layer4"
)

func main() {
    caddycmd.Main()
}
2023/08/05 23:22:55 [INFO] Initializing Go module
2023/08/05 23:22:55 [INFO] exec (timeout=0s): /usr/local/go/bin/go mod init caddy
go: creating new go.mod: module caddy
go: to add module requirements and sums:

...

go: downloading github.com/jmespath/go-jmespath v0.4.0
go: downloading cloud.google.com/go/compute/metadata v0.2.3
go: downloading cloud.google.com/go/compute v1.23.0
go: downloading go.opencensus.io v0.24.0
go: downloading google.golang.org/appengine v1.6.7
go: downloading github.com/google/s2a-go v0.1.7
go: downloading github.com/OneOfOne/xxhash v1.2.2
go: downloading github.com/spaolacci/murmur3 v1.1.0
go: downloading github.com/googleapis/enterprise-certificate-proxy v0.3.1
go: downloading github.com/golang/groupcache v0.0.0-20210331224755-41bb18bfe9da
2023/08/05 23:24:57 [INFO] exec (timeout=0s): /usr/local/go/bin/go build -o /root/caddy/caddy -ldflags -w -s -trimpath
2023/08/05 23:26:48 [INFO] Build complete: ./caddy
2023/08/05 23:26:48 [INFO] Cleaning up temporary folder: /tmp/buildenv_2023-08-05-2322.3473448885
After the build is completed move the file to the usr/bin and then check the version of CaddyCaddy
sudo mv caddy /usr/bin
caddy version
if you see something like this below, then it was correctly installed
root@localhost:~/caddy# caddy version
v2.7.3 h1:eMCNjOyMgB5A1KgOzT2dXKR4I0Va+YHCJYC8HHu+DP0=
root@localhost:~/caddy#
Adding CaddyCaddy as a user/group
After you have verified that CaddyCaddy is installed correctly, you will need to set it to run automatically in the background using a systemd service.
These commands below add a new group called Caddy and create a new user, also called caddy, and add it to the caddy group.
sudo groupadd --system CaddyCaddy
sudo useradd --system \
    --gid caddy \
    --create-home \
    --home-dir /var/lib/caddy \
    --shell /usr/sbin/nologin \
    --comment "Caddy web server" \
    caddy
to change ownership of CaddyCaddy to the root user, use this command next
sudo chown root:root /usr/bin/caddyAfter that, the permission of the file will need to be changed to allow read/write/exe by the root user
sudo chmod 755 /usr/bin/caddyCreating Caddy’s Config folder
We will need to make a folder to hold Caddy’s config file
sudo mkdir /etc/CaddyCaddyThen, set the user and group permissions
sudo chown -R root:caddy /etc/caddyCreating Caddy’s TLS Cert folder
sudo mkdir /etc/ssl/caddy
sudo chown -R root:caddy /etc/ssl/caddy
sudo chmod 0770 /etc/ssl/caddy
Adding Caddy’sCaddy’s as a System service
Start by downloading the systemd unit file from here
sudo sh -c 'curl https://raw.githubusercontent.com/caddyserver/dist/master/init/caddy.service > /etc/systemd/system/caddy.service'if successful you will get an output like this
root@localhost:~/caddy# sudo sh -c 'curl https://raw.githubusercontent.com/caddyserver/dist/master/init/caddy.service > /etc/systemd/system/caddy.service'
  % Total    % Received % Xferd  Average Speed   Time    Time     Time  Current
                                 Dload  Upload   Total   Spent    Left  Speed
100  1044  100  1044    0     0   7214      0 --:--:-- --:--:-- --:--:--  7250
root@localhost:~/caddy#
After that, you will need to reload systemd and check Caddy’sCaddy’s service.
sudo systemctl daemon-reload
sudo systemctl status caddy
the output will look like this
root@localhost:~/caddy# sudo systemctl daemon-reload
sudo systemctl status caddy
○ caddy.service - Caddy
     Loaded: loaded (/etc/systemd/system/caddy.service; disabled; vendor preset: enabled)
     Active: inactive (dead)
       Docs: https://caddyserver.com/docs/
root@localhost:~/caddy#
Testing Caddy
To test Caddy we will be creating a file called caddy.json in /etc/caddy/
sudo nano /etc/caddy/caddy.jsonwith the content below
    {
        "apps": {
            "http": {
                "servers": {
                    "hello": {
                        "listen": [":2015"],
                        "routes": [
                            {
                                "handle": [{
                                    "handler": "static_response",
                                    "body": "Hello, world!"
                                }]
                            }
                        ]
                    }
                }
            }
        }
    }
Before starting, we will need to override the service to use a .json file instead of the usual Caddyfile
sudo systemctl edit caddyadd the following lines and save
[Service]
ExecStart=
ExecStart=/usr/bin/caddy run --environ --config /etc/caddy/caddy.json
ExecReload=
ExecReload=/usr/bin/caddy reload --config /etc/caddy/caddy.json
after that, restart Caddy with this
sudo systemctl restart caddyYou can view the status with this systemctl status caddy.service
● caddy.service - Caddy
Loaded: loaded (/etc/systemd/system/caddy.service; disabled; vendor preset: enabled)
Drop-In: /etc/systemd/system/caddy.service.d
└─override.conf
Active: active (running) since Fri 2023-08-05 01:20:09 UTC; 52s ago
Docs: https://caddyserver.com/docs/
Main PID: 13495 (caddy)
Tasks: 6 (limit: 1089)
Memory: 8.4M
CPU: 32ms
CGroup: /system.slice/caddy.service
└─13495 /usr/bin/caddy run --environ --config /etc/caddy/caddy.json
Aug 05 01:20:09 localhost caddy[13495]: SYSTEMD_EXEC_PID=13495
Aug 05 01:20:09 localhost caddy[13495]: {"level":"info","ts":1698974409.1762745,"msg":"using provided con>
Aug 05 01:20:09 localhost caddy[13495]: {"level":"info","ts":1698974409.1791975,"logger":"admin","msg":"a>
Aug 05 01:20:09 localhost caddy[13495]: {"level":"info","ts":1698974409.1799827,"logger":"http.log","msg">
Aug 05 01:20:09 localhost caddy[13495]: {"level":"info","ts":1698974409.1802683,"msg":"autosaved config (>
Aug 05 01:20:09 localhost systemd[1]: Started CaddyCaddy.
Aug 05 01:20:09 localhost caddy[13495]: {"level":"info","ts":1698974409.1842744,"msg":"serving initial co>
Aug 05 01:20:09 localhost caddy[13495]: {"level":"info","ts":1698974409.1846325,"logger":"tls","msg":"cle>
Aug 05 01:20:09 localhost caddy[13495]: {"level":"info","ts":1698974409.1847615,"logger":"tls","msg":"fin>
Aug 05 01:20:09 localhost caddy[13495]: {"level":"info","ts":1698974409.1850526,"logger":"tls.cache.maint>
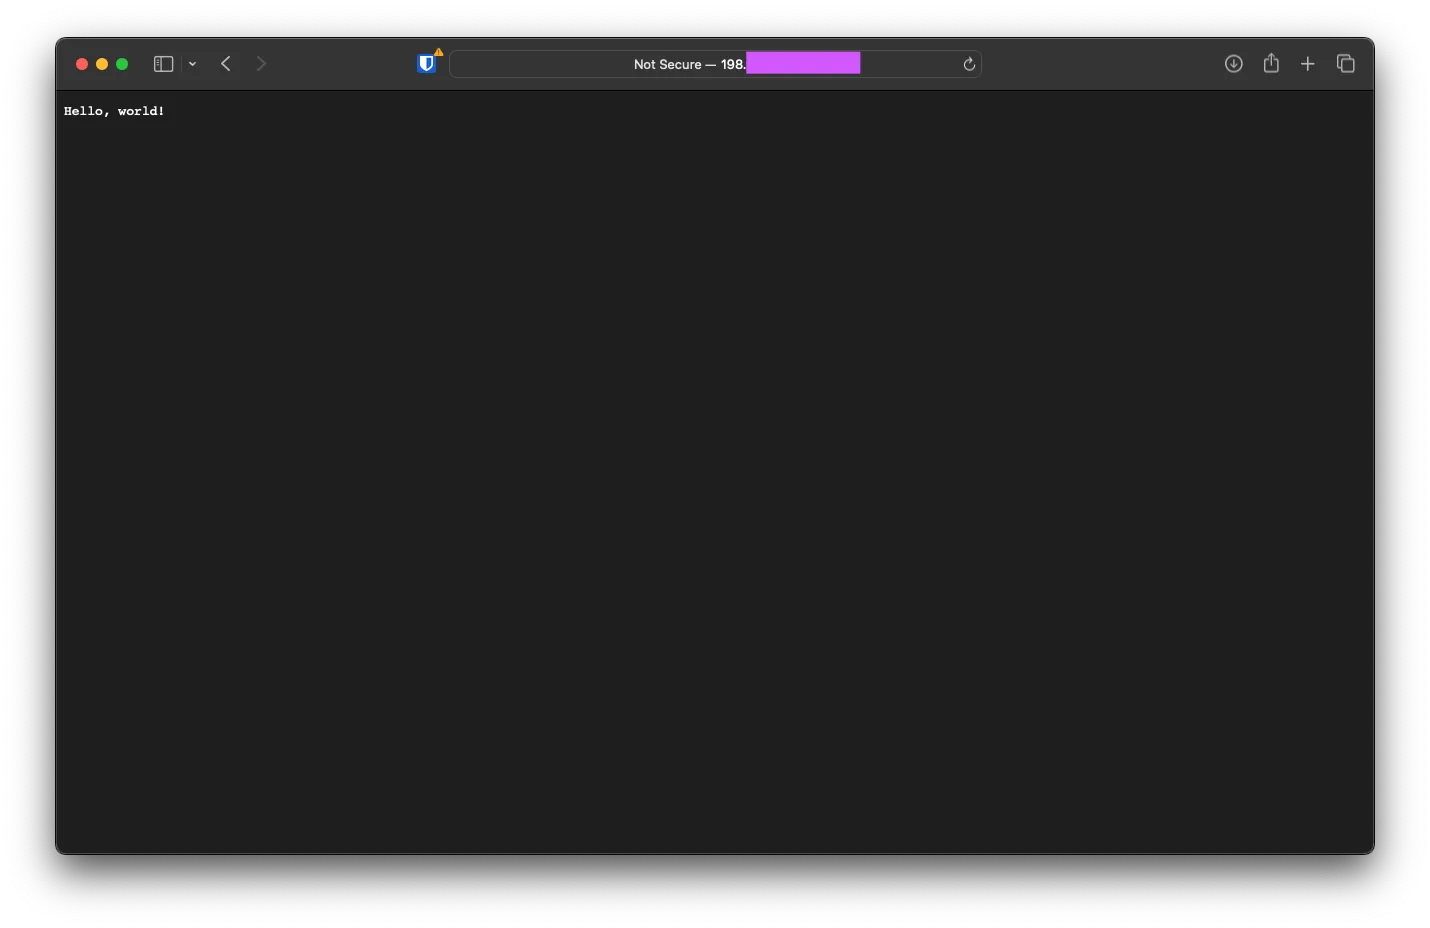
lines 1-23If everything works, you would be able to visit IPADDRESS:2015 and see CaddyCaddy respond with this
Installing Tailscale
After the Caddy config, the next step is to install the Tailscale package onto the VM. Run this command via SSH to automatically download and install
curl -fsSL https://tailscale.com/install.sh | shyou will get the following output
root@localhost:~/caddy# curl -fsSL https://tailscale.com/install.sh | sh
Installing Tailscale for ubuntu jammy, using method apt
+ mkdir -p --mode=0755 /usr/share/keyrings
+ tee /usr/share/keyrings/tailscale-archive-keyring.gpg
+ curl -fsSL https://pkgs.tailscale.com/stable/ubuntu/jammy.noarmor.gpg
+ tee /etc/apt/sources.list.d/tailscale.list
+ curl -fsSL https://pkgs.tailscale.com/stable/ubuntu/jammy.tailscale-keyring.list
# Tailscale packages for ubuntu jammy
deb [signed-by=/usr/share/keyrings/tailscale-archive-keyring.gpg] https://pkgs.tailscale.com/stable/ubuntu jammy main
+ apt-get update

...

caled.service.
NEEDRESTART-VER: 3.5
NEEDRESTART-KCUR: 5.15.0-25-generic
NEEDRESTART-KEXP: 5.15.0-25-generic
NEEDRESTART-KSTA: 1
+ [ false = true ]
+ set +x
Installation complete! Log in to start using Tailscale by running:

tailscale up
root@localhost:~/caddy#